
My Garage
My Account
Cart
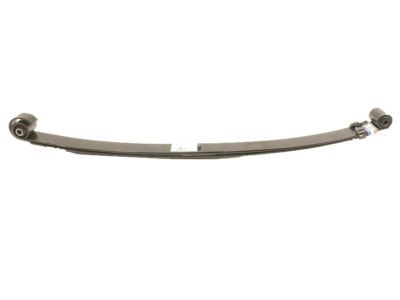
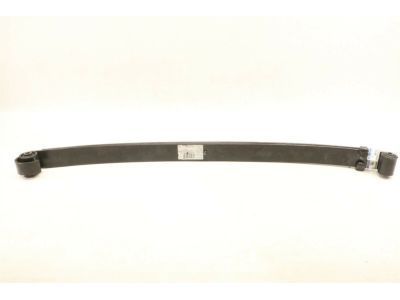
Genuine Ford Excursion Coil Springs
Strut Spring- Select Vehicle by Model
- Select Vehicle by VIN
Select Vehicle by Model
orMake
Model
Year
Select Vehicle by VIN
For the most accurate results, select vehicle by your VIN (Vehicle Identification Number).
10 Coil Springs found
Ford Excursion Coil Springs
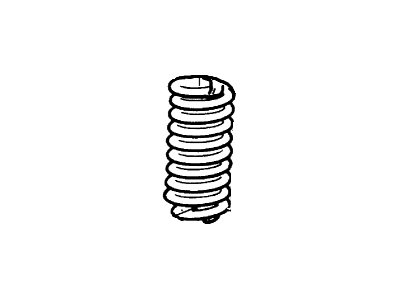
Coil springs in Ford excursion are suspension parts that are used in suspension system and whose main functions are to help the vehicle carry its weight and help in the absorption of shocks from the roads. They assist in maintaining the right height of the car and alignment of the wheels so as not to develop such problems as sagging, bottoming or uneven wear of the tires. There are also replacement coils for worn coil springs: OEMs, and variable rate or cargo coils for those who load up their vehicles often. Primarily the major and most common varieties have been Linear rate, progressive and the dual rate while the Ford Excursion models use coil springs. Linear rate springs do not change their stiffness while progressive springs present a variable rate for much steadier ride dependent on the driving conditions. Additional springs include dual rate springs which provide two rates for an improved performance. Furthermore, threaded perched coil springs that can be adjusted as the need arises in performance due to changes in the wheel and therefore the tires. On the whole, Ford Excursion coil springs are some of the most important elements that contribute to the vehicle handling and its comfort.
We provide a wide range of Ford Excursion Coil Springs at the best prices possible. If you need Ford Excursion Coil Springs, you can shop with confidence on our website. All our OEM parts come with a manufacturer's warranty and are delivered to your door step with a fast delivery service.
Ford Excursion Coil Springs Parts Questions & Experts Answers
- Q: How to remove and install the front spring on Ford Excursion?A:To disassemble the front spring the following steps should be followed, remove the front wheel, loose the front wheel lug nuts, lift the front of the car off the ground that must be securely placed on jackstands under the frame rails, block the rear wheels, set the parking brake. After that, set a floor jack under the beyond end of the front axle I-beam then unthread the lower end of the shock absorber from the Radius Arm. In addition, if required to gain access, 2WD models require the brake caliper to be disconnected and wire to reduce the pressure of the brake hose. Loosen the retainer bolt situated at the upper end of the spring, and the retainer which locks the spring at the frame part. There is one long extension which should be used from the top and screwing the lower retainer nut is easier if this extension is used. Lower the floor jack to be about midway the car and then remove the spring. For installation, it is necessary to fit the lower retainer and insulator to the front axle and radius arm before pushing forward to fit the forward spring. Place the lower end of the spring over the spring seat followed by the retainer and nut with the upper end of the spring correctly aligned, tight the lower end of the retainer nut to the standard torque. Slightly lift the front axle, align the upper coil of the spring to the front spring tower helix at the frame and lift the front axle until the spring is properly located. In the 2WD models, put in the upper spring retainer, then tighten the bolt to the recommended amount of torque. If brake caliper was removed, the latter is reinstalled, the shock absorber is connected to the radius arm, and the nut is weakened to the required value. After that, the wheel was installed together with the lugs nuts and the vehicle was lowered and the lugs nuts were tightened to the recommended amount of torque.
