
My Garage
My Account
Cart
Genuine Ford Excursion Camshaft
Cam- Select Vehicle by Model
- Select Vehicle by VIN
Select Vehicle by Model
orMake
Model
Year
Select Vehicle by VIN
For the most accurate results, select vehicle by your VIN (Vehicle Identification Number).
7 Camshafts found
Ford Excursion Camshaft
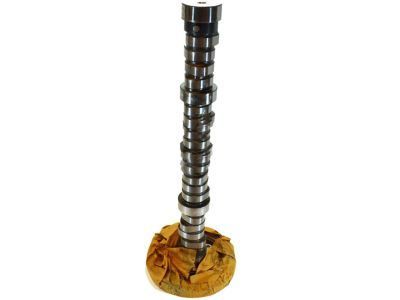
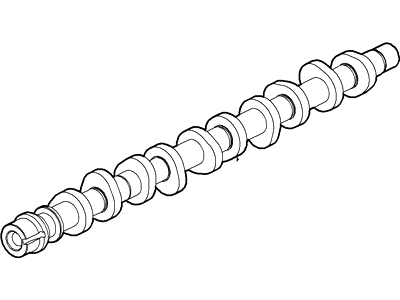
Part Number: 4C3Z-6250-AA$1067.11 MSRP: $1553.97You Save: $486.86 (32%)Ships in 1-3 Business DaysFord Excursion Camshaft
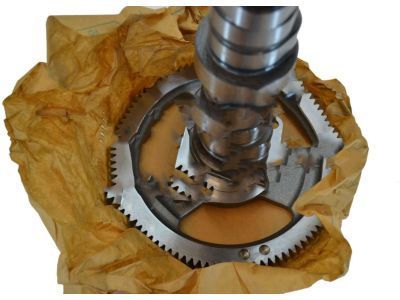
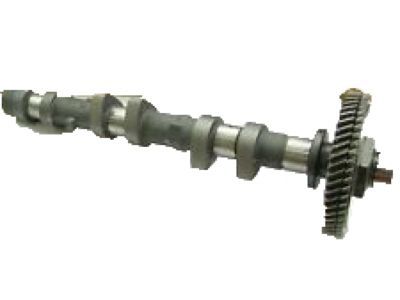
Part Number: YC2Z-6250-AA$211.31 MSRP: $311.67You Save: $100.36 (33%)Ships in 1-2 Business DaysFord Excursion Camshaft
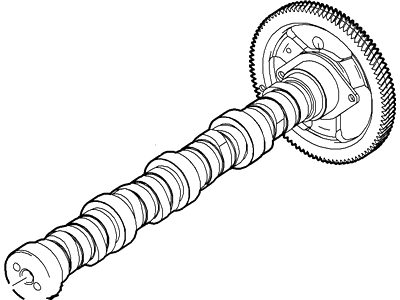
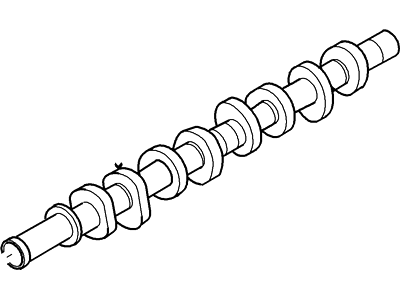
Part Number: 3C3Z-6250-AA$1096.48 MSRP: $1553.97You Save: $457.49 (30%)Ships in 1-3 Business Days
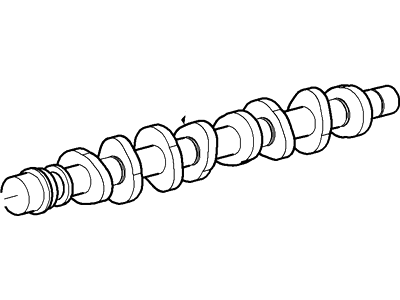
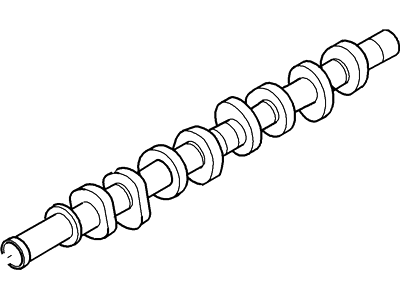
Ford Excursion Camshaft
The camshaft in Ford Excursion automobiles specifically controls the movement of the engine's intake and exhaust valves in relation to the mixture of air and fuel and removal of exhaust gas. The camshaft can be made from iron or steel among others and it works with the help of lifters, pushrods, rocker arms in the Over Head Valve (OHV) engines but employ followers in the Single Over Head Cam (SOHC) and Double Over Head Cam (DOHC) engines. Camshafts could also differ in Ford Excursion Models, these defining features includes lift, duration and the lobe separation angle (LSA). Performance camshafts can improve power and efficiency, that means that depending on the kind of modification a specific car needs, these parts and their designs can vary from simple towing to aggressive racing kind. The operations of the camshaft must be coupled with that of the crankshaft so that the opening and closing of the valves will be perfectly timed with the piston's movements.
We provide a wide range of Ford Excursion Camshaft at the best prices possible. If you need Ford Excursion Camshaft, you can shop with confidence on our website. All our OEM parts come with a manufacturer's warranty and are delivered to your door step with a fast delivery service.
Ford Excursion Camshaft Parts Questions & Experts Answers
- Q: How to remove and install the camshaft on Ford Excursion?A:Disconnect the cable from the negative battery terminal and remove the valve covers. If removing the camshaft from the left Cylinder Head on a V10 engine, remove the balance shaft. Measure the thrust clearance of the camshaft(s) with a dial indicator; if the clearance exceeds the specified value, replace the camshaft or the cylinder head. For 1999 through 2004 2-valve engines, remove the Timing Chains, camshaft sprockets, and spacers, ensuring not to mix up the sprockets marked "LB" and "RB." For 2005 and later 3-valve models, remove the right camshaft first, rotating the crankshaft to the 1 o'clock position and loosening the right camshaft phaser bolt. Use hand tools only on the phasers to avoid damage, and remove the right camshaft position sensor. Ensure the engine is at Top Dead Center, with the exhaust cam lobe for cylinder number one on the exhaust stroke and the intake lobes in the 10 o'clock position; if not, rotate the crankshaft one full turn. Use a special tool to remove the camshaft rocker arms. For the left-side camshaft, remove the left valve cover and check that the left camshaft is in the correct position, with the exhaust lobe for cylinder five on the exhaust valve stroke and the intake lobes in the 9 o'clock position; if not, rotate the crankshaft one full turn. Loosen the left camshaft phaser bolt, remove the left camshaft position sensor, and use a special tool to remove the camshaft rocker arms. For both camshafts, remove the right valve cover and rotate the crankshaft one-half turn to the 7 o'clock position, ensuring not to turn it farther. Use a special tool to lock the timing chain(s) in position and paint alignment marks on the timing chain and sprocket for reinstallation. Remove the camshaft cap bolts in reverse order of the tightening sequence, marking the camshaft bearing caps to indicate their positions, and separate the phaser from the camshaft on 2005 and later models. Loosen the bearing cap bolts only 1/4 turn at a time until they can be removed by hand, and repeat for the other cylinder head. Wipe off the camshafts and visually examine the cam lobes and bearing journals for damage. Measure the diameter of each camshaft journal and the lift of each camshaft lobe, comparing measurements with specifications; replace any camshaft with a diameter less than specified. Check the oil clearance for each camshaft journal by cleaning the surfaces, laying a strip of Plastigage on each journal, installing the camshaft bearing caps, and tightening the cap bolts to torque. Remove the caps and compare the width of the crushed Plastigage to the scale on the envelope; if clearance is too great, replace the camshaft or the cylinder head if the journal diameters are within specifications. Scrape off the Plastigage carefully and check the timing chain tensioner oil feed tube and reservoir for cleanliness before installing the cam caps. If lash adjusters or camshaft followers have been removed, install them in their original locations, apply camshaft installation lube, and install the camshaft(s). Install the camshaft caps in the correct locations, loosely install all bolts, align the camshaft sprockets, and tighten the cap bolts in 1/4-turn increments to the specified torque. For 1999 through 2004 2-valve engines, reinstall the camshaft positioning and retaining tools to set the camshafts at TDC before reinstalling the timing chain(s). For 1999 through 2004 models, install the timing chain cover, and for 2005 and later models, remove the timing chain locking tool(s) after the chains are installed, ensuring the marks on the timing chains and sprockets are aligned. The remainder of the installation follows the reverse of the removal procedure.
