

My Garage
My Account
Cart
Genuine Ford Door Handle
Inside Door Handle- Select Vehicle by Model
- Select Vehicle by VIN
Select Vehicle by Model
orMake
Model
Year
Select Vehicle by VIN
For the most accurate results, select vehicle by your VIN (Vehicle Identification Number).
2935 Door Handles found


Ford Handle Inside
Part Number: 9L3Z-1522601-CB$68.93 MSRP: $103.92You Save: $34.99 (34%)Ships in 1-2 Business DaysProduct Specifications- Other Name: Handle Assembly - Door - Inner; Handle, Inside
- Manufacturer Note: Chrome
- Position: Driver Side
- Replaces: 9L3Z-1522601-CA


 Product Specifications
- Other Name: Handle Assembly - Door - Outer; Handle, Outside
- Position: Driver Side
- Replaces: 7C3Z-2522405-CA


 Product Specifications
- Other Name: Tailgate Handle
- Replaces: XL5Z-9943400-AAE

 Product Specifications
- Other Name: Handle Assembly - Door - Outer; Handle, Outside
- Manufacturer Note: Includes Cable For <26412 Bottom Latch
- Position: Driver Side
- Replaces: 6L5Z-1326605-AAA

 Product Specifications
- Other Name: Handle Assembly - Door - Inner; Control Assembly
- Manufacturer Note: AFTER 6-13-05
- Position: Driver Side
- Replaces: 4C3Z-78431A03-AA


Ford Handle Inside
Part Number: GL3Z-1522600-BB$75.09 MSRP: $117.52You Save: $42.43 (37%)Ships in 1-2 Business DaysProduct Specifications- Other Name: Handle Assembly - Door - Inner; Handle, Inside
- Position: Passenger Side/Driver Side
- Replaces: FL3Z-1522600-BA


Ford Handle Inside
Part Number: F2UZ-1526680-A$53.40 MSRP: $82.40You Save: $29.00 (36%)Ships in 1 Business DayProduct Specifications- Other Name: Handle; Handle, Inside
- Manufacturer Note: Front body side door or back door, w/hinged side doors
- Position: Passenger Side



Ford Handle Outside
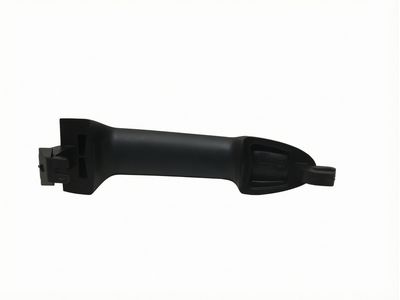
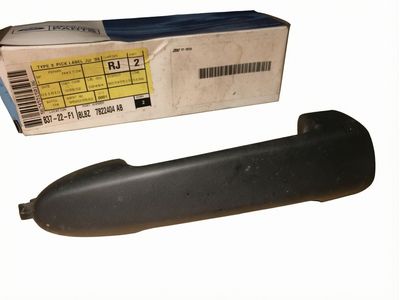
Part Number: 8L8Z-7822404-AB$14.64 MSRP: $20.95You Save: $6.31 (31%)Ships in 1 Business DayProduct Specifications- Other Name: Handle Assembly - Door - Outer; Handle, Outside
- Position: Passenger Side/Driver Side
- Replaces: 2L8Z-7822404-AAA, 8L8Z-7822404-AA


Ford Handle Outside
Part Number: 6C2Z-1543401-AA$54.10 MSRP: $84.67You Save: $30.57 (37%)Ships in 1-2 Business DaysProduct Specifications- Other Name: Handle Assembly - Door - Outer; Handle, Handle, Outside
- Position: Driver Side
- Replaces: F2UZ-1543401-A



Ford Inner Door Handle Assembly
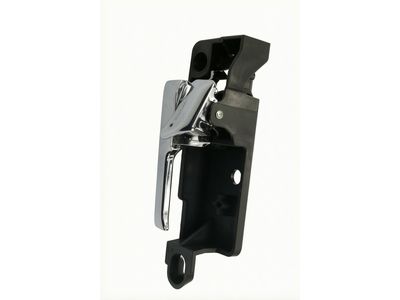
Part Number: BE5Z-5422601-A$60.65 MSRP: $94.92You Save: $34.27 (37%)Product Specifications- Other Name: Handle Assembly - Door - Inner
- Position: Driver Side
- Replaced by: BE5Z-5422601-C


Ford Handle Outside
Part Number: BB5Z-7822404-BA$62.50 MSRP: $96.45You Save: $33.95 (36%)Ships in 1-2 Business DaysProduct Specifications- Other Name: Handle Assembly - Door - Outer; Handle, Outside
- Position: Passenger Side/Driver Side


Ford Handle Outside
Part Number: DS7Z-5422404-AAPTM$54.20 MSRP: $84.82You Save: $30.62 (37%)Ships in 1-2 Business DaysProduct Specifications- Other Name: Handle Assembly - Door - Outer; Handle, Outside
- Position: Passenger Side




Ford Handle Outside
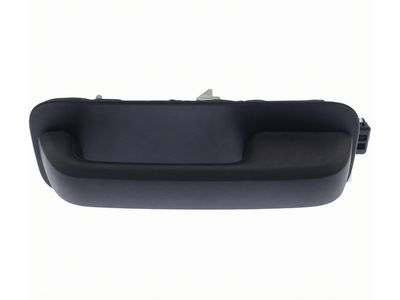
Part Number: FL3Z-1522404-AJ$34.74 MSRP: $52.25You Save: $17.51 (34%)Ships in 1 Business DayProduct Specifications- Other Name: Handle Assembly - Door Outer; Handle, Outside
- Position: Passenger Side
- Replaces: FL3Z-1522404-AF, FL3Z-1522404-AE, FL3Z-1522404-AG, FL3Z-1522404-AA, FL3Z-1522404-AB, FL3Z-1522404-AC, FL3Z-1522404-AD, FL3Z-1522404-AH


Ford Handle Outside
Part Number: 7C3Z-2826604-AA$54.43 MSRP: $85.17You Save: $30.74 (37%)Ships in 1-2 Business DaysProduct Specifications- Other Name: Handle Assembly - Door - Outer; Handle, Outside
- Position: Passenger Side
- Replaces: 6C3Z-2826604-AAA
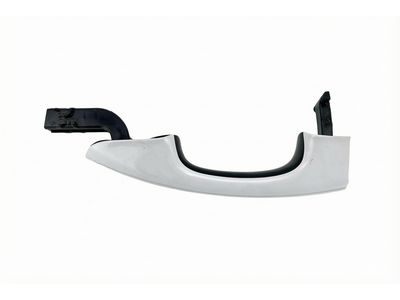
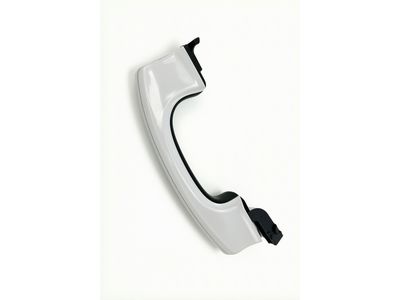
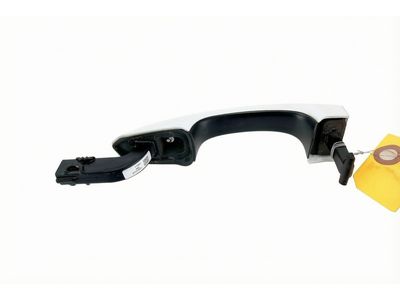

Ford Handle Outside
Part Number: DS7Z-5422405-AAPTM$54.20 MSRP: $84.82You Save: $30.62 (37%)Ships in 1-2 Business DaysProduct Specifications- Other Name: Handle Assembly - Door - Outer; Handle, Outside
- Position: Driver Side


Ford Handle Outside
Part Number: BM5Z-5422404-BAPTM$137.33 MSRP: $214.92You Save: $77.59 (37%)Ships in 1-3 Business DaysProduct Specifications- Other Name: Kit - Handle; Handle, Outside
- Position: Passenger Side/Driver Side
- Replaces: CV6Z-5422404-BA


Ford Handle Inside
Part Number: 8L1Z-7821818-A$50.66 MSRP: $76.20You Save: $25.54 (34%)Ships in 1-3 Business DaysProduct Specifications- Other Name: Control; Handle, Inside
- Manufacturer Note: Handle Attaches To The Window Regulator Assembly
- Position: Passenger Side
- Replaces: 7L1Z-7821818-A

Ford Handle Outside
Part Number: FL3Z-1522404-DJPTM$242.39 MSRP: $317.97You Save: $75.58 (24%)Ships in 1-3 Business DaysProduct Specifications- Other Name: Handle Assembly - Door Outer; Handle, Outside
- Position: Passenger Side
- Replaces: FL3Z-1522404-DBPTM, FL3Z-1522404-DHPTM, FL3Z-1522404-DEPTM, FL3Z-1522404-DGPTM, FL3Z-1522404-DFPTM, FL3Z-1522404-DDPTM, FL3Z-1522404-DCPTM


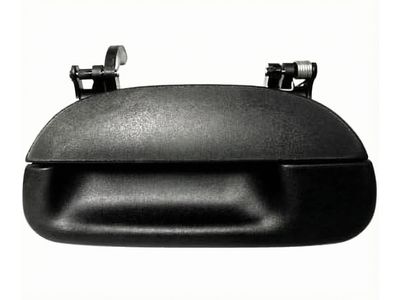
 Product Specifications
- Replaces: F85Z-9943400-AAA

 Product Specifications
- Other Name: Handle Assembly - Door - Inner; Handle, Inside
- Position: Passenger Side
| Page 1 of 147 |Next >
1-20 of 2935 Results
Ford Door Handle Parts Questions & Experts Answers
- Q:How to remove and install outer door handles on Ford Ranger?Posted by Sanford S.A:This process is for front door handles However this can also be done for vertical rear door handles. First, start with door trim panel and locate the water shield and then pull it out. Subsequently, remove the door latch actuator rod from the latch assembly and separate it, accordingly. Place your hand against the door, the palm resting on top of the handle so that the fingers are close to the door lock: the window should be wound down completely and the handle should be held in the unlocked position. Remove both the rivets that keep the handle as part of the door and pulled the handle off. Installation involves reversing the removal steps: place the handle in the door and fit the place of the two pop-rivets.Answered by Ford Parts Specialist George / Jan 01, 2026
- Q:What precautions should be taken when working inside the Door Handle openings, and How to remove and install door trim panels on Ford Taurus?Posted by Yogi C.A:Wear gloves when working inside the door openings to protect against sharp metal edges. Disconnect the cable from the negative battery terminal. For 2009 and earlier models, remove the screw head trim cover from the inside door handle bezel and the screw from the bezel, then pull out the bezel and disconnect the electrical connector. Remove the two screws inside the door pull handle trim panel on the armrest, pry the power window switch and door pull handle trim panel from the armrest as an assembly, and remove the mounting screws around the trim panel perimeter. Detach the door trim panel from its mounting clips by carefully prying loose the clips with a suitable door trim removal tool, then pull the bottom of the panel outwards and lift it up and off of the lock rod, disconnecting any electrical connectors. For 2010 and later models, pry out the sail panel and disconnect the electrical connector if equipped, remove the trim cover from the inside door handle and the bolt, pry the power window switch panel out of the armrest, carefully pry the door panel applique out of the panel with a trim tool, remove the two screws below, and remove the door panel fastener from the armrest. Remove the trim panel screws from the bottom edge, front edge, and rear edge of the door panel, carefully pry out the trim applique, and detach the door trim panel from its mounting clips. Pull the bottom of the panel outwards and lift it up and off of the lock rod, disconnecting the inside door handle cable and any electrical connectors. Prior to installation of the door trim panel(s), reinstall any clips that may have come out when the panel was removed. Position the wire harness connectors for the power door lock switch and the power window switch on the back of the panel, then place the panel in position in the door and press it into place until the clips are seated. The remainder of installation is the reverse of removal.Answered by Ford Parts Specialist Bastien / Dec 11, 2024


Related Ford Parts
 Ford Tailgate Latch
 Ford Door Jamb Switch
 Ford Car Key
 Ford Door Lock Cylinder
 Ford Lift Support
 Ford Door Hinge
 Ford Door Check
 Ford Armrest
 Ford Trunk Latch
 Ford Rear Passenger Door Handle Latch
Browse by Model
Aerostar Door Handle Aspire Door Handle Bronco Door Handle Bronco II Door Handle Bronco Sport Door Handle C-Max Door Handle Contour Door Handle Crown Victoria Door Handle E-150 Door Handle E-250 Door Handle E-350/E-350 Super Duty Door Handle E-450 Super Duty Door Handle E-550 Super Duty Door Handle E-Transit Door Handle Econoline Super Duty(1996-1999) Door Handle EcoSport Door Handle Edge Door Handle Escape Door Handle Escort Door Handle Excursion Door Handle EXP Door Handle Expedition Door Handle Explorer Door Handle Explorer Sport Door Handle Explorer Sport Trac Door Handle F Super Duty Door Handle F-150 Door Handle F-150 Lightning Door Handle F-250 Door Handle F-250 Super Duty Door Handle F-350 Door Handle F-350 Super Duty Door Handle F-450 Super Duty Door Handle F-550 Super Duty Door Handle Fiesta Door Handle Five Hundred Door Handle Flex Door Handle Focus Door Handle Freestar Door Handle Freestyle Door Handle Fusion Door Handle GT Door Handle Maverick Door Handle Mustang Door Handle Mustang Mach-E Door Handle Police Interceptor Sedan Door Handle Police Interceptor Utility Door Handle Police Responder Hybrid Door Handle Probe Door Handle Ranger Door Handle SSV Plug-In Hybrid Door Handle Taurus Door Handle Taurus X Door Handle Tempo Door Handle Thunderbird Door Handle Transit Connect Door Handle Transit Door Handle Windstar Door Handle