

My Garage
My Account
Cart
Genuine 2007 Ford Focus Flywheel
Clutch Flywheel- Select Vehicle by Model
- Select Vehicle by VIN
Select Vehicle by Model
orMake
Model
Year
Select Vehicle by VIN
For the most accurate results, select vehicle by your VIN (Vehicle Identification Number).
3 Flywheels found
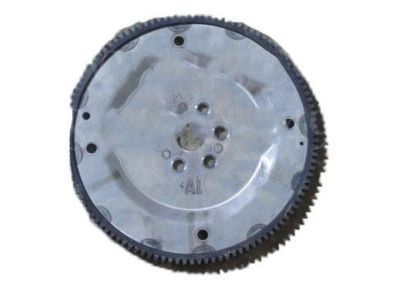
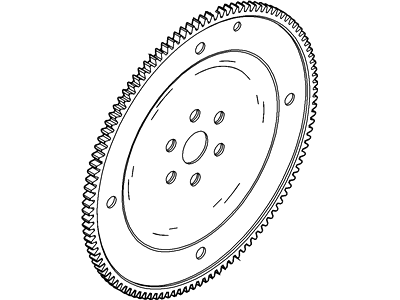
2007 Ford Focus Flywheel Assembly
Part Number: 1L8Z-6375-AA$72.27 MSRP: $109.50You Save: $37.23 (34%)Ships in 1 Business DayProduct Specifications- Manufacturer Note: A/T
- Replaced by: 1S7Z-6375-E
- Item Weight: 3.80 Pounds
- Item Dimensions: 12.4 x 12.7 x 1.4 inches
- Condition: New
- Fitment Type: Direct Replacement
- SKU: 1L8Z-6375-AA
- Warranty: This genuine part is guaranteed by Ford's factory warranty.
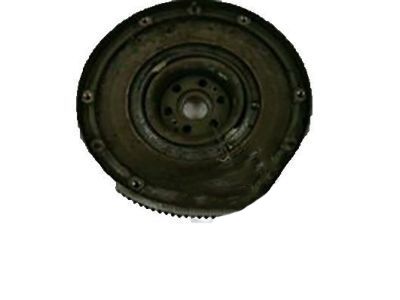
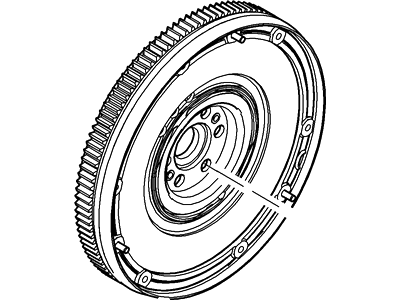
2007 Ford Focus Flywheel Assembly
Part Number: 3S7Z-6375-MA$772.28 MSRP: $1161.67You Save: $389.39 (34%)Product Specifications- Other Name: Flywheel
- Replaced by: BM5Z-6477-B
- Base No.: 6375
- Item Weight: 27.80 Pounds
- Item Dimensions: 2.9 x 12.7 x 12.2 inches
- Condition: New
- Fitment Type: Direct Replacement
- SKU: 3S7Z-6375-MA
- Warranty: This genuine part is guaranteed by Ford's factory warranty.
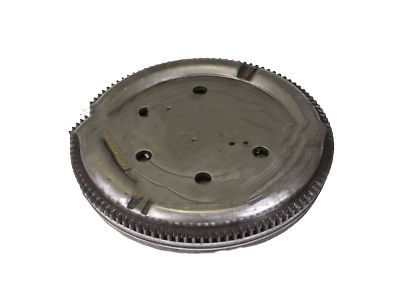
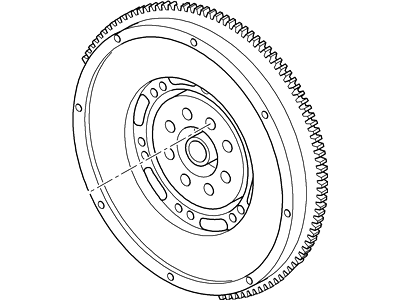 Product Specifications
- Other Name: Flywheel Assy; Flywheel
- Manufacturer Note: Split mass flywheel, M/T,
- Base No.: 6375
- Item Weight: 25.80 Pounds
- Condition: New
- Fitment Type: Direct Replacement
- SKU: 3S7Z-6375-AAA
- Warranty: This genuine part is guaranteed by Ford's factory warranty.
2007 Ford Focus Flywheel
At FordPartsGiant.com, you will find an extensive inventory of genuine 2007 Ford Focus Flywheel offered at competitive prices online. These manufacturer-backed OEM 2007 Ford Focus Flywheel ensure your satisfaction with their quality and come with a hassle-free return policy and expedited delivery service, guaranteeing a delightful shopping experience.
2007 Ford Focus Flywheel Parts Questions & Experts Answers
- Q:How to remove, inspect, and install the flywheel in 2.0L zetec-e engine on 2007 Ford Focus?Posted by Jin O.A:To perform the removal of the transaxle, some other sub-assemblies of the car, for example, oil seals should be checked and if possible replaced. Then, disconnect the clutch and examine or replace the clutch parts and the bearing of the release. It is convenient to mark on the flywheel and crankshaft to ease replacement since the bolt holes are slightly displaced. To hold the flywheel stationary, use one of several methods: have an assistant tighten the bolts while simultaneously spinning the screwdriver's starter ring gear teeth against the ring gear, use a piece of angle-iron resting flat on the ring gear and the bolt holding the transaxle in place or fashion a flat metal bar from a piece of scrap metal, place this up against the ring gear and secure with a transaxle bolt. Easing off and unscrewing each of them should be done and new bolts be sourced for reuse because of the extreme forces they receive. Remove the large flywheel slowly to prevent accidental dropping of the same. Wash the flywheel to wipe off the accumulated grease and oil, in the course of which check for any crack, rivet grove burn area & score marks is done while existing score marks can be polished off with emery cloth. Inspect the ring gear teeth for crack and put the flywheel on a flat surface and inspect it for warpage. Check the flywheel and crankshaft and mating surfaces, replace the oil seal if it is leaking, especially when the car is old or it has a high mileage. When the flywheel is out, you should clean the face of flywheel that was inboard and the tip of the sensor, make sure the sensor is tight enough. During the reassembly process make sure that the engine/transaxle adapter plate is securely installed; align the flywheel with the crankshaft just as it was done when removing them; use new bolts in replacing the old ones and only slightly tighten. Same as in dismantling: Lock the flywheel using the same method as during dismantling, after that, tighten new bolts in diagonal sequence to the torque setting in two or three stages.Answered by Ford Parts Specialist Sonny / Nov 05, 2025
Related 2007 Ford Focus Parts
 2007 Ford Focus Motor And Transmission Mount
 2007 Ford Focus Clutch Disc
 2007 Ford Focus Clutch Slave Cylinder
 2007 Ford Focus Clutch Master Cylinder
 2007 Ford Focus Automatic Transmission Shifter
 2007 Ford Focus Clutch Hydraulic Line
 2007 Ford Focus Automatic Transmission Rebuild Kit