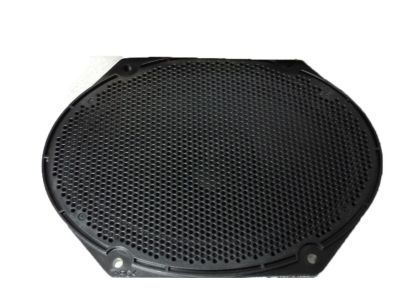
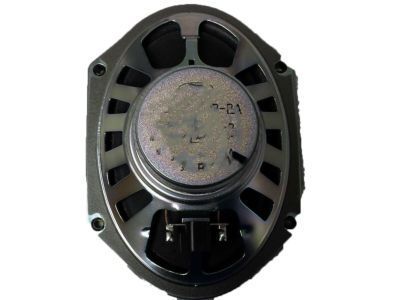
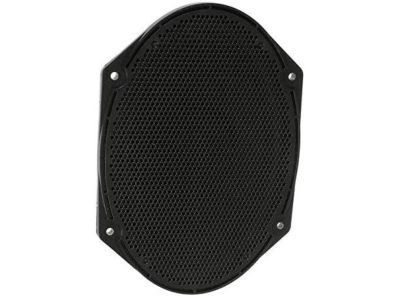
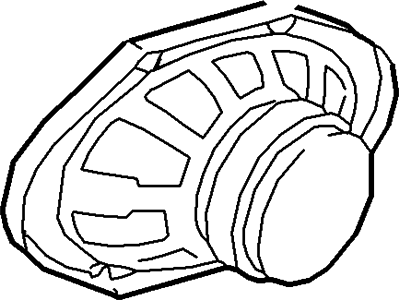
Disconnect the cable from the negative battery terminal. For 1991 and earlier models, remove the screws and detach the bezel, then take out the mounting screws. Slide the radio/CD unit out, support it, disconnect the ground cable, antenna, and electrical connectors, and remove the assembly from the instrument panel, with installation being the reverse of removal. For 1992 and later models, the radio receiver and CD player assemblies are secured by special clips that require radio removal tools or U-shaped coathanger wire to release. Insert the tools into the holes at the corners of the assembly until the internal clips release, then flex out on both tools while pulling the assembly out, disconnecting the antenna and electrical connectors before removing the unit from the vehicle. To install, plug in the electrical connectors, slide the radio or CD player into the instrument panel until the clips snap in place. For door-mounted speakers, remove the door trim panel, take out the mounting screws, withdraw the speaker, unplug the electrical connector, and remove the speaker from the vehicle, with installation being the reverse of removal. For rear quarter panel mounted speakers, remove the screws and pry off the speaker grille, then take out the retaining screws, withdraw the speaker, unplug the electrical connector, and remove the speaker from the vehicle, with installation being the reverse of removal. For package shelf mounted speakers, open the trunk lid, work under the package tray to unplug the electrical connector, remove the retaining screws/nuts or detach the clips, then lower the speaker and remove it from the vehicle, with installation being the reverse of removal.
Posted by FordPartsGiant Specialist