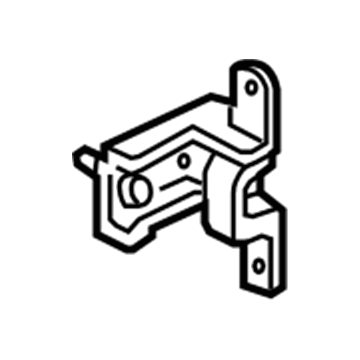
You'll need more than one person to remove and install the door, as it is very heavy and awkward to deal with. This applies to the front and rear door. To begin with, raise the window all the way then detaches the cable from the negative terminal. Fully open the door and hold the door with a jack or blocks wrapped in rags to avoid damaging the outer surface. Take off the rubber conduit casing that protects the wire harness of the door and disconnect the connector Then, remove the bolt of the door stop strut, followed by marking the door hinges to aid alignment during reassembly. Take off the fasteners that secure the hinge to the door, and lift the door off with assistance. Reverse this procedure to install. To assess if adjustment is needed, fully open the door and lift it up and down to see if there is excessive play in the hinge pins. If there is 1/16-inch or more replacement must be done. Front fender must be removed to adjust or replace hinges on a front door. To make door-to-body alignment adjustments, loosen the hinge-to-body or hinge-to-door bolts. The top of each door should be parallel with the roof, the front door should be flush with the fender, the rear door should be flush with the rear quarter panel, and the bottom of each door should align with the lower rocker panel. Should adjustments prove inadequate, utilize body alignment shims behind the hinges. To adjust the position of the door when closed use a marker and trace around the striker plate to indicate the correct position. Ensure that the door latch contacts the centre of the striker plate. Adjust the up and down position first. If need be, gently tap the striker plate to move it to the correct area. In the end, side adjustment of the latch striker is required such that the door panel is flush with the Centre Pillar or Rear Quarter Panel and engages positively with the latch.