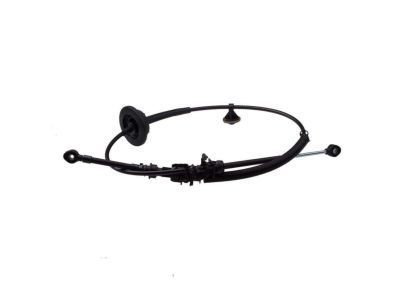
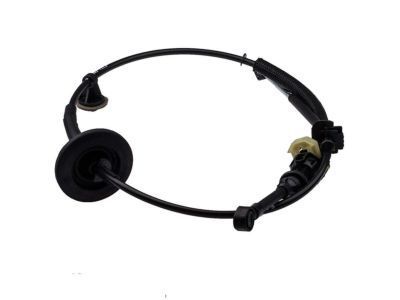
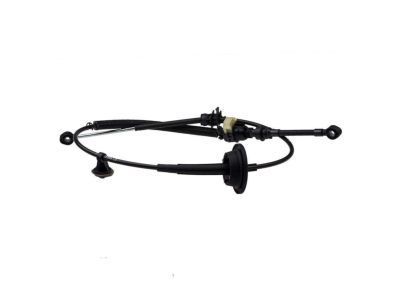
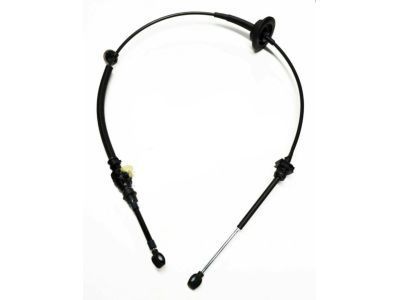
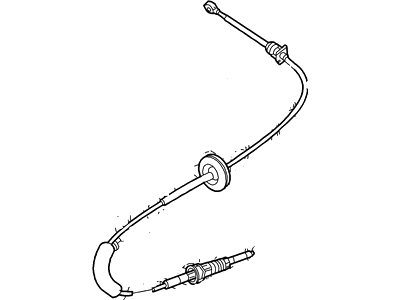
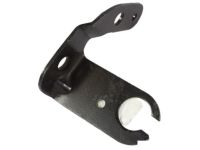
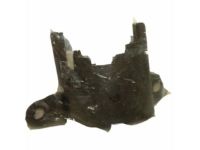
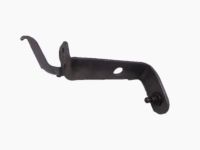
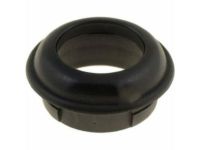
Use a screwdriver to pry the end fitting from the steering column lever ball stud, working by feel as the shift cable end and bracket are difficult to see under the dash. Remove the nuts securing the shift cable bracket to the steering column bracket and take off the bracket. Raise the vehicle and support it securely on jack stands, ensuring that the air suspension switch is turned to the OFF position if the vehicle has Automatic Ride Control to prevent damage to the system components. While working under the vehicle, pull down on the lock tab on the shift cable and remove the fitting from the manual lever ball stud with a screwdriver, then use the screwdriver to pull up the locking tab at the cable bracket. Press in on the retaining tabs to disengage the cable from the transmission bracket, slide the cable down from the transmission bracket, and remove it. Remove the driver's knee bolster and disconnect the cable at the shift lever at the base of the steering column, followed by disconnecting the cable from the bracket at the column base. Push the rubber floor grommet out and feed the cable through the floor. Installation is the reverse of removal with the addition of adjusting the shift linkage and then removing the jack stands to lower the vehicle to the ground.