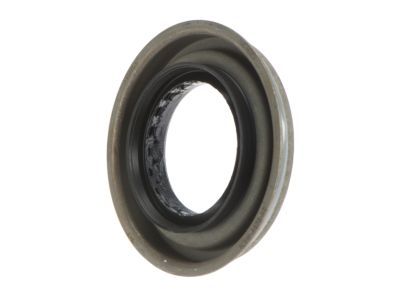
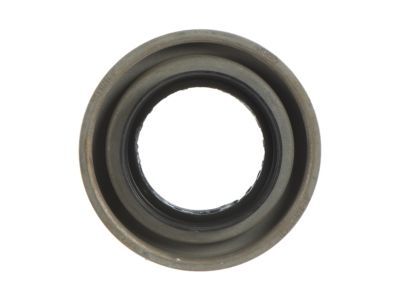
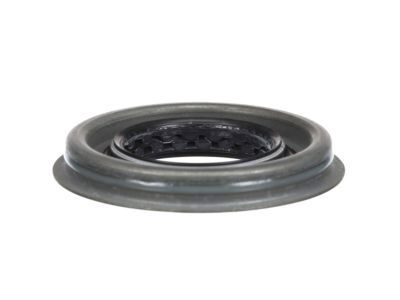
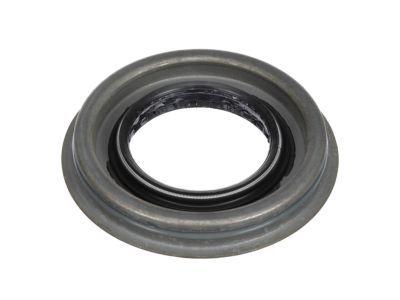
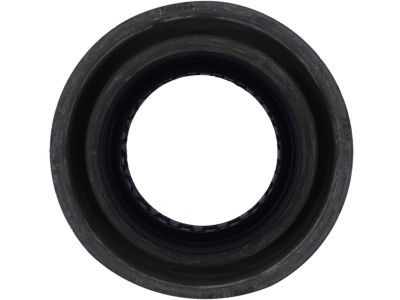
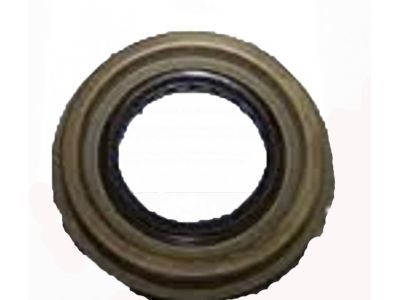
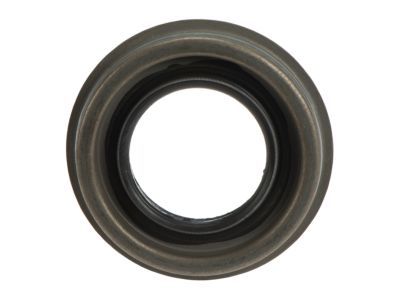
If the vehicle is equipped with air suspension, turn off the air suspension system. The switch is located in the area of the right kick panel. Loosen the rear wheel lug nuts, raise the rear of the vehicle and support it securely on jackstands. Block the front wheels to keep the vehicle from rolling off the stands. Remove the wheels, this will allow you to obtain a more accurate pinion shaft preload reading. Disconnect the driveshaft and fasten it out of the way. Use an inch-pound torque wrench to check the torque required to rotate the pinion. Record it for use later. Put alignment marks on the pinion shaft, nut and flange. Count the number of threads visible between the end of the nut and the end of the pinion shaft and record it for use later. A special tool can be used to keep the companion flange from moving while the self-locking pinion nut is loosened. If the special tool isn't available, insert a screwdriver through one of the bolt holes. Remove the pinion nut. Remove the companion flange. It may be necessary to use a two or three-jaw puller to pull off the flange. Do NOT attempt to pry behind the flange or hammer on the end of the pinion shaft. Pry out the old seal and discard it. Lubricate the lips of the new seal with high-temperature grease and tap it evenly into position with a seal installation tool or a large socket. Make sure it enters the housing squarely and is tapped in to its full depth. Align the mating marks made before disassembly and install the companion flange. If necessary, tighten the pinion nut to draw the flange into place. Do not try to hammer the flange into position. Apply non-hardening sealant to the ends of the splines visible in the center of the flange so oil will be sealed in. Install the washer (if equipped) and pinion nut. Tighten the nut carefully until the original number of threads are exposed. Measure the torque required to rotate the pinion and tighten the nut in small increments until it matches the figure recorded earlier. In order to compensate for the drag of the new oil seal, the nut should be tightened more until the rotational torque of the pinion slightly exceeds what was recorded earlier, but not by more than 5 in-lbs. Connect the driveshaft, install the wheels and lower the vehicle. Tighten the lug nuts.