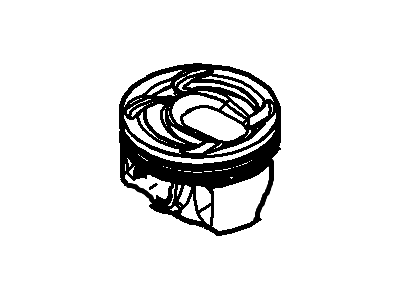
Before disassembling the piston and connecting rod assemblies, therefore, other parts such as the cylinder head and the oil pan have to be detached. Feel with your fingernail if there is ridge at the top of the ring travel indication which if present must be machined off using special tool since failure to do so would cause the piston to break. When you have eliminated the ridges, rotate the engine in a manner that the crankshaft is upright position and then, you will continue to remove the balance shaft assembly of four cylinder engines. Feel with feeler gauges the connecting rod end play before releasing main bearing caps or connecting rods and make sure it is within the prescribed limit. The connecting rods and caps shall be marked and the connecting rod cap bolts loosened and removed to remove the number one connecting rod cap and the bearing insert without dropping the insert. Extrude the connecting rod/piston assembly out through the top of the engine with the caution of making sure all the materials on the ridge are clear. Do the same for rest of cylinders; reattach the connecting rods' caps and bearing inserts in their correct places and safeguard the old bearing inserts during the process. The pistons as well as the connecting rods can now be inspected, and having been lubricated last time, may now need some detailing. Always check the ring end gaps before fitting new piston rings in the cylinder as well as check the piston ring side clearance. Spread the piston-connecting rod assemblies and new rings on bench so that they can easily be paired during the assembly process. Place the top ring to the first cylinder and using the feeler gauges, ensure the end gap is correct and adjust if it is not. The oil control ring must be positioned and fitted well before the middle and the top rings are positioned in the right orientation. Cylinder walls should also be free from rust and debris, edges of the cylinder and the crankshaft should also be chamfered before installation. Screw off and lightly clean the bearing surfaces then place new upper and lower bearing inserts without applying any lubricant. Align the gap of the piston ring at the 0-degree, 90-degree, 180-degrees, and 270-degree, lubricate the piston rings, and use the piston ring compressor for the compression of the rings. Measure the oil clearance of connecting rod bearing using Plastigage, after make sure that the surface is free from any oil. If the clearance is not as specified check the bearing sizes and the journal diameter. After checking, spread the same layer of grease on faces of the bearing, put the rod cap and new bolts and tighten them to the prescribed revolutions. This is done so for the remaining assemblies while paying attention to cleanliness and the orientation of other assemblies. Following installation again turn the crankshaft to see if it binds anywhere and at the same time check the end play at the connecting rod to the crank journal. Last of all, add extra components applicable to a given model of an engine if required.