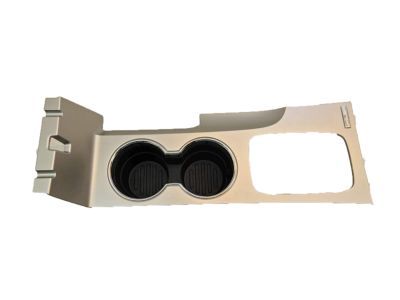
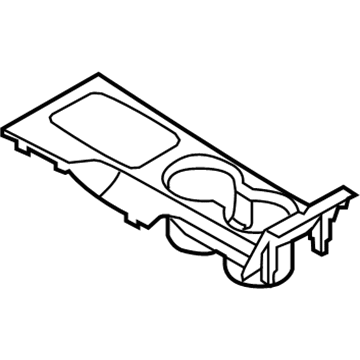
For 2012 and earlier models, pull the front seats to the 'forward most' position and remove two rear console screws and push the seats back to the 'back most'. First, people should take a trim removal tool to remove the shift lever trim ring from the console. One two, remove the storage bin from the console through some prying, three, lift the bin out from the console, and finally, four, pull the electrical connector off the bottom. With a certain pressure, release the console finish panel from the mounts located at both sides. Take out bolts at the upper rear corners and forward of the console and inner bolts located within the center consul. There is no access to the center bolts; you have to unscrew the two on the forward end of the console, lift it off, and disconnect all the electrical connectors to get the center console out. For 2013 and later models, move the front seats as far back as possible and angle them as far back as they will go. Pop off the console edge trim strips using a trim tool from both sides, pop out the left and right side trim panels. Pop the bottom half of the trim ring at the area of the shift lever up and pull upwards the shift console trim panel. From the shift lever, use a flat head screwdriver to pry out the upper half of the trim ring which is connected to the console as well as the instrument panel but should be handle with a lot of care. Lift the console finish panel to remove the electrical connectors, and lift the shift lever trim panel, as well. Unscrew the screws around the lower edge of the console and the two screws in front, firstly, raise the rear part of the console to release the clips which are invisible, then pull it upwards to take the console out. Installation is a process that involves the act of fastening, implanting or setting of an object, part, or device as a whole or in parts into a hole, space, or cavity provided for it to perform or sustain a specific function or purpose through mechanical means.
Posted by FordPartsGiant Specialist 


