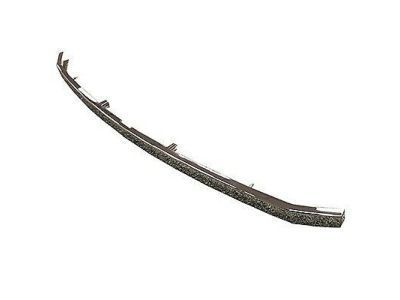
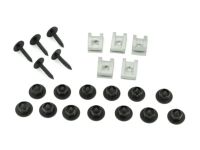
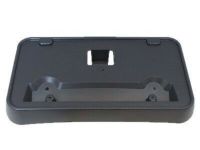
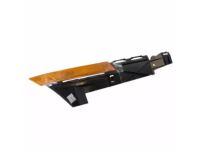
To begin, remove the front bumper cover. For 2006 through 2009 models of the Fusion, detach the manufacturer nameplate by removing the two nuts securing it to the radiator grille, then pull it off. To remove the upper or lower radiator grille, take out the grille mounting nuts; the lower grille is also held by locator pins that need to be squeezed together and pushed out from the backside. Disengage the mounting tabs to remove the radiator grille reinforcement, and installation follows the reverse order. For the Milan, detach the upper radiator grille from the clips on the bumper cover, then remove the lower radiator grille trim outer cover and the lower radiator grille itself, with installation also being the reverse of removal. For 2010 through 2012 models, first remove the two upper and two center radiator grille nuts, followed by the badge nuts and the badge itself. Next, take off the upper and center radiator grilles from the grille reinforcement, then remove the reinforcement and the nine lower radiator grille molding clips before taking out the lower radiator grille and molding, with installation reversing the removal steps. For the Milan, remove the two upper radiator grille nuts, the upper grille reinforcement, the upper grille and badge, the front bumper cover valence screws, and the lower radiator grille, with installation being the reverse of removal. For 2013 and later models, remove the grille shutter assembly mounting bolts from each corner, lower the assembly to expose the grille shutter actuator connector, disconnect the electrical connector, and remove the shutter assembly, with installation reversing the removal process.
Posted by FordPartsGiant Specialist 

