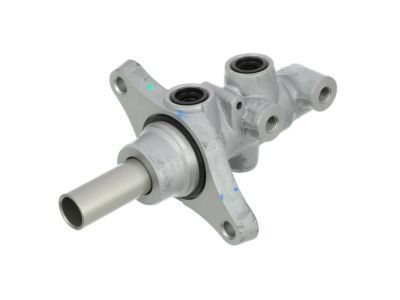
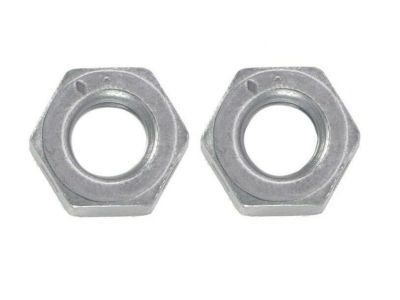
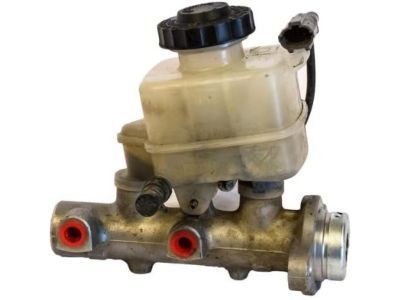
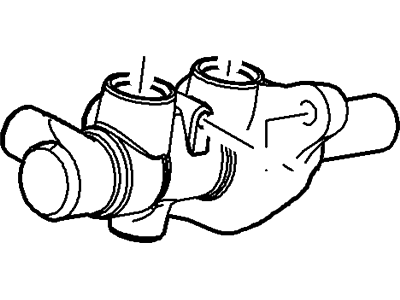
To remove the Brake Master Cylinder, first pump the brakes several times until the pedal feels hard to evacuate any vacuum from the brake booster, as failing to do so may cause the Brake Master Cylinder O-ring to be drawn inside the brake booster, leading to failure. The Brake Master Cylinder is located in the engine compartment, mounted to the power brake booster. Begin by using a syringe to remove as much fluid as possible from the reservoir. Place rags under the fluid fittings and prepare caps or plastic bags to cover the ends of the lines once disconnected, taking care to avoid spilling brake fluid, which can damage paint. For manual transaxle models, disconnect the clutch master cylinder supply hose from the brake fluid reservoir and pinch it shut with a clamp. Loosen the fittings at the ends of the brake lines where they enter the Brake Master Cylinder, using a flare-nut wrench to prevent rounding off the corners. Pull the brake lines slightly away from the Brake Master Cylinder and plug the ends to prevent contamination. Disconnect the electrical connector at the brake fluid level switch on the Brake Master Cylinder reservoir, then remove the nuts attaching the Brake Master Cylinder to the power booster and carefully pull it out of the engine compartment, avoiding fluid spillage. If installing a new Brake Master Cylinder, transfer the reservoir from the old one, ensuring to install new seals and O-rings. Before installation, bench bleed the new Brake Master Cylinder by mounting it in a vise and attaching bleeder tubes to the outlet ports, filling the reservoir with the recommended brake fluid. Slowly push the pistons into the Brake Master Cylinder to expel air, repeating until no more bubbles are present. After removing the bleed tubes, install plugs in the open ports and the reservoir cap. Install the Brake Master Cylinder over the studs on the power brake booster, tightening the attaching nuts only finger tight, and ensure a new O-ring is installed. Thread the brake line fittings into the Brake Master Cylinder, adjusting the position slightly if needed to avoid stripping the threads. Tighten the mounting nuts to the specified torque and secure the brake line fittings. Fill the Brake Master Cylinder reservoir with fluid, then bleed the Brake Master Cylinder and brake system by having an assistant depress the brake pedal while loosening the fitting to allow air and fluid to escape, repeating until the fluid is clear of air bubbles. Keep rags handy to catch any fluid, as it can ruin painted surfaces, and rinse the area under the Brake Master Cylinder with clean water after bleeding. Finally, test the operation of the brake system carefully before returning the vehicle to normal service.
Posted by FordPartsGiant Specialist