My Garage
My Account
Cart
This part fits
2001 Ford Explorer Sport Trac 6 Cyl 4.0L SOHC EFI
Check another vehicle- Fit Note: 6 Cyl 4.0L SOHC EFI
- Production Date: 07/2000-06/2005
Ford 1L2Z-9B593-FA Fuel Tank Vent Valve
2001-2002 Ford 1L2Z9B593FA
Customer Questions & Expert Answers (1)


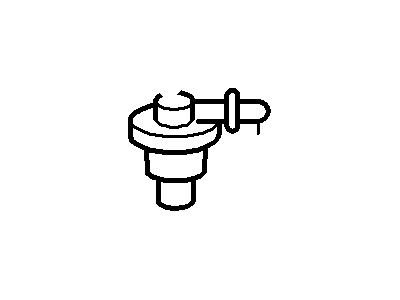
- Part DescriptionValve Assembly - Fuel Vapour
- Base No.9B593
- ManufacturerFord
- Manufacturer's NotesThis part is discontinued.
This part fits
2001 Ford Explorer Sport Trac 6 Cyl 4.0L SOHC EFI
Check another vehicle- Fit Note: 6 Cyl 4.0L SOHC EFI
- Production Date: 07/2000-06/2005
- Related Parts
- Specifications
- Q&A
Product Specifications
Brand Genuine Ford Base No. 9B593 Manufacturer Part Number 1L2Z-9B593-FA, 1L2Z9B593FA Part Description Fuel Tank Vent Valve; Valve Assembly - Fuel Vapour Item Weight 0.50 Pounds Condition New Fitment Type Direct Replacement Manufacturer Ford SKU 1L2Z-9B593-FA Warranty This genuine Ford part is guaranteed by Ford's factory warranty. Shipping & Return Shipping Policy Return Policy Warning: California's Proposition 65Customer Questions & Expert Answers
- Installation & Repair Tips by AI Expert
- Removal: 1. Park on level ground, set parking brake, chock wheels, and work in a well-ventilated area away from open flames or sparks. 2. Relieve fuel system/EVAP pressure per common practice for your vehicle type (procedures vary - consult a manual) and wear safety glasses and gloves. 3. Disconnect the negative battery cable and isolate the battery before touching any electrical connectors. 4. Raise and support the vehicle with appropriate lifts or jack stands if access requires it. 5. Locate the vent valve assembly access - commonly via an under-vehicle area, an access panel, or by lowering the fuel tank; the exact access method varies by design. 6. Clean the surrounding area to keep dirt out of connections before opening hoses or connectors. 7. Label and photograph vacuum/vent hoses and electrical connectors to ensure correct reassembly. 8. Disconnect the electrical connector(s) and any vacuum or vent hoses; use care with plastic fittings and clips as designs differ. 9. Remove any retaining fasteners or brackets that hold the valve; types and locations vary by vehicle. 10. Extract the vent valve and associated grommet or seal, noting orientation and seal condition for replacement. Installation: 1. Compare the new valve to the old one; transfer any required seals or grommets or install new ones as needed. 2. Lubricate replacement grommets or O-rings lightly with clean fuel-compatible lubricant if recommended by part instructions. 3. Position the valve and seat it fully in the grommet/seal, ensuring correct orientation. 4. Reinstall retaining hardware or brackets and secure the valve; tighten fasteners to the vehicle manufacturer's specifications. 5. Reconnect vacuum/vent hoses and electrical connectors to their correct locations using your labels/photos as a guide. 6. Reinstall any access panels or return the fuel tank to its original position if it was lowered. 7. Reconnect the negative battery cable. 8. Turn the ignition to ON (do not start) several times to allow the fuel pump to prime and to pressurize the EVAP system; check carefully for leaks around the valve and hose connections. 9. Start the engine and observe for fuel odors, leaks, or abnormal operation; clear and scan for diagnostic trouble codes and verify EVAP system readiness with a scan tool if available. 10. Repair tip: replace any brittle hoses, cracked grommets, or one-time clamps while you have access, and use new clamps or fittings to ensure a reliable seal.