

My Garage
My Account
Cart
This part fits
2006 Lincoln LS
Check another vehicle- Fitting Vehicle Options: 6 Cyl 3.0L DOHC EFI Modular, 8 Cyl 3.9L DOHC EFI NA
- Production Date: 03/2005-04/2006
Ford 5W4Z-8A080-AA Radiator Overflow Tank Assembly
2000-2006 Ford 5W4Z8A080AA
Customer Questions & Expert Answers (2)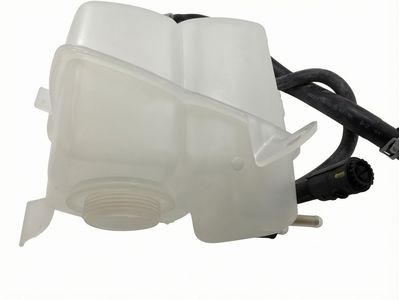
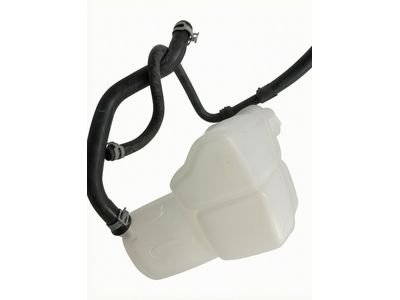
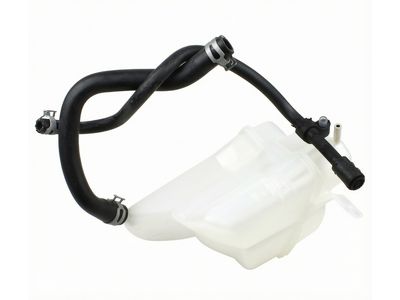
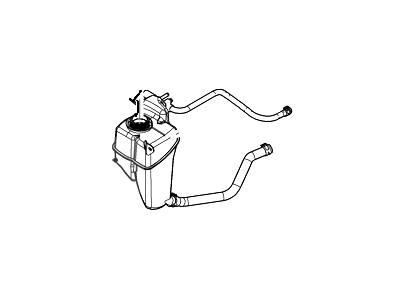
- Part DescriptionTank Assy - Radiator Overflow
- Base No.8A080
- Replaces
- ManufacturerFord
This part fits
2006 Lincoln LS
Check another vehicle- Fitting Vehicle Options: 6 Cyl 3.0L DOHC EFI Modular, 8 Cyl 3.9L DOHC EFI NA
- Production Date: 03/2005-04/2006
$160.30 MSRP: $376.28
You Save: $215.98 (58%)
1
- Related Parts
- Specifications
- Q&A
Product Specifications
Brand Genuine Ford Base No. 8A080 Manufacturer Part Number 5W4Z-8A080-AA, 5W4Z8A080AA Part Description Tank Assy - Radiator Overflow Other Names Reservoir Item Dimensions 14.1 x 13.6 x 11.4 inches Item Weight 3.50 Pounds Condition New Fitment Type Direct Replacement Replaces XW4Z-8A080-AA Manufacturer Ford SKU 5W4Z-8A080-AA Warranty This genuine Ford part is guaranteed by Ford's factory warranty. Shipping & Return Shipping Policy Return Policy Warning: California's Proposition 65Customer Questions & Expert Answers
- Q:Will these fit my car and if not which part will? Thank you. Posted by FordPartsGiant Specialist
- A:You can Select Your Vehicle to check if 5W4Z-8A080-AA fits your vehicle.Posted by FordPartsGiant Specialist
- Installation and Repair Tips by AI Expert
- Removal steps 1. Park on level ground, set the parking brake, and allow the engine and cooling system to cool completely to avoid scalding. 2. Place a suitable drain pan beneath the vehicle to catch spilled coolant. 3. Disconnect the negative battery terminal and tuck the cable away to prevent accidental shorts. 4. Carefully relieve any residual system pressure only when cool by slowly opening the coolant filler or radiator cap if required by the procedure. 5. If necessary, partially drain coolant to a level below the reservoir hose connections to limit spills; capture and store old coolant for proper disposal. 6. With the battery disconnected, unplug any electrical connector(s) for the reservoir level sensor(s) and label connectors if there are multiple. 7. Loosen or remove hose clamps and disconnect hoses from the reservoir; plug or cap hoses to minimize dripping. 8. Remove the reservoir's mounting fasteners and any retaining clips-mounting methods vary by design, so note how it was secured. 9. Lift the reservoir out carefully, keeping it level to avoid additional spills and watching for trapped hoses or wiring. Installation steps 1. Verify the replacement reservoir matches the original (fittings, sensor bosses, and vent connections) before installation. 2. Transfer or install any grommets, seals, or level sensor(s) onto the new reservoir as required. 3. Position the reservoir in place and install the mounting fasteners-tighten until secure but avoid overtightening. 4. Reattach hoses fully and reinstall clamps; position clamps over the hose bead and ensure a snug fit. 5. Reconnect electrical connector(s) to the level sensor(s). 6. Refill the cooling system with the correct coolant type and mixture per manufacturer guidance to the proper level. 7. Bleed air from the system using the vehicle's specified method (commonly heater on high, open bleed screws if present, or run until thermostat opens) while monitoring the reservoir level. 8. Inspect all hose connections, sensor fittings, and the reservoir for leaks with the engine cold and again at operating temperature. 9. Reconnect the negative battery terminal and ensure all tools and rags are removed from the engine bay. 10. After a short drive and cool-down, recheck coolant level and top up if needed; properly dispose of recovered coolant. 11. Repair tip: replace deteriorated hose clamps and any brittle hoses or O-rings during installation to prevent future leaks.
- Q:
Why choose Ford Parts Giant
- Dedicated Service
Your complete satisfaction is our #1 goal
- Lowest Prices
Best deals on genuine OE parts from dealerships
- Fast Delivery
Orders are processed and delivered promptly