My Garage
My Account
Cart
Additional information needed to check if this part fits
2004 Lincoln LS
Check another vehicle- Fitting Vehicle Options: 8 Cyl 3.9L DOHC EFI NA
- Production Date: 11/2002-04/2006
Ford 2W9Z-6256-AA Sprocket
2003-2006 Ford 2W9Z6256AA
Customer Questions & Expert Answers (1)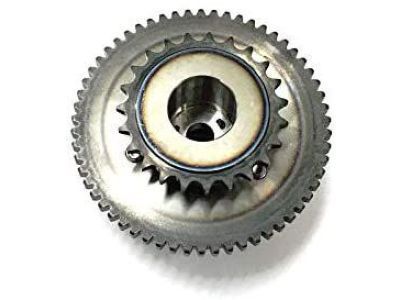
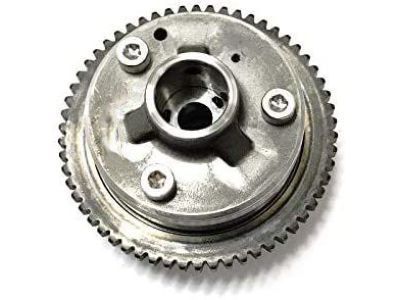
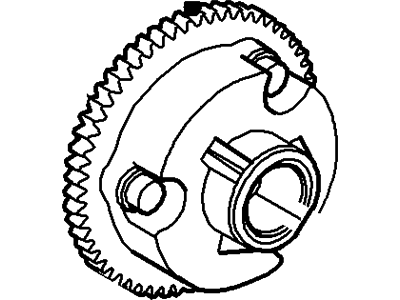
- Part DescriptionSprocket
- When Replacing You Must Also Order 2W9Z-6A340-AA Bolt
- Base No.6256A
- ManufacturerFord
- Require Quantity2
- Package Quantity1
- Manufacturer's NotesThis part is discontinued.
Additional information needed to check if this part fits
2004 Lincoln LS
Check another vehicle- Fitting Vehicle Options: 8 Cyl 3.9L DOHC EFI NA
- Production Date: 11/2002-04/2006
- Related Parts
- Specifications
- Q&A
Product Specifications
Brand Genuine Ford Base No. 6256A Manufacturer Part Number 2W9Z-6256-AA, 2W9Z6256AA Part Description Sprocket Other Names Exhaust Gear, Intake Gear Manufacturer Note When Replacing You Must Also Order 2W9Z-6A340-AA Bolt Item Dimensions 6.8 x 6.6 x 1.8 inches Item Weight 4.10 Pounds Condition New Fitment Type Direct Replacement Require Quantity 2 Manufacturer Ford SKU 2W9Z-6256-AA Warranty This genuine Ford part is guaranteed by Ford's factory warranty. Shipping & Return Shipping Policy Return Policy Warning: California's Proposition 65Customer Questions & Expert Answers
- Installation & Repair Tips by AI Expert
- Removal: 1. Park on a level surface, engage parking brake, chock wheels, wear eye protection and gloves. 2. Disconnect the negative battery cable and secure it away from terminals. 3. Remove any components that block access to the cam gear area (commonly intake tract, engine covers, accessory brackets or timing cover) to gain clear working space. 4. If removal requires unbolting an engine mount or otherwise supporting the engine, support it securely with a jack and pad or an engine support bar. 5. Before disturbing the timing system, visibly mark the relationship between the cam gear, the timing belt/chain, and the crankshaft so the exact timing can be restored; use paint or scribe marks. 6. Relieve tension from the timing belt or chain by following the design-specific procedure for the tensioner so the cam gear can be removed safely. 7. Prevent camshaft rotation using an appropriate holding tool or method, then remove the cam gear retaining fastener(s) and withdraw the gear from the shaft. 8. Inspect the gear, key/keyway, and mating surfaces for wear or damage and set the removed parts aside in an organized way. Installation: 1. Clean the camshaft and gear mounting surfaces; confirm the replacement gear matches the original. 2. Position the camshaft and timing reference marks to the previously made marks and fit the cam gear onto the shaft in the same orientation. 3. Hold the camshaft from turning and install the cam gear retaining fastener(s); tighten per manufacturer torque specification (do not guess torque values). 4. Reinstall or reset the timing belt/chain tensioner to the design specification and ensure proper tensioning as required by the system type. 5. Manually rotate the engine several full revolutions by the crankshaft and recheck that all timing marks return to the original alignment. 6. Recheck and final-tighten all fasteners to factory torque values and reinstall any components removed for access in reverse order. 7. Reconnect the negative battery cable. 8. Start the engine and listen for unusual noises, verify smooth idle and normal operation, and check for diagnostic codes; shut down and recheck timing if anything abnormal is found. 9. Repair tip: Photograph and label components during disassembly, and consider replacing the timing belt/chain tensioner or related wear items while the system is open.