

My Garage
My Account
Cart
This part fits
2010 Ford F-150
Check another vehicle- The location this part fits: Passenger Side/Driver Side
- Fitting Vehicle Options: Crew Cab, Regular Cab, Super Cab; Regular Cab
- Fit Note: All Radios Less Navigation, Branded AM/FM/MP3/6 CD In Dash, Electronic AM/FM/Stereo With Clock, Less Radio, Prem AM/FM Stereo/CD CHG/CLK/MP3, With AM/FM CD Player, Electronic AM/FM/Stereo With Clock
- Production Date: 08/2008-10/2011, 08/2008-12/2014
Ford 9L3Z-18808-A Front Door Speaker
2009-2014 Ford 9L3Z18808A
Customer Questions & Expert Answers (4)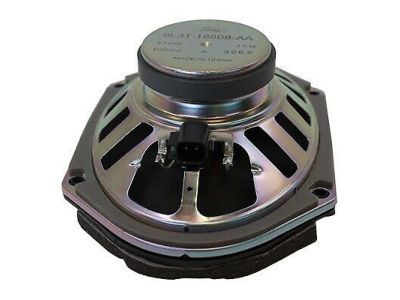
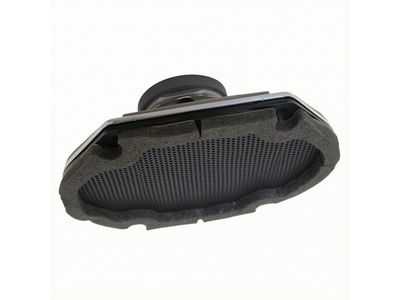
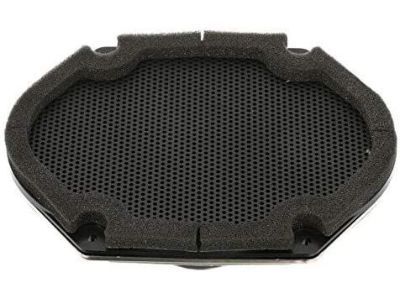
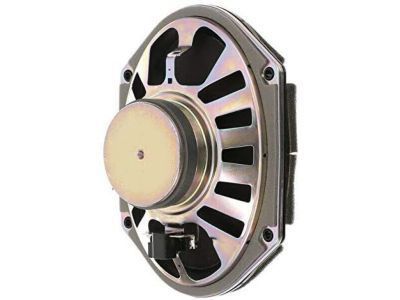
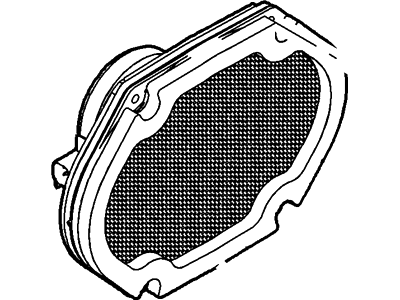
- Part DescriptionSpeaker Assembly
- For Front Door , RH/LH
- Front Doors , RH/LH
- RH/LH
- Base No.18808
- PositionPassenger Side/Driver Side
- ManufacturerFord
- Require Quantity2
- Package Quantity1
This part fits
2010 Ford F-150
Check another vehicle- The location this part fits: Passenger Side/Driver Side
- Fitting Vehicle Options: Crew Cab, Regular Cab, Super Cab; Regular Cab
- Fit Note: All Radios Less Navigation, Branded AM/FM/MP3/6 CD In Dash, Electronic AM/FM/Stereo With Clock, Less Radio, Prem AM/FM Stereo/CD CHG/CLK/MP3, With AM/FM CD Player, Electronic AM/FM/Stereo With Clock
- Production Date: 08/2008-10/2011, 08/2008-12/2014
$37.90 MSRP: $54.45
You Save: $16.55 (31%)
Ships in 1-3 Business Days
1
- Related Parts
- Specifications
- Q&A
Product Specifications
Brand Genuine Ford Base No. 18808 Manufacturer Part Number 9L3Z-18808-A, 9L3Z18808A Part Description Front Door Speaker; Speaker Assembly Item Dimensions 11.4 x 10.2 x 5.4 inches Item Weight 2.60 Pounds Position Passenger Side/Driver Side Condition New Fitment Type Direct Replacement Require Quantity 2 Manufacturer Ford SKU 9L3Z-18808-A Warranty This genuine Ford part is guaranteed by Ford's factory warranty. Shipping & Return Shipping Policy Return Policy Warning: California's Proposition 65Customer Questions & Expert Answers
- Q:I would like to know is this part gonna fit with my car. Posted by FordPartsGiant Specialist
- A:You can Select Your Vehicle to check if 9L3Z-18808-A fits your vehicle.Posted by FordPartsGiant Specialist
Installation and Repair Tips- Q:How to remove and install the car speakers on the Ford F-150? Posted by Customer
- A:Disconnect the cable from the negative terminal of the battery. Remove the instrument panel center bezel. Remove the radio mounting screws to detach the radio from the instrument panel, then pull the radio out just far enough to access the electrical connectors and the antenna cable on the backside of the unit. Disconnect the electrical connectors and the antenna lead from the backside of the radio, then remove the radio. Installation is the reverse of removal. For front door speakers, remove the front door trim panel, then remove the speaker mounting screws. Pull out the speaker, disconnect the electrical connector from the speaker, and remove the speaker. Installation is the reverse of removal. For the front door speaker trim panel, remove it and the speaker mounting screws. Pull out the speaker, disconnect the electrical connector by depressing the release tab, and remove the speaker. Installation is the reverse of removal. For rear door speakers, remove the rear door trim panel, then remove the speaker mounting screws. Pull out the speaker, disconnect the electrical connector, and remove the speaker. Installation is the reverse of removal. For the instrument panel speaker in 2009 and later models, remove the mat from the upper storage compartment, then remove the two screws and raise the upper storage compartment just far enough to disconnect the speaker electrical connector. Remove the upper storage compartment, and if necessary, remove the speaker mounting screws before removing the speaker. Installation is the reverse of removal.Posted by FordPartsGiant Specialist
- Additional Installation and Repair Tips by AI Expert
- Removal steps 1. Park on level ground, set parking brake, wear eye protection and gloves. 2. Gather common trim tools, screwdrivers, a panel puller, and a socket set; have replacement speaker and any harness adapters ready. 3. Disconnect the negative battery terminal and isolate the vehicle electrical system; wait a few minutes for circuits and airbags to fully power down. 4. If any trim or door panels near the speaker house airbags, stop and consult the vehicle service information before proceeding; proceed with extra caution. 5. Remove any visible speaker grille or trim piece by prying or unscrewing as commonly required for the design. 6. Remove fasteners holding the speaker or its mounting bracket; designs vary, so expect screws, bolts, or clips. 7. Carefully pull the speaker out just far enough to access its wiring; avoid stressing or cutting the wires. 8. Unplug the speaker connector or cut/unsolder leads only if no connector exists, marking which lead is positive and which is negative. 9. Remove the speaker and any backing gasket, spacer, or foam; note any shims or insulation for reuse. Installation steps 1. Compare new speaker to the old one for size, mounting depth, and polarity; choose an adapter or spacer if required by the design. 2. Transfer or replace any foam gasket, insulation, or mounting hardware commonly used to prevent rattles and seal against the panel. 3. Connect the speaker wiring using the factory connector or an appropriate adapter; confirm correct polarity (positive to positive). 4. If hardwiring, solder or crimp connections and insulate them with heat-shrink or quality electrical tape. 5. Position the speaker in the mount, align the holes, and secure with the appropriate fasteners; avoid overtightening. 6. Reinstall any grille, trim, or panel pieces removed earlier, ensuring clips and screws are fully engaged. 7. Reconnect the negative battery terminal. 8. Power on the audio system and play a test tone or music at low volume to verify operation, polarity, and that there are no rattles or distortion before finalizing. 9. Make final adjustments (seating, foam seal, harness routing) if you hear issues, then complete reassembly. Repair tip: Use new foam gaskets or closed-cell tape for a good seal and apply a small amount of dielectric grease to connectors to prevent corrosion.
- Q:Will I need any other components, such as a wiring harness, battery, etc. to install this speaker in the driver's side of our 2010 Ford F-150? Posted by Customer: 2010 Ford F-150
- A:This is a direct replacement for the door speaker for the front doors. No other items would be necessary to replace it unless other components are damaged.Posted by FordPartsGiant Specialist 21/6/2023
- Q:
Why choose Ford Parts Giant
- Dedicated Service
Your complete satisfaction is our #1 goal
- Lowest Prices
Best deals on genuine OE parts from dealerships
- Fast Delivery
Orders are processed and delivered promptly