

My Garage
My Account
Cart
Additional information needed to check if this part fits
2004 Lincoln LS
Check another vehicle- Fitting Vehicle Options: 8 Cyl 3.9L DOHC EFI NA
- Production Date: 07/2001-04/2006
Ford 1X4Z-6M280-AA Engine Variable Timing Solenoid
2003-2006 Ford 1X4Z6M280AA
Customer Questions & Expert Answers (2)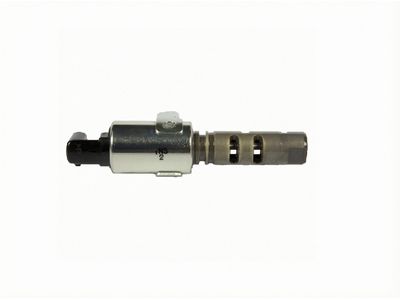
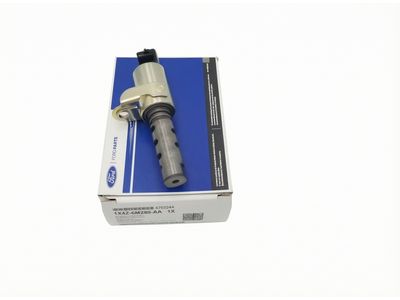
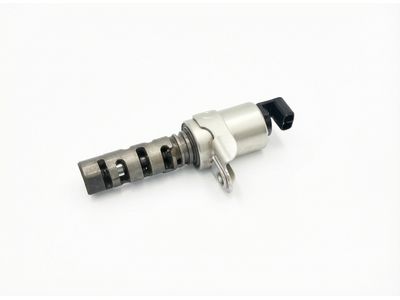
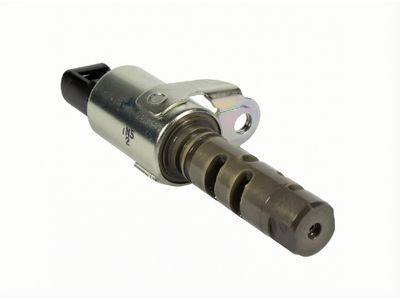
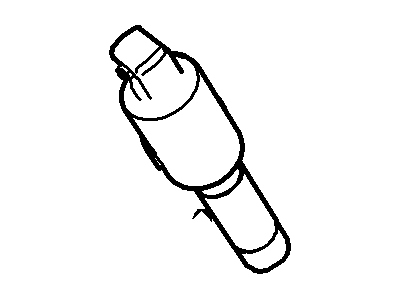
- Part DescriptionSolenoid - Engine Variable Timing
- Base No.6M280
- Replaced By
- ManufacturerFord
- Require Quantity-AR-
- Package Quantity1
- Manufacturer's NotesThis part is discontinued.
Additional information needed to check if this part fits
2004 Lincoln LS
Check another vehicle- Fitting Vehicle Options: 8 Cyl 3.9L DOHC EFI NA
- Production Date: 07/2001-04/2006
- Related Parts
- Specifications
- Q&A
Product Specifications
Brand Genuine Ford Base No. 6M280 Manufacturer Part Number 1X4Z-6M280-AA, 1X4Z6M280AA Part Description Solenoid - Engine Variable Timing Item Dimensions 12.5 x 8.5 x 9.4 inches Item Weight 1.10 Pounds Condition New Fitment Type Direct Replacement Manufacturer Ford SKU 1X4Z-6M280-AA Warranty This genuine Ford part is guaranteed by Ford's factory warranty. Shipping & Return Shipping Policy Return Policy Warning: California's Proposition 65Customer Questions & Expert Answers
- Q:Does the PN fit my vehicle? Posted by FordPartsGiant Specialist
- A:You can Select Your Vehicle to check if 1X4Z-6M280-AA fits your vehicle.Posted by FordPartsGiant Specialist
- Installation and Repair Tips by AI Expert
- Removal steps 1. Park on a level surface, chock wheels, engage the parking brake and place the transmission in Park (or neutral for manual); wear safety glasses and gloves. 2. Disconnect the negative battery cable to remove electrical power to the vehicle. 3. If the spool valve operates in a pressurized hydraulic system, relieve system pressure per manufacturer guidance before opening lines or fittings. 4. Remove any protective covers, shrouds, or components that block access to the valve area - commonly intake pieces, covers, or transmission pan/drain accessories. 5. If the spool valve is inside a fluid-filled housing, drain the fluid or transmission pan as needed and collect it in an appropriate container. 6. Label and carefully disconnect electrical connectors and any fluid lines attached to the valve; retain clips and fasteners separately. 7. Remove the valve retaining hardware and extract the spool valve assembly straight out to avoid damaging mating surfaces; support the valve as you remove it. 8. Inspect sealing surfaces, O-rings, gaskets and surrounding passages for contamination, scoring or debris; remove foreign material before continuing. 9. Compare the removed valve to the replacement part to confirm correct orientation and features before installation. Installation steps 1. Confirm the replacement spool valve and any supplied seals or O-rings match the original component. 2. Lightly lubricate new O-rings/seals with the correct fluid and install them; do not use solvents or grease unless specified by the part supplier. 3. Clean the valve bore and mating surfaces with lint-free cloths and proper cleaning fluid; keep openings covered to prevent contamination. 4. Carefully insert the spool valve into the housing in the correct orientation without forcing; ensure it seats smoothly. 5. Reinstall retaining hardware and tighten to the manufacturer's specified torque values (do not guess torque). 6. Reconnect fluid lines and electrical connectors, ensuring locking tabs engage and lines are routed without kinks. 7. Reinstall any removed pans, covers or components using new gaskets or seals where required. 8. Refill the system with the correct type and approximate amount of fluid; final level adjustment will be made after initial run. 9. Reconnect the negative battery cable. 10. Start the engine and cycle the shift selector (or operate system controls) to circulate fluid; check for leaks and listen for unusual noises. 11. Use a scan tool to clear and monitor any diagnostic codes and confirm that actuators respond correctly during a functional test. 12. After a brief test drive, recheck fluid level and for leaks; top up to the specified level and re-inspect electrical connections. Repair tip: Keep all removed fasteners and small parts organized in sequence, and always replace seals/gaskets rather than reusing old ones to reduce the chance of leaks.
- Q:
Why choose Ford Parts Giant
- Dedicated Service
Your complete satisfaction is our #1 goal
- Lowest Prices
Best deals on genuine OE parts from dealerships
- Fast Delivery
Orders are processed and delivered promptly