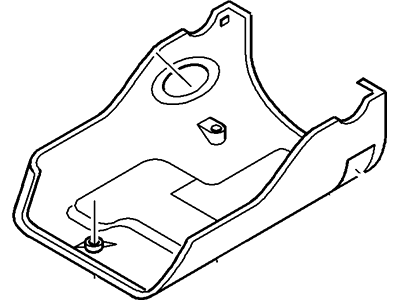
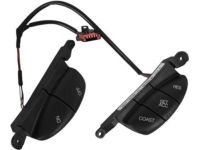
The removal and installation of the interior trim panels may require the removal of overlapping trims. To remove the sun visor, unscrew the mounting screws, disconnect the wiring for the vanity mirror light if installed, pry up the cover, and remove the inner bracket. For the passenger grab handle, pry up the covers, unscrew the mounting screws, and remove the handle. To remove the lower A-pillar trim, undo the securing screws and unclip it from the vehicle along with the instrument panel side trim, then press the upper trim away from the clips and pull it upwards, releasing the phone microphone connector if present. For the B-pillar trim in sedans and wagons, unscrew the seat belt mounting bolt, separate the upper from the lower trim, and unclip it from the B-pillar, passing the seat belt anchor through the trim. In hatchbacks, remove the rear parcel shelf, fold the rear seat backrest, pry out the retaining clip, and undo the screws from the parcel shelf support, disconnecting the electrical connector if installed, then detach the upper trim. In wagons, follow similar steps to remove the C-pillar trim. For sedans, open the hatchback, fold the rear seat backrest, unclip the seat belt trim panel cover, and remove the lower trim around the seat belt reel unit before unclipping the upper trim panel. For the D-pillar trim in wagons, remove the securing screws and unclip the trim. Unclip the sill trims from the pillar trims and inner sill. To release the Steering Column Cover, insert a thin screwdriver into the holes at each side, lift the Steering Column Cover, and unclip it from the instrument panel, then unclip the radio control switch and release the steering column height lever before removing the Steering Column Cover. Finally, undo the screws and clip from the lower dash panel, withdrawing it and pressing out the wiring multi-plug. Installation is the reverse of removal, ensuring that any disturbed seat belt fastenings are tightened to the specified torque and replacing any broken clips as needed.