

My Garage
My Account
Cart
Additional information needed to check if this part fits
2007 Ford Explorer Sport Trac
Check another vehicle- Fitting Vehicle Options: 6 Cyl 4.0L SOHC EFI
- Production Date: 01/2006-10/2010
Ford 1L2Z-6A642-FA Oil Cooler Assembly
2002-2010 Ford 1L2Z6A642FA
Customer Questions & Expert Answers (2)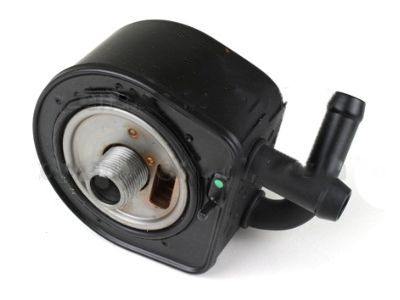
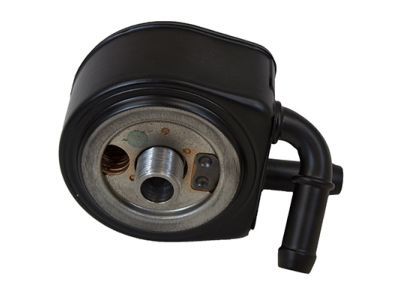
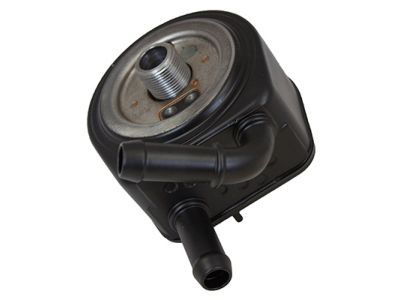
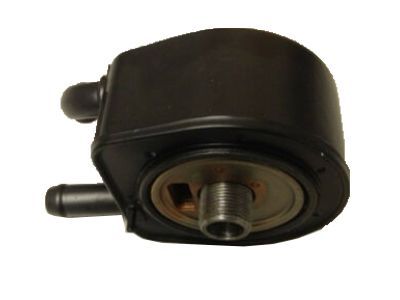
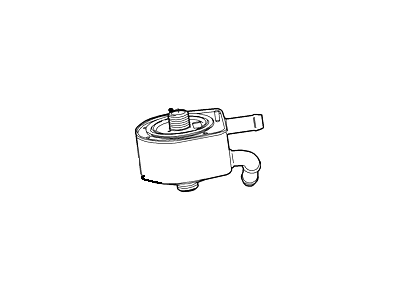
- Part DescriptionOil Cooler Assy
- Base No.6A642
- ManufacturerFord
Additional information needed to check if this part fits
2007 Ford Explorer Sport Trac
Check another vehicle- Fitting Vehicle Options: 6 Cyl 4.0L SOHC EFI
- Production Date: 01/2006-10/2010
Currently Unavailable
Due to manufacturer supply shortage, this item isn't currently available for ordering.
- Related Parts
- Specifications
- Q&A
Product Specifications
Brand Genuine Ford Base No. 6A642 Manufacturer Part Number 1L2Z-6A642-FA, 1L2Z6A642FA Part Description Oil Cooler Assy Other Names Oil Cooler Item Dimensions 6.1 x 5.9 x 4.6 inches Item Weight 4.30 Pounds Condition New Fitment Type Direct Replacement Manufacturer Ford SKU 1L2Z-6A642-FA Warranty This genuine Ford part is guaranteed by Ford's factory warranty. Shipping & Return Shipping Policy Return Policy Warning: California's Proposition 65Customer Questions & Expert Answers
- Q:Does the PN fit my vehicle? Posted by FordPartsGiant Specialist
- A:You can Select Your Vehicle to check if 1L2Z-6A642-FA fits your vehicle.Posted by FordPartsGiant Specialist
- Installation and Repair Tips by AI Expert
- Removal - 1. Park on level ground, chock wheels, wear eye protection and gloves, and allow the engine and cooling system to cool completely. 2. Disconnect the negative battery cable to prevent electrical shorts and any unintended fan/activity. 3. Drain engine oil into a suitable container and, if the oil cooler is part of the coolant circuit, drain enough coolant to prevent spills when lines are opened (amount and procedure vary by design). 4. Remove or move aside any components that block access (example: intake ducts, splash shields, fan shroud, or trim) as applicable for your vehicle to gain clear access to the cooler. 5. Label and photograph hose and line locations, then carefully disconnect oil feed/return lines and coolant hoses from the cooler - plug or cap all open lines to prevent contamination and excessive fluid loss. 6. Support the cooler assembly and unfasten its mounting hardware, then remove the cooler or housing from the engine compartment, taking care not to kink lines or damage nearby components. 7. Remove old seals, gaskets, and O-rings and thoroughly clean mating surfaces; inspect lines, fittings, and mating surfaces for damage or corrosion. 8. Contain and properly dispose of drained oil and coolant per local regulations. Installation - 1. Compare the new oil cooler to the removed unit; transfer any sensors or fittings if required and replace all seals, O-rings, and gaskets with new, lightly oiled or recommended-lubricant parts. 2. Position the cooler and start mounting fasteners by hand to align it; tighten fasteners gradually and to manufacturer torque specifications (do not guess torque values). 3. Reconnect oil feed/return lines and coolant hoses using new clamps or hardware as needed; ensure fittings seat fully and are clean before assembly. 4. Reinstall any components that were removed for access and ensure all electrical connectors and clips are returned to their original locations. 5. Refill engine oil to the correct level and replace the oil filter; refill coolant to the proper level and follow the vehicle's bleed procedure if the cooling circuit was opened (air can cause overheating). 6. Reconnect the negative battery cable. 7. Prime the oiling system if recommended by the vehicle procedures (commonly done by cranking the engine until oil pressure registers before first start) or follow the manufacturer's priming method. 8. Start the engine and run at idle while checking for oil and coolant leaks, watching oil pressure indication, and monitoring engine temperature; shut down if any leaks or warning lights appear. 9. After a short warm-up and cool-down cycle, recheck fluid levels and inspect for leaks again; road test and perform a final inspection. Repair tip: Always replace O-rings/gaskets and use clean plugs on open lines to prevent contamination; take reference photos during disassembly to simplify correct reassembly.
- Q:
Why choose Ford Parts Giant
- Dedicated Service
Your complete satisfaction is our #1 goal
- Lowest Prices
Best deals on genuine OE parts from dealerships
- Fast Delivery
Orders are processed and delivered promptly