My Garage
My Account
Cart
This part fits
2014 Ford Escape 6-Speed Automatic Transmission 6F Mid-Range
Check another vehicle- Production Date: 04/2012-03/2016
Ford CJ5Z-9942528-E Name Plate
2013-2016 Ford Escape CJ5Z9942528E
Customer Questions & Expert Answers (3)

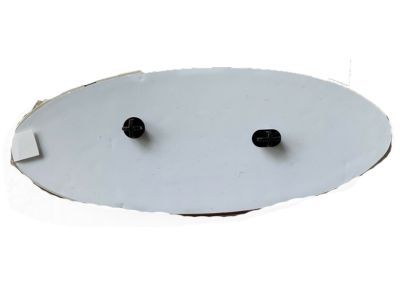


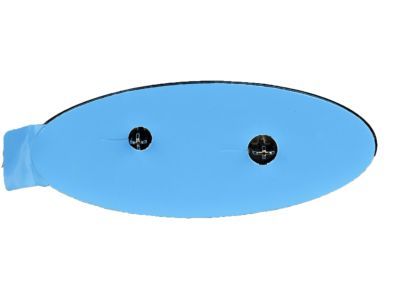


- Part DescriptionName Plate
- For Liftgate
- Base No.<42528G
- ManufacturerFord
- Manufacturer's NotesThis part is discontinued.
This part fits
2014 Ford Escape 6-Speed Automatic Transmission 6F Mid-Range
Check another vehicle- Production Date: 04/2012-03/2016
- Related Parts
- Specifications
- Q&A
Product Specifications
Brand Genuine Ford Base No. <42528G Manufacturer Part Number CJ5Z-9942528-E, CJ5Z9942528E Part Description Name Plate Manufacturer Note For Liftgate Item Dimensions 9.5 x 7.1 x 1.0 inches Item Weight 0.40 Pounds Condition New Fitment Type Direct Replacement Manufacturer Ford SKU CJ5Z-9942528-E Warranty This genuine Ford part is guaranteed by Ford's factory warranty. Shipping & Return Shipping Policy Return Policy Warning: California's Proposition 65Customer Questions & Expert Answers
- Q:Does the PN fit my vehicle? Posted by FordPartsGiant Specialist
- A:You can Select Your Vehicle to check if CJ5Z-9942528-E fits your vehicle.Posted by FordPartsGiant Specialist
- Installation and Repair Tips by AI Expert
- Removal steps 1. Park on level ground, set the parking brake, chock wheels and wear eye protection and gloves. 2. If the emblem is wired (camera/lighting), disconnect the negative battery terminal before proceeding and allow systems to power down. 3. Protect surrounding paint and trim with low-tack masking tape and soft covers to prevent scratching. 4. Inspect the emblem to determine the attachment method (adhesive pad, push-pins/clips, screws/bolts) - designs vary. 5. If adhesive bonded, warm the emblem with a heat gun or hair dryer to soften the adhesive; if fastened with clips or screws, remove interior trim or access panels as needed to reach fasteners. 6. Separate the emblem from the panel slowly using non-marring tools (plastic pry tools, fishing line/dental floss, or soft trim tools) and release any fasteners from the rear as required. 7. If wired, locate the connector behind the panel, disconnect it, and label the connector for reinstallation. 8. Remove remaining adhesive residue with an appropriate solvent and a plastic scraper, then clean the area with isopropyl alcohol. 9. Inspect the mounting surface and wiring for damage and set the emblem aside in a clean, safe place. Installation steps 1. Ensure the mounting surface is clean, dry, and free of old adhesive; verify the replacement emblem fits before installing. 2. If the emblem is wired, keep the battery disconnected until wiring is routed and secured; check connector orientation and condition. 3. For adhesive installations, apply the correct adhesive tape or promoter per product instructions and use masking tape guides to align the emblem before final placement. 4. For pin/clip style mounts, confirm grommets or clip retainers are present and lubricate lightly (soapy water or silicone) to ease insertion. 5. Seat the emblem by pressing evenly and firmly; for pinned emblems, push until clips engage; for adhesives, hold pressure or use gentle clamps/tape to maintain contact. 6. Reconnect any wiring harnesses, secure wiring away from pinch points, and reinstall any interior access panels or trim. 7. Reconnect the negative battery terminal and test any electrical functions (camera, lights) and confirm the emblem is secure and properly aligned. 8. Tip: Use low-tack tape as an alignment guide and allow adhesive to cure per product recommendations before washing or exposing to high stress.
- Q:How is this emblem installed? Posted by Customer
- A:This is installed using the adhesive that goes on the backsidePosted by FordPartsGiant Specialist 17/12/2020
- Q:
Why choose Ford Parts Giant
- Dedicated Service
Your complete satisfaction is our #1 goal
- Lowest Prices
Best deals on genuine OE parts from dealerships
- Fast Delivery
Orders are processed and delivered promptly