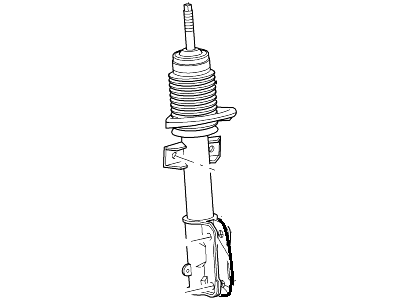
Remove and install shock absorbers one side at a time. The manufacturer recommends using new fasteners for shock absorber installation. With the vehicle on the ground and at normal ride height, mark the shock absorbers in relation to the dust sleeve. Raise the rear of the vehicle and support it securely on jackstands placed under the frame, not under the differential housing or axle. Place a floor jack under the axle tube on the side of the vehicle that you're working on to support it. Locate the upper retaining nut for the shock absorber inside the trunk by pulling the carpet back. To remove the upper mounting nut, hold the shock's piston rod with a wrench to prevent it from moving while loosening the nut. Remove the nut, washer, and upper insulator. Discard the nut. For models equipped with a rear stabilizer bar, remove the stabilizer bar links from the chassis and move the stabilizer bar to gain access to the lower shock mounting fasteners. Remove the lower shock mounting fasteners and the shock absorber. Move the axle up or down as necessary to free the shock from the vehicle. Discard the mounting fasteners. If you are replacing shock absorbers with new ones, transfer the index mark made in step one to the new shocks. Place the shock in position. Raise or lower the axle as needed to install the upper and lower mounting fasteners and leave them finger tight. With the mounting fasteners in place, carefully raise the axle so that the mark on the shock lines up with the dust sleeve and then tighten the mounting fasteners to the torque listed in the specifications. Raising the axle so that the shock compresses to the reference mark simulates the position of the vehicle's suspension when it's sitting at normal ride height. Remove the jackstands and lower the vehicle.