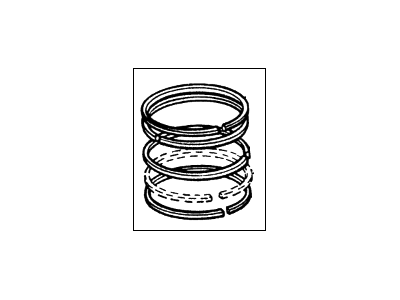
Before installing the new piston rings, the ring end gaps must be checked, assuming that the piston ring side clearance has been verified correct. Lay out the piston/connecting rod assemblies and the new ring sets to match them with the same piston and cylinder during the end gap measurement and engine assembly. Insert the top ring into the first cylinder, ensuring it is square with the cylinder walls by pushing it in with the top of the piston, positioning the ring near the bottom of the cylinder. To measure the end gap, use a feeler gauge between the ends of the ring until the gauge equal to the gap width is found, ensuring it slides with slight drag. Compare the measurement to the specifications; if the gap is incorrect, double-check the rings and verify with the parts store if necessary. Excess end gap is not critical unless it exceeds the specified limit, so confirm the correct rings for the engine. Repeat the procedure for each ring in the first cylinder and the remaining cylinders, keeping rings, pistons, and cylinders matched. Once the ring end gaps have been checked and corrected, install the rings on the pistons, starting with the oil control ring, which consists of three components. Slip the spacer/expander into the groove, then install the lower side rail without using a piston ring installation tool to avoid damage, followed by the upper side rail in the same manner. After installing the three oil ring components, ensure both side rails can turn smoothly in the groove. Next, install the middle ring, ensuring the identification mark faces up, and use a piston ring installation tool to slide it into the middle groove without expanding it excessively. Finally, install the top ring in the same manner, ensuring the mark is facing up, and repeat the procedure for the remaining pistons and rings.
Posted by FordPartsGiant Specialist 


