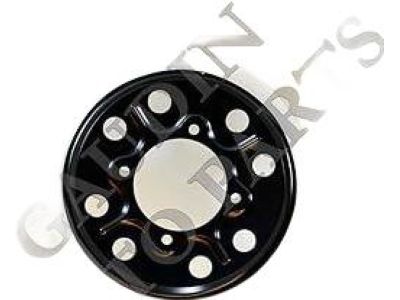
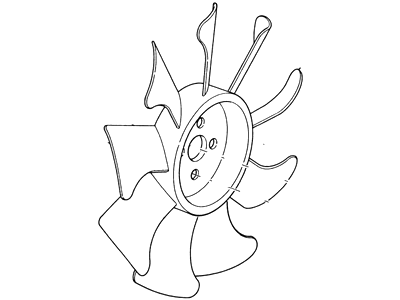
The 2.0L and 2.3L engines are secured by four bolts that also hold the pump pulley to the water pump, eliminating the need for a fan hub nut. To begin, unbolt and remove the fan linger guard, then disconnect the overflow tube from the shroud, remove the mounting screws, and lift the shroud off the brackets. Place the shroud behind the fan, then remove the four screws connecting the clutch/fan assembly to the pulley, followed by the four screws attaching the fan to the clutch. Installation follows the reverse order of removal, with the fan-to-clutch screws torqued to 55-70 inch lbs. and the fan/clutch assembly-to-pulley bolts to 12-18 ft. lbs. For the 2.3L Diesel and 6-Cylinder Gasoline Engines, first remove the fan shroud, then use a strap wrench and fan clutch nut wrench to loosen the large nut on the clutch, which has left-hand threads and is loosened clockwise. After removing the fan/clutch assembly and the fan-to-clutch bolts, installation is again the reverse, with the fan-to-clutch bolts torqued to 55-70 inch lbs. and the hub nut to 50-100 ft. lbs. For 4.0L engines, if needed, remove the air cleaner outlet tube, then use the appropriate tools to loosen the large nut on the clutch, which has right-hand threads and is loosened counterclockwise. Some models allow for fan removal without unbolting the shroud. Remove the two upper fan shroud retaining bolts, lift the shroud to disengage the lower clips, and then remove the fan/clutch assembly and shroud together. If necessary, separate the fan from the clutch by removing the fan-to-clutch bolts. Installation is the reverse, with the fan-to-clutch bolts torqued to 55-70 inch lbs. and the hub nut to 30-100 ft. lbs., remembering that the nut is tightened clockwise.
Posted by FordPartsGiant Specialist 


