

My Garage
My Account
Cart
This part fits
2008 Ford F53 Stripped Chassis 10 Cyl 6.8L EFI; 5-Speed Automatic Transmission 5R110W NAAO
Check another vehicle- Fit Note: 10 Cyl 6.8L EFI
- Production Date: 12/2006-09/2008
Ford 7U9Z-5E212-AA Catalytic Converter Assembly
2007-2008 Ford F53 Stripped Chassis 7U9Z5E212AA
Customer Questions & Expert Answers (2)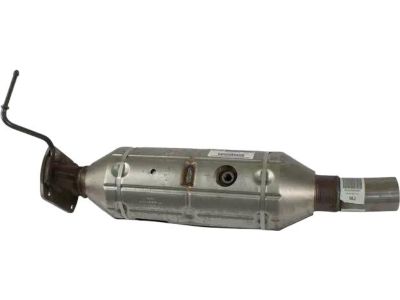
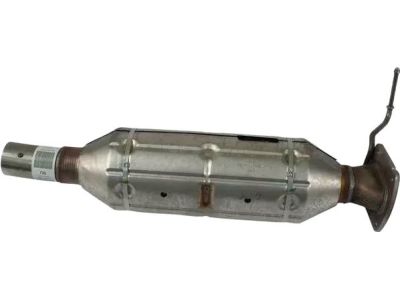
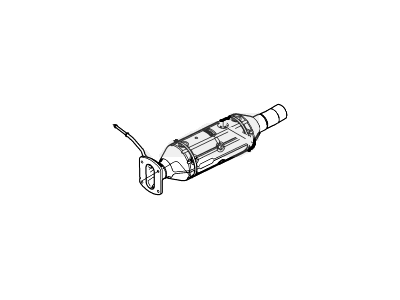
- Part DescriptionConverter Assy
- Replaced By
- ManufacturerFord
This part fits
2008 Ford F53 Stripped Chassis 10 Cyl 6.8L EFI; 5-Speed Automatic Transmission 5R110W NAAO
Check another vehicle- Fit Note: 10 Cyl 6.8L EFI
- Production Date: 12/2006-09/2008
$3340.11 MSRP: $4292.94
You Save: $952.83 (23%)
Core Charge: $500.00
Ships in 1-3 Business Days
1
- Related Parts
- Specifications
- Q&A
Product Specifications
Brand Genuine Ford Manufacturer Part Number 7U9Z-5E212-AA, 7U9Z5E212AA Part Description Converter Assy Manufacturer Note Converter asy. (catch code NOP) 2007/ Item Weight 43.30 Pounds Condition New Fitment Type Direct Replacement Manufacturer Ford SKU 7U9Z-5E212-AA Warranty This genuine Ford part is guaranteed by Ford's factory warranty. Shipping & Return Shipping Policy Return Policy Warning: California's Proposition 65Customer Questions & Expert Answers
- Q:Does the PN fit my vehicle? Posted by FordPartsGiant Specialist
- A:You can Select Your Vehicle to check if 7U9Z-5E212-AA fits your vehicle.Posted by FordPartsGiant Specialist
- Installation and Repair Tips by AI Expert
- Removal steps 1. Park on level ground, set parking brake, chock wheels, and wear eye protection and gloves. 2. Allow the exhaust to cool completely before working near the catalytic converter. 3. Raise and support the vehicle securely with jack stands or a lift so you have safe access to the exhaust; never rely on a jack alone. 4. Disconnect the negative battery cable to eliminate electrical power before handling sensors or wiring. 5. Locate and unplug any oxygen sensor and related wiring on or near the catalytic converter; label connectors if needed for reassembly. 6. Spray fasteners, clamps, and hangers with penetrating lubricant and let soak if they appear rusty or seized. 7. Support the exhaust pipe and converter assembly with a transmission jack, stand, or strap to prevent it from dropping when fasteners are removed. 8. Loosen and remove exhaust clamps, flange bolts, or band-style fittings that retain the catalytic converter assembly (methods vary by design); keep parts organized. 9. Detach rubber hangers or mounting brackets as required to free the converter from the exhaust system. 10. Lower the catalytic converter assembly carefully and remove it from under the vehicle, taking care not to damage sensor wiring or the vehicle finish. 11. Repair tip: keep used gaskets, nuts, and bolts separated and compare with new parts so you replace any damaged or corroded hardware. Installation steps 1. Inspect mating flanges, pipe ends, hanger mounts, and oxygen sensor threads; replace gasket(s), clamps, and damaged hardware as needed. 2. Install oxygen sensors into the replacement converter if transferred or supplied; use anti-seize on sensor threads only where recommended and avoid contaminating the sensor tip. 3. Position and support the catalytic converter in place using a jack or stand, aligning it with the adjoining exhaust pipes without forcing components. 4. Install new gaskets and fasteners, or new clamps/bands, and hand-start nuts/bolts to ensure proper fit before final tightening. 5. Reconnect rubber hangers and mounting brackets so the exhaust has correct support and articulation. 6. Tighten flange bolts, clamps, and fasteners to manufacturer specifications (consult factory data for torque values) and ensure there is no binding or misalignment. 7. Reconnect oxygen sensor connectors and any wiring; route and secure wires away from hot surfaces and moving parts. 8. Reconnect the negative battery cable. 9. Start the engine and inspect for exhaust leaks visually and by listening; do not place hands near hot exhaust-use a rag or listen for escaping gases instead. 10. Use a scan tool to check for stored diagnostic codes and monitor sensor operation; clear codes if appropriate and confirm they do not return after a short test drive. 11. Repair tip: re-check fasteners and connections after a heat cycle or a short drive, and replace any hardware that shows signs of loosening or leakage.
- Q:
Why choose Ford Parts Giant
- Dedicated Service
Your complete satisfaction is our #1 goal
- Lowest Prices
Best deals on genuine OE parts from dealerships
- Fast Delivery
Orders are processed and delivered promptly