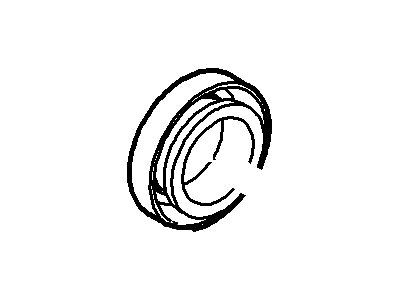
In most cases, the front wheel bearings will not need servicing until the brake pads are changed. However, they should be checked whenever the front of the vehicle is raised for any reason. Several items, including a torque wrench and special grease, are required for this procedure: Hammer, Grease, Wood block, Needle-nose pliers, Torque wrench, Screwdriver, Socket/breaker bar, Brush. With the vehicle securely supported on jackstands, spin each wheel and check for noise, rolling resistance, and free play. Grasp the top of each tire with one hand and the bottom with the other, moving the wheel in-and-out on the spindle. If there is any noticeable movement, the bearings should be checked and then repacked with grease or replaced if necessary. Remove the wheel and the brake caliper, hanging it out of the way on a piece of wire. A wood block can be slid between the brake pads to keep them separated. Pry the dust cap out of the hub using a screwdriver or hammer and chisel. Straighten the bent ends of the cotter pin, then pull it out of the nut lock. Discard the cotter pin and use a new one during reassembly. Remove the nut lock, nut, and washer from the end of the spindle. Pull the hub/disc assembly out slightly, then push it back into its original position to force the outer bearing off the spindle enough so it can be removed. Pull the hub/disc assembly off the spindle. Use a screwdriver to pry the seal out of the rear of the hub and remove the inner wheel bearing. Use solvent to remove all traces of the old grease from the bearings, hub, and spindle, allowing the parts to air dry. Inspect the bearings for cracks, heat discoloration, worn rollers, etc., and check the bearing races inside the hub for wear and damage. If defective, the hubs should be taken to a machine shop to remove the old races and press new ones in, noting that bearings and races come as matched sets. Use high-temperature front wheel bearing grease to pack the bearings, working it completely into the rollers, cone, and cage from the back side. Apply a thin coat of grease to the spindle at the outer bearing seat, inner bearing seat, shoulder, and seal seat. Put a small quantity of grease inboard of each bearing race inside the hub, forming a dam at these points with your finger. Place the grease-packed inner bearing into the rear of the hub and put a little more grease outboard of the bearing. Place a new seal over the inner bearing and tap it evenly into place with a hammer and blunt punch until it is flush with the hub. Carefully place the hub assembly onto the spindle and push the grease-packed outer bearing into position. Install the washer and spindle nut, tightening the nut only slightly (no more than 12 ft-lbs of torque). Spin the hub in a forward direction while tightening the spindle nut to approximately 20 ft-lbs to seat the bearings. Loosen the spindle nut 1/4-turn, then tighten the nut by hand until it is snug. Install the nut lock and a new cotter pin through the hole in the spindle and the slots in the nut lock, bending the ends of the cotter pin flat against the nut and cutting off any extra length. Install the dust cap, tapping it into place with a hammer. Place the brake caliper near the rotor, carefully remove the wood spacer, and install the caliper. Install the wheel on the hub and tighten the lug nuts. Grasp the top and bottom of the tire and check the bearings as described earlier. Finally, lower the vehicle.