My Garage
My Account
Cart
This part fits
2014 Ford F-150
Check another vehicle- Production Date: 11/2010-12/2014
Ford AL3Z-14526-AA Circuit Breaker Assembly
2011-2014 Ford AL3Z14526AA
Customer Questions & Expert Answers (2)
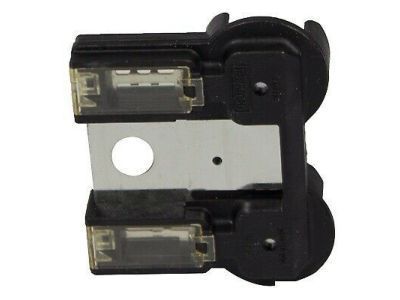
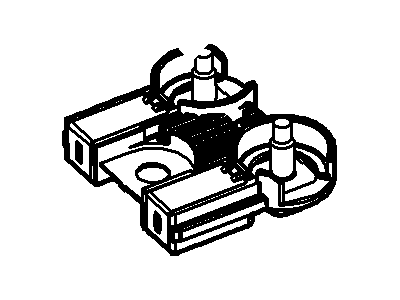
- Part DescriptionCircuit Breaker Assy
- 125 Amp , 250 Amp , 32 Volt
- Base No.14526
- ManufacturerFord
This part fits
2014 Ford F-150
Check another vehicle- Production Date: 11/2010-12/2014
$23.79 MSRP: $38.55
You Save: $14.76 (39%)
Ships in 1-2 Business Days
1
- Related Parts
- Specifications
- Q&A
Product Specifications
Brand Genuine Ford Base No. 14526 Manufacturer Part Number AL3Z-14526-AA, AL3Z14526AA Part Description Circuit Breaker Assy Other Names Circuit Breaker Item Dimensions 3.9 x 2.3 x 2.3 inches Item Weight 0.60 Pounds Condition New Fitment Type Direct Replacement Manufacturer Ford SKU AL3Z-14526-AA Warranty This genuine Ford part is guaranteed by Ford's factory warranty. Shipping & Return Shipping Policy Return Policy Warning: California's Proposition 65Customer Questions & Expert Answers
- Q:Will these fit my car and if not which part will? Thank you. Posted by FordPartsGiant Specialist
- A:You can Select Your Vehicle to check if AL3Z-14526-AA fits your vehicle.Posted by FordPartsGiant Specialist
- Installation and Repair Tips by AI Expert
- Removal 1. Park on a level surface, engage the parking brake, remove the key, and open the work area for safe access. 2. Put on safety glasses and insulated gloves. 3. Locate the correct fuse panel using the owner's manual or the panel diagram; panel location and layout commonly vary by design. 4. Open the fuse panel cover to expose the fuses. 5. Disconnect the negative battery terminal and move the cable clear of the terminal to prevent accidental contact. 6. Identify the specific fuse to remove using the diagram or markings; confirm the fuse type before touching it. 7. Remove the fuse by pulling it straight out using a fuse puller or insulated needle-nose pliers; avoid twisting or levering against adjacent fuses. 8. Inspect the removed fuse for a broken or melted element and note its type and amp rating for replacement. 9. Retain the removed fuse for diagnostic reference or disposal. Installation 1. Verify the replacement fuse is the correct type and identical amp rating to the original; never substitute a higher-rated fuse. 2. With the negative battery still disconnected, position the replacement fuse and press it straight into the correct slot until fully seated. 3. Replace the fuse panel cover and secure any fasteners or clips as required by the panel design. 4. Reconnect the negative battery terminal and tighten it so the connection is secure. 5. Start the vehicle or turn the applicable circuit on and verify the protected system operates properly. 6. If the new fuse blows immediately or the circuit shows abnormal behavior, disconnect the battery and inspect wiring and components or seek professional diagnosis. 7. Store a few common spare fuses and note the fuse rating for future quick replacements. Repair tip: If a fuse fails again after replacement, do not keep replacing it - investigate for a short, faulty component, or loose/corroded connections.
- Q:
Why choose Ford Parts Giant
- Dedicated Service
Your complete satisfaction is our #1 goal
- Lowest Prices
Best deals on genuine OE parts from dealerships
- Fast Delivery
Orders are processed and delivered promptly