

My Garage
My Account
Cart
This part fits
2014 Ford Explorer
Check another vehicle- Production Date: 11/2010-05/2015
Ford BB5Z-17528-FA Wiper Blade Assembly
2011-2019 Ford BB5Z17528FA
Customer Questions & Expert Answers (2)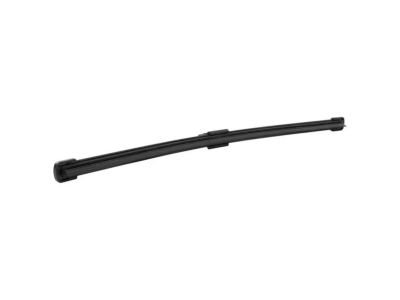
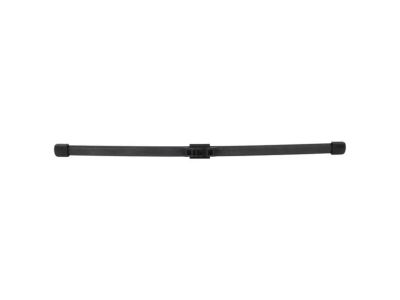
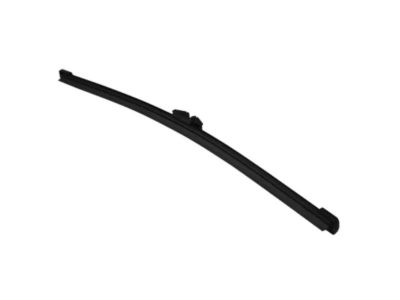
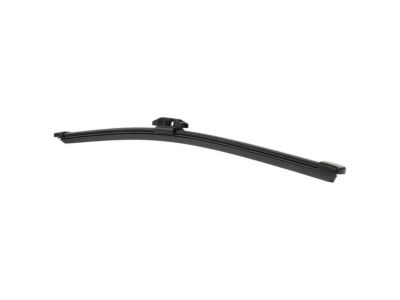
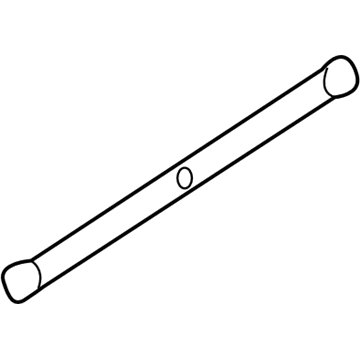
- Part DescriptionBlade Assembly - Wiper
- 11" (279 MM)
- Replaces
- ManufacturerFord
This part fits
2014 Ford Explorer
Check another vehicle- Production Date: 11/2010-05/2015
$19.68 MSRP: $25.98
You Save: $6.30 (25%)
Ships in 1 Business Day
1
- Related Parts
- Specifications
- Q&A
Product Specifications
Brand Genuine Ford Manufacturer Part Number BB5Z-17528-FA, BB5Z17528FA Part Description Blade Assembly - Wiper Other Names Rear Blade, Wiper Blade Condition New Fitment Type Direct Replacement Replaces BB5Z-17528-A, BB5Z-17528-F, WW-1109, WW-1106 Manufacturer Ford SKU BB5Z-17528-FA Warranty This genuine Ford part is guaranteed by Ford's factory warranty. Shipping & Return Shipping Policy Return Policy Warning: California's Proposition 65Customer Questions & Expert Answers
- Q:Can you tell me if this part is correct for my car? Posted by FordPartsGiant Specialist
- A:You can Select Your Vehicle to check if BB5Z-17528-FA fits your vehicle.Posted by FordPartsGiant Specialist
- Installation and Repair Tips by AI Expert
- Removal steps 1. Park on a level surface, turn off the ignition, remove the key, and set the parking brake. 2. Protect the windshield with a towel or soft cloth and, if the arm design allows, lift the wiper arm to its service position; note that some arms do not lift away from the glass. 3. Disconnect the negative battery terminal to isolate electrical systems before working near the wiper mechanism. 4. Identify the blade-to-arm attachment type (hook, pin, bayonet, push tab, or quick-release); designs vary. 5. Support the wiper arm to prevent it snapping back, then depress, lift, rotate, or slide the retaining clip or tab as required by the attachment style and remove the blade from the arm. 6. Inspect the arm, pivot, and any adapter pieces for damage, corrosion, or debris and clean contact surfaces as needed. 7. Retain any small adapters or clips from the old blade if they are required by the replacement. Installation steps 1. Confirm you have the correct replacement blade and any required adapter for the wiper arm style. 2. If the new blade uses a separate adapter, fit the adapter to the blade or arm per the adapter's design; adapter procedures vary by type. 3. Align the new blade with the arm and engage the attachment-slide, rotate, or snap it into place until the retaining mechanism is fully seated. 4. Gently lower the wiper arm back onto the windshield; always support the arm until the blade is secured to avoid glass damage. 5. Reconnect the negative battery terminal. 6. Start the vehicle and cycle the wipers (with washer fluid if available) to check sweep, contact, and parking position; look for streaking, chatter, or missed areas. 7. If performance is poor, recheck seating and arm condition, adjust or reseat the blade, and consider replacing the opposite blade for even wear. Repair tip: Replace both wiper blades at the same time for consistent performance and keep a soft towel under the arm during work to protect the glass.
- Q:
Why choose Ford Parts Giant
- Dedicated Service
Your complete satisfaction is our #1 goal
- Lowest Prices
Best deals on genuine OE parts from dealerships
- Fast Delivery
Orders are processed and delivered promptly