This part fits the vehicle you selected:
My Vehicle: 2013 Ford Taurus
Change VehicleThe location this part fits:
- Driver Side
- Production Date: From 02/2012
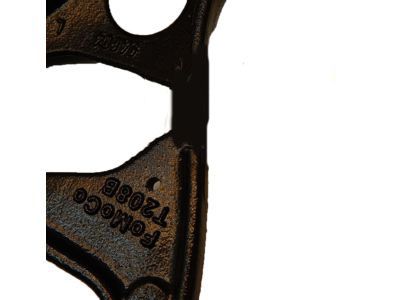
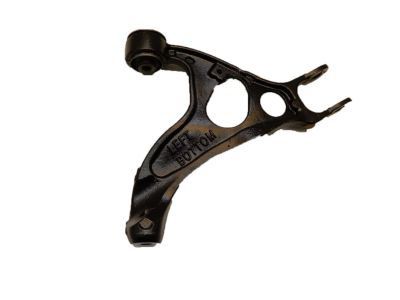
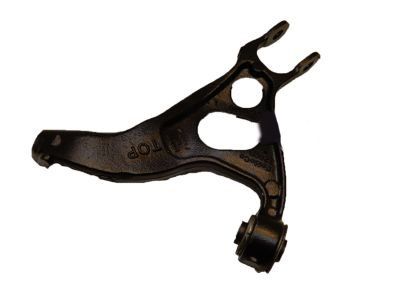
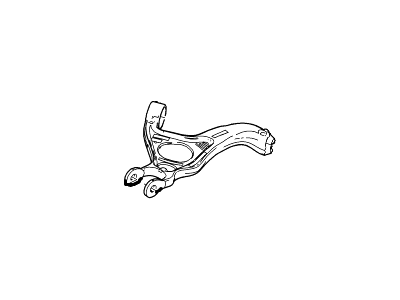
Ford DE9Z-5500-B Arm Assy - Rear Suspension
2013-2019 Ford DE9Z5500B

- Part DescriptionArm Assy - Rear Suspension
- Arm Assy - Rear Suspension
- Base No.5500A
- PositionDriver Side
- ManufacturerFord
- Manufacturer's NotesThis part is discontinued.
This part fits the vehicle you selected:
2013 Ford Taurus
The location this part fits:
- Driver Side
- Production Date: From 02/2012
$0.00Currently Unavailable
Due to manufacturer supply shortage, this item isn’t currently available for ordering.
Product Specifications
| Brand | Genuine Ford |
| Base No. | 5500A |
| Manufacturer Part Number | DE9Z-5500-B, DE9Z5500B |
| Part Description | Arm Assy - Rear Suspension |
| Item Dimensions | 2.8 x 15.1 x 14.7 inches |
| Item Weight | 8.70 Pounds |
| Position | Driver Side |
| Condition | New |
| Fitment Type | Direct Replacement |
| Manufacturer | Ford |
| SKU | DE9Z-5500-B |
| Warranty | This genuine Ford part is guaranteed by Ford's factory warranty. |
| Shipping & Return | Shipping Policy Return Policy |
Warning: California’s Proposition 65
Customer Questions & Answers
- Q:I am wondering if this is the exact part that fits in Posted by FordPartsGiant Specialist
- A:You can Select Your Vehicle to check if DE9Z-5500-B fits your vehicle.Posted by FordPartsGiant Specialist
- Q:How do you remove the control arm on Ford Taurus? Posted by Customer
- A:To remove the control arm, start by loosening the wheel lug nuts on the side to be disassembled and raising the front of the vehicle. Support it securely on jackstands and remove the wheel. Then, remove the control arm balljoint nut, making sure to hold the stud with a wrench if it turns while loosening the nut. Push the lower control arm down until the balljoint releases from the knuckle. If the stud sticks, use a balljoint separator to force the components apart. Next, remove the control arm front pivot bolt and the rear bushing bracket bolts to detach the control arm from the subframe. Inspect the control arm for distortion and the bushings for wear, replacing any necessary parts. Do not attempt to straighten a bent control arm. For installation, reverse the removal steps. When installing the control arm, leave the control arm-to-subframe bolts finger tight until the balljoint has been connected to the steering knuckle. Tighten the balljoint nut to the specified torque. Raise the outer end of the control arm with a floor jack to simulate normal ride height, then tighten the control arm-to-subframe fasteners to the specified torque. Finally, it is recommended to have the front wheel alignment checked and adjusted if necessary after completing the job.Posted by FordPartsGiant Specialist
If you have any questions about this product, please don't hesitate to ask us. We will be happy to help you!
Why choose Ford Parts Giant
- Dedicated Service
Your complete satisfaction is our #1 goal
- Lowest Prices
Best deals on genuine OE parts from dealerships
- Fast Delivery
Orders are processed and delivered promptly


