
My Garage
My Account
Cart
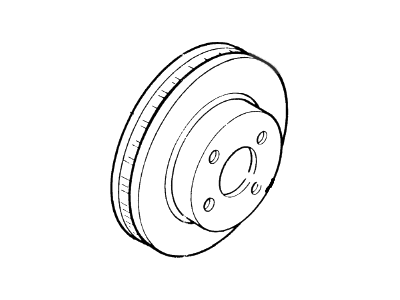
Genuine Mercury Lynx Brake Disc
Disc Rotor- Select Vehicle by Model
- Select Vehicle by VIN
Select Vehicle by Model
orMake
Model
Year
Select Vehicle by VIN
For the most accurate results, select vehicle by your VIN (Vehicle Identification Number).
1 Brake Disc found
Mercury Lynx Brake Disc
We provide a wide range of Mercury Lynx Brake Disc at the best prices possible. If you need Mercury Lynx Brake Disc, you can shop with confidence on our website. All our OEM parts come with a manufacturer's warranty and are delivered to your door step with a fast delivery service.
Mercury Lynx Brake Disc Parts Questions & Experts Answers
- Q: How to inspect and remove a brake disc on Mercury Lynx?A:Loosen the wheel lug nuts, raise the vehicle, and support it securely on jackstands. Remove the wheel and install two lug nuts to hold the disc in place. Visually inspect the disc surface for score marks and other damage; light scratches and shallow grooves are normal after use and may not affect brake operation, but deep score marks over 0.015-inch (0.38 mm) require disc removal and refinishing by an automotive machine shop. Check both sides of the disc, as severe wear may necessitate replacement. To check disc runout, attach a dial indicator to the Brake Caliper, positioning the stem about 1-inch from the outer edge of the disc. With two lug nuts installed, set the indicator to zero and turn the disc; the reading should not exceed the maximum allowable runout limit, or the disc will need machining or replacement. Professionals recommend resurfacing brake discs to ensure a smooth, flat surface that eliminates brake pedal pulsations. If not resurfacing, deglaze the brake pad surface with emery cloth or sandpaper using a swirling motion for a non-directional finish. The disc should never be machined to a thickness below the specified minimum allowable thickness, which is cast into the disc itself, and this thickness can be checked with a micrometer. Avoid allowing the caliper to hang by the brake hose and do not disconnect the hose from the caliper. Remove the two lug nuts that were used to hold the disc in place and detach the disc from the hub, then installation is the reverse of removal.


