
My Garage
My Account
Cart
Genuine Lincoln MKX Flywheel
Clutch Flywheel- Select Vehicle by Model
- Select Vehicle by VIN
Select Vehicle by Model
orMake
Model
Year
Select Vehicle by VIN
For the most accurate results, select vehicle by your VIN (Vehicle Identification Number).
4 Flywheels found
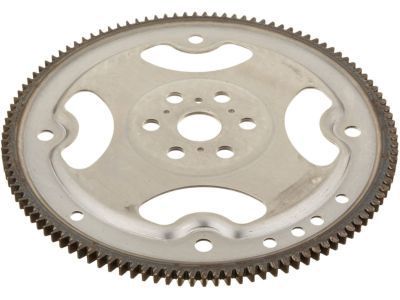
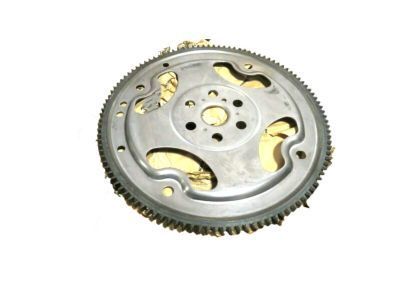
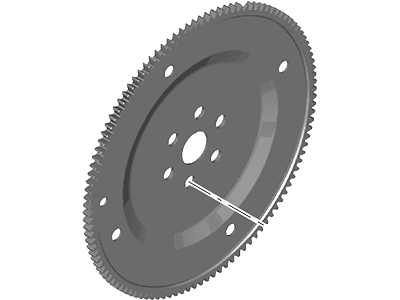
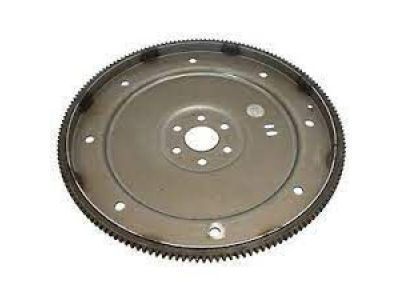
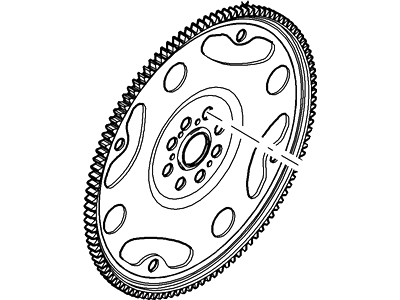
Lincoln MKX Flywheel Assembly
Part Number: 1S7Z-6375-C$75.81 MSRP: $110.83You Save: $35.02 (32%)Ships in 1-3 Business DaysLincoln MKX Flywheel Assembly
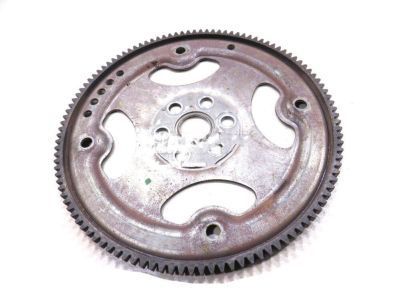
Part Number: 7T4Z-6375-AA$54.49 MSRP: $78.28You Save: $23.79 (31%)Ships in 1-2 Business DaysLincoln MKX Flywheel Assembly
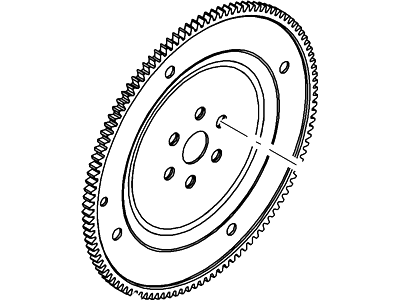
Part Number: 1S7Z-6375-B$75.81 MSRP: $110.83You Save: $35.02 (32%)Ships in 1 Business DayLincoln MKX Flywheel Assembly
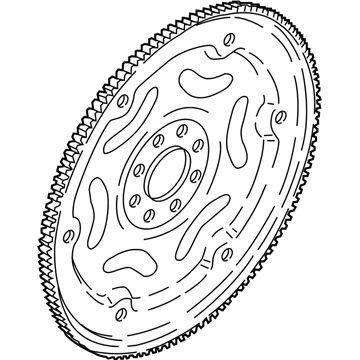
Part Number: FG9Z-6375-A$62.32 MSRP: $91.12You Save: $28.80 (32%)Ships in 1-3 Business Days
Lincoln MKX Flywheel
We provide a wide range of Lincoln MKX Flywheel at the best prices possible. If you need Lincoln MKX Flywheel, you can shop with confidence on our website. All our OEM parts come with a manufacturer's warranty and are delivered to your door step with a fast delivery service.
Lincoln MKX Flywheel Parts Questions & Experts Answers
- Q: How to remove, inspect, and install the driveplate in four cylinder engine on Lincoln MKX?A:To remove the transaxle, first check components such as oil seals and replace them if necessary. Make alignment marks on the driveplate and crankshaft to facilitate replacement, as the bolt holes are slightly offset and will only align one way. Hold the driveplate stationary while unscrewing the bolts; to prevent it from turning, insert one of the transaxle mounting bolts into the cylinder block and have an assistant engage a wide-bladed screwdriver with the starter ring gear teeth. Loosen and remove each bolt, ensuring new replacements are obtained for reassembly, as these bolts must be replaced whenever removed due to severe stresses. Carefully remove the driveplate without dropping it. Clean the driveplate to remove grease and oil, and check for cracked or broken ring gear teeth. Inspect the mating surfaces of the flywheel and crankshaft, replacing the oil seal if it is leaking, especially if the engine has high mileage. During installation, ensure the engine/transaxle adapter plate is in place, then install the driveplate on the crankshaft, aligning all bolt holes using the marks made during removal. Install the new bolts and tighten them by hand, locking the driveplate using the same method as disassembly. Tighten the new bolts in a diagonal sequence, gradually increasing to the final torque in two or three stages. The remainder of reassembly follows the reverse of the removal procedure.
