

My Garage
My Account
Cart
Genuine Lincoln Mark VII Flywheel
Clutch Flywheel- Select Vehicle by Model
- Select Vehicle by VIN
Select Vehicle by Model
orMake
Model
Year
Select Vehicle by VIN
For the most accurate results, select vehicle by your VIN (Vehicle Identification Number).
3 Flywheels found
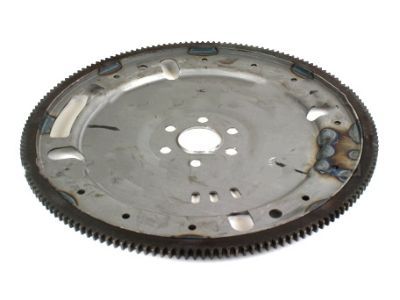
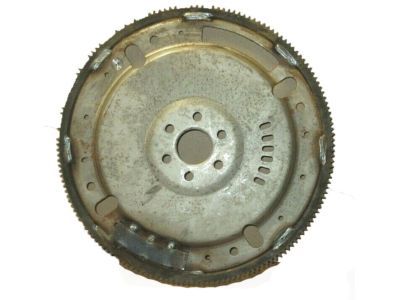
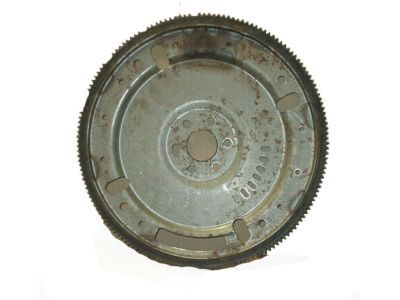
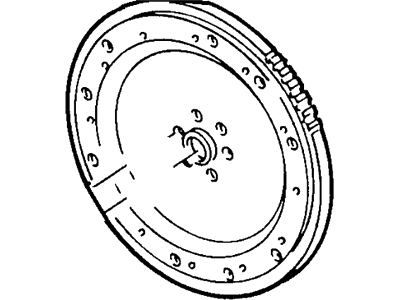
Lincoln Mark VII Flywheel
The Lincoln Mark VII Flywheel serves as a vital platform that offers both performance excellence and reliability because it promotes vehicular efficiency and safety. This storage element functions by regulating engine torques while connecting starter drives together with providing contact surfaces for clutch movement to achieve complete operational coherence. The Lincoln Mark VII Flywheel operates across multiple 1983-1993 Lincoln Mark VII models to deliver continuous power delivery as well as vibration reduction many when installed within advanced Dual Mass Flywheel (DMF) systems. The Lincoln Mark VII Flywheel sets itself apart in the automotive sector by demonstrating both high build quality and resistance to sustained task cycling yet it requires attention for clutch contact surface degeneration as well as ring gear degradation. As an important contributor to its luxury stature the Lincoln Mark VII coupe brought forward multiple cutting-edge components through its utilization of the Fox platform. The safety and luxury features of the Mark VII significantly enhance vehicle reliability because of its innovations in driver-side airbags and full air suspension system alongside the Flywheel. Engineered to serve the Lincoln model the Flywheel becomes a vital engineering piece which improves both performance and gives drivers enjoyable and safe rides leading it to stand out as a key feature across the automaker vehicles.
We provide a wide range of Lincoln Mark VII Flywheel at the optimal prices. If you need Lincoln Mark VII Flywheel, you can shop with confidence on our website. All our OEM parts come with a manufacturer's warranty and are delivered to your doorstep with a fast delivery service.
Lincoln Mark VII Flywheel Parts Questions & Experts Answers
- Q:How to remove and reinstall a Flywheel on Lincoln Mark VII?Posted by Thurman L.A:Disconnect the battery cable from the negative battery terminal. Raise the vehicle and support it securely on jackstands, then remove the transmission. If it's leaking, now would be a very good time to have the automatic transmission front pump seal/O-ring replaced. Look for factory paint marks that indicate Flywheel-to-crankshaft alignment. If they aren't there, use paint or a center-punch to make alignment marks on the Flywheel and crankshaft to ensure correct alignment during reinstallation. Remove the bolts that secure the Flywheel to the crankshaft. If the crankshaft turns, wedge a screwdriver through the starter opening to jam the Flywheel. Note: The Flywheel can also be held in place, with the help of an assistant, by using a socket and breaker bar on the damper bolt at the front end of the crankshaft. Remove the Flywheel from the crankshaft. Since the Flywheel is fairly heavy, be sure to support it while removing the last bolt. Clean the Flywheel to remove grease and oil. Inspect the surface for cracks, rivet grooves, burned areas and score marks. Light scoring can be removed with emery cloth. Check for cracked and broken ring gear teeth. Lay the flywheel on a flat surface and use a straightedge to check for warpage. Clean and inspect the mating surfaces of the Flywheel and the crankshaft. If the crankshaft rear seal is leaking, replace it before reinstalling the Flywheel. Position the Flywheel against the crankshaft. Be sure to align the marks made during removal. Note that some engines have an alignment dowel or staggered bolt holes to ensure correct installation. Before installing the bolts, apply Teflon pipe sealant to the threads. Wedge a screwdriver through the starter motor opening to keep the Flywheel from turning as you tighten the bolts. The remainder of installation is the reverse of the removal procedure.Answered by Ford Parts Specialist Patrick / Jul 20, 2023


