
My Garage
My Account
Cart
Genuine Ford Ranger Brake Master Cylinder
- Select Vehicle by Model
- Select Vehicle by VIN
Select Vehicle by Model
orMake
Model
Year
Select Vehicle by VIN
For the most accurate results, select vehicle by your VIN (Vehicle Identification Number).
14 Brake Master Cylinders found
Ford Ranger Master Cylinder Repair Kit
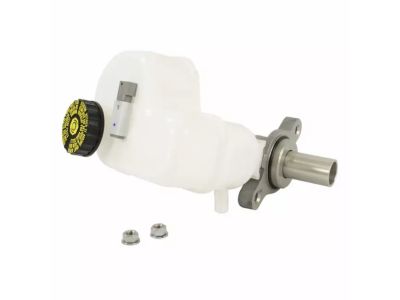
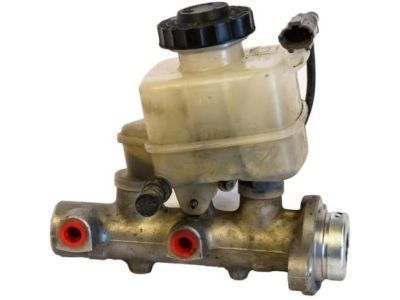
Part Number: AL5Z-2140-A$437.64 MSRP: $730.00You Save: $292.36 (41%)Ships in 1-3 Business DaysFord Ranger Master Cylinder Repair Kit
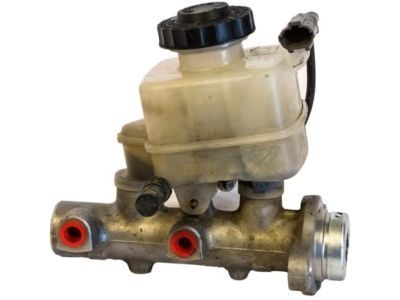
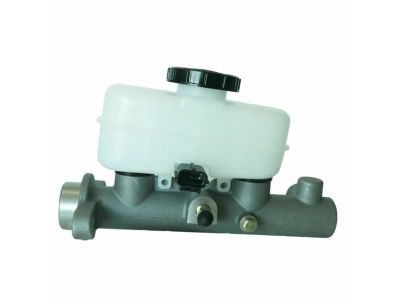
Part Number: KB3Z-2140-A$176.00 MSRP: $290.91You Save: $114.91 (40%)Ships in 1-3 Business DaysFord Ranger Master Cylinder Assembly
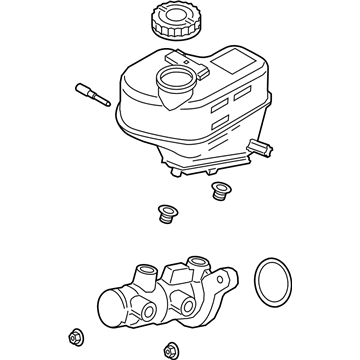
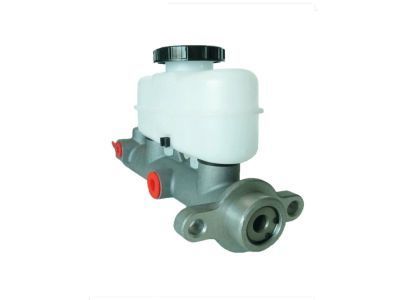
Part Number: F87Z-2140-EB$150.98 MSRP: $206.29You Save: $55.31 (27%)Ford Ranger Master Cylinder Assembly
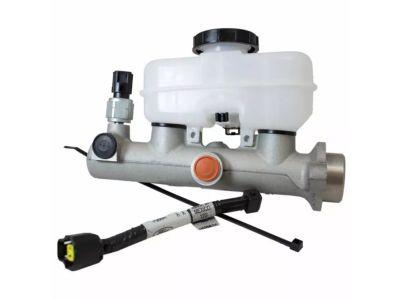
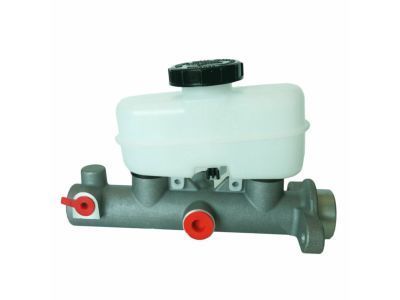
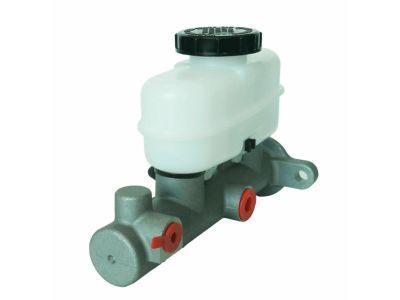
Part Number: F67Z-2140-JA$292.12 MSRP: $487.27You Save: $195.15 (41%)Ships in 1-2 Business DaysFord Ranger Master Cylinder Assembly
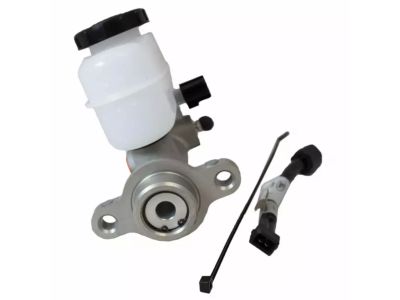
Part Number: 6L5Z-2140-AA$105.05 MSRP: $173.64You Save: $68.59 (40%)Ships in 1-2 Business DaysFord Ranger Master Cylinder Assembly
Part Number: YL2Z-2140-AA$105.05 MSRP: $173.64You Save: $68.59 (40%)Ships in 1-2 Business DaysFord Ranger Master Cylinder Assembly
Part Number: 6L5Z-2140-BA$208.61 MSRP: $289.79You Save: $81.18 (29%)Ships in 1-2 Business DaysFord Ranger Master Cylinder Repair Kit
Part Number: 7L5Z-2140-AA$159.60 MSRP: $254.55You Save: $94.95 (38%)
Ford Ranger Brake Master Cylinder
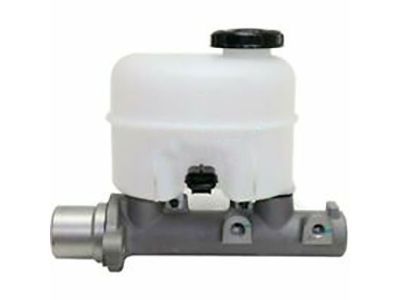
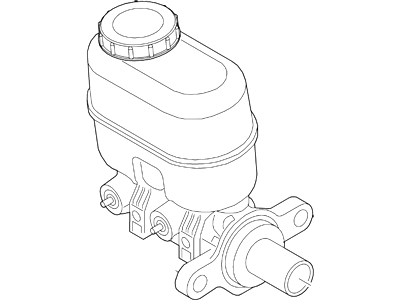
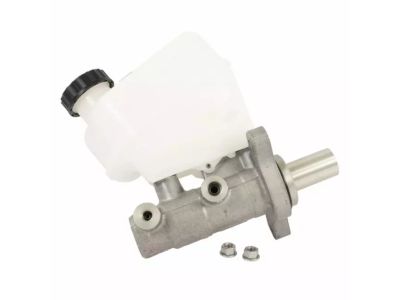
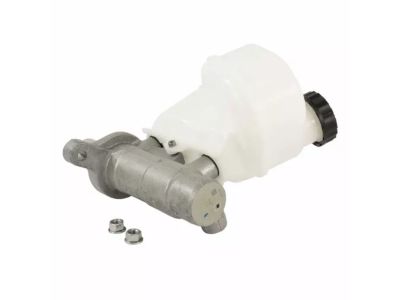
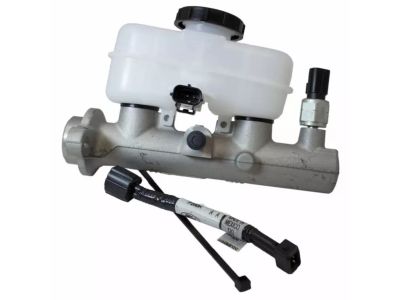
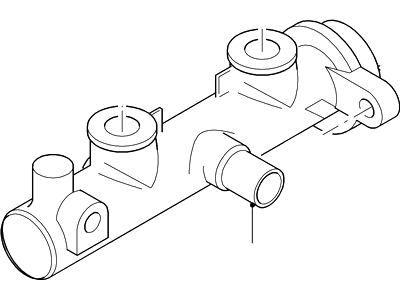
Brake Master Cylinder is an important item on the brake assembly system in Ford Ranger particularly as it transmits the pressure from the driver's foot in to hydraulic pressure for the brake. This works through the use of hydraulic fluid to exert pressure to the calipers or drum brake in order to create the friction required in stopping the car. Traditionally, there are some of the Ford Ranger models that incorporate the dual circuit master cylinder which serves to mean that even if the one circuit is defective, the other will be sufficient to offer the braking force. In the course of the years, vehicles Ford Ranger Brake Master Cylinders were of cast iron or aluminum with a choice of an integrated or an external reservoir. Integral reservoirs have only one cap, however, in external ones there can be one or two threaded caps. These differences affect the maintenance and the fluid management since the external reservoirs are more susceptible to crackage.
We provide a wide range of Ford Ranger Brake Master Cylinder at the best prices possible. If you need Ford Ranger Brake Master Cylinder, you can shop with confidence on our website. All our OEM parts come with a manufacturer's warranty and are delivered to your door step with a fast delivery service.
Ford Ranger Brake Master Cylinder Parts Questions & Experts Answers
- Q: What should be checked before deciding to overhaul the master cylinder on 2000-2011 Ford Ranger?A:They should first check on the availability, and the cost of getting either a new brake master cylinder or a factory rebuilt one and more so, the availability of a rebuild kit. Put some pieces of cloth beneath the brake line fittings and if possible have caps or plastic bags ready to be placed on the open ends of the lines if cut since it has the tendency to stain paint. Remove the tube nuts at the ends of the brake lines where they go into the brake master cylinder while use of flare-nut wrench in order to avoid rounding of nut flats. Remove the brake lines from the brake master cylinder slightly, and protect the ends for contamination. If equipped, disconnect the brake warning light electrical connector: Unbolt the two brake master cylinder mounting nuts; remove the brake master cylinder from the vehicle. Twist the egg beater cap and empty the egg beater reservoir then dispose any fluid that may have been left in the reservoir. Place the brake master cylinder in an appropriate constrained manner through the use of a vise in a way that the jaws of the vise are placed on the mounting flange. Take out the initial piston snap-ring by pushing the piston down and utilizing the snap-ring pliers to meditate it. Take out the primary piston assembly from the cylinder bore, then the secondary piston assembly which can be done by inverting the brake master cylinder and then gently tapping it on a wooden block. If fluid has leaked past the reservoir grommets simply pry the reservoir off the cylinder body and remove the grommets, care must be taken when doing this as they can be easily lost Clean the brake master cylinder body and the components with brake system cleaner. Check also the cylinder bore for rust and other signs of wear, if there is any, then replace the brake master cylinder. This is by using a silicone grease to get the new reservoir grommets and use a pressure to push them into the brake master cylinder body, to fit in appropriately. Ensure that the working surface of the lay the reservoir on a hard and then fit the brake master cylinder body to the reservoir with a rocking action. The cylinder bore and piston assemblies should be lubricated with clean brake fluid before the secondary piston assembly is placed into the cylinder. Screw in the primary piston assembly and compress it before putting in the snap-ring, and a stop bolt if any. Check the reservoir cap and diaphragm for cracking and deformation and replace if found to be bad. Fit threaded plugs into the cylinder outlet holes and put brake fluid into the reservoirs while standing under the brake master cylinder to avoid drips during bench bleeding. One plug at a time is to be unscrewed beginning from the secondary outlet port and a force is to be applied to the piston assembly to push into the bore so as to expel the air from the brake master cylinder before a plug is replaced while the piston draws back. Pump the piston several times for each outlet so that all the air is eliminated from the disconnected extremities. The other method is a modification of this process where one plug is unscrewed and capped with the finger to eliminate the flow of air back into the container; brake fluid is then drawn to the desired quantity before the same process is repeated. Reservoirs of the brake master cylinder should be refilled and the diaphragm and cap assembly should be fitted. On vehicles produced prior to 2002, a hand-held vacuum pump is to be used to evacuate the power booster, and then measure distance from the external end of the booster pushrod to the front of the brake booster assembly and make adjustments if needed. Reinstall the brake master cylinder by doing the reverse of the steps used while removing it and then you bleed the brakes.
Related Ford Ranger Parts
Browse by Year
2023 Brake Master Cylinder 2022 Brake Master Cylinder 2021 Brake Master Cylinder 2020 Brake Master Cylinder 2019 Brake Master Cylinder 2011 Brake Master Cylinder 2010 Brake Master Cylinder 2009 Brake Master Cylinder 2008 Brake Master Cylinder 2007 Brake Master Cylinder 2006 Brake Master Cylinder 2005 Brake Master Cylinder 2004 Brake Master Cylinder 2003 Brake Master Cylinder 2002 Brake Master Cylinder 2001 Brake Master Cylinder 2000 Brake Master Cylinder 1999 Brake Master Cylinder 1998 Brake Master Cylinder 1997 Brake Master Cylinder 1996 Brake Master Cylinder 1994 Brake Master Cylinder 1993 Brake Master Cylinder 1992 Brake Master Cylinder 1991 Brake Master Cylinder 1990 Brake Master Cylinder
