
My Garage
My Account
Cart
Genuine Ford Mustang Brake Master Cylinder
- Select Vehicle by Model
- Select Vehicle by VIN
Select Vehicle by Model
orMake
Model
Year
Select Vehicle by VIN
For the most accurate results, select vehicle by your VIN (Vehicle Identification Number).
14 Brake Master Cylinders found
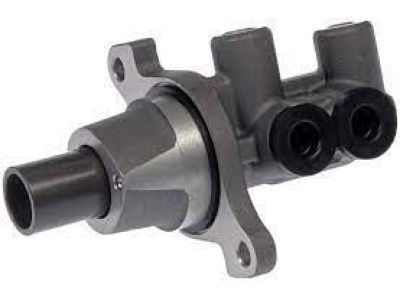
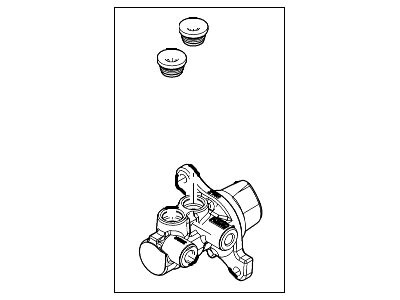
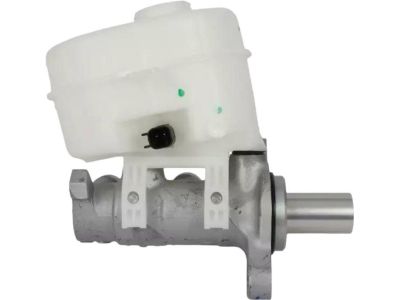
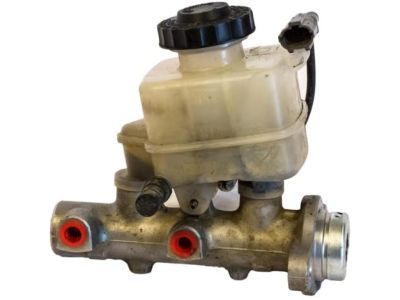
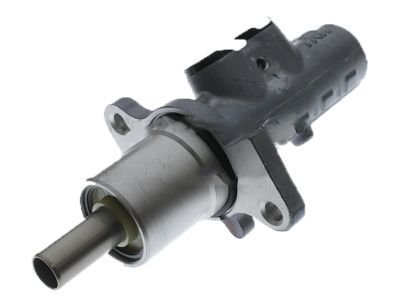
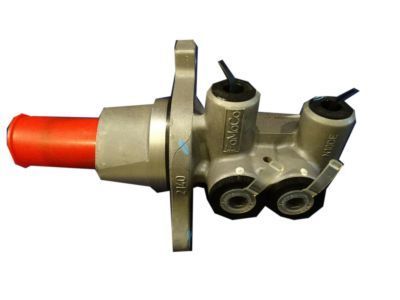
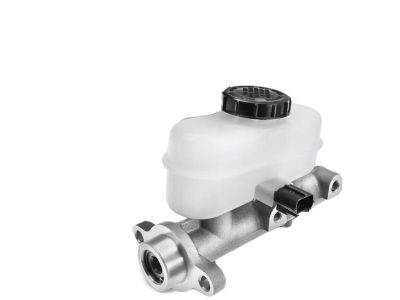
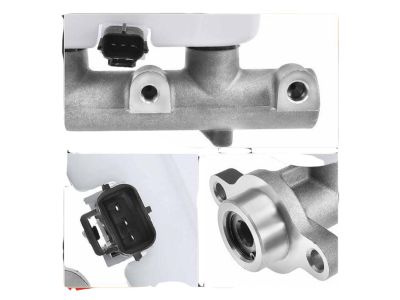
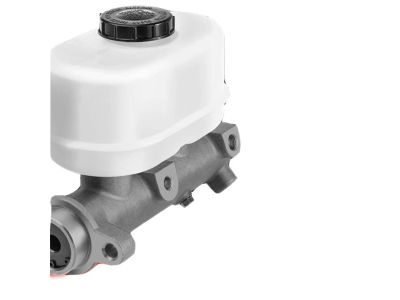
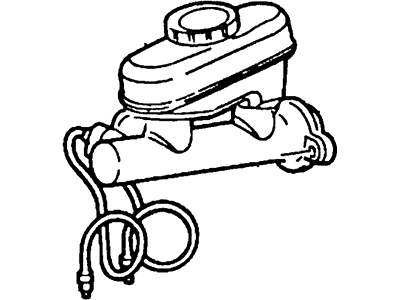
Ford Mustang Master Cylinder Assembly
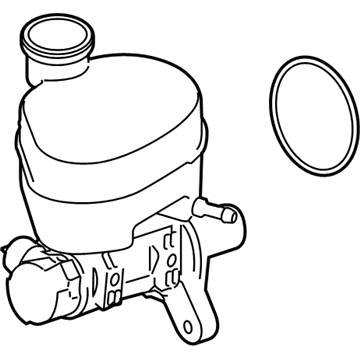
Part Number: CR3Z-2140-A$145.20 MSRP: $240.00You Save: $94.80 (40%)Ships in 1-2 Business DaysFord Mustang Master Cylinder Assembly
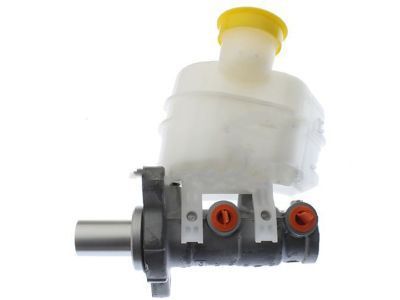
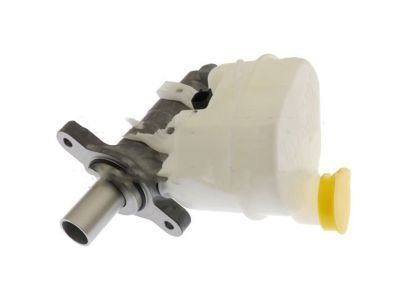
Part Number: AR3Z-2140-A$145.20 MSRP: $240.00You Save: $94.80 (40%)Ships in 1-2 Business DaysFord Mustang Master Cylinder Assembly
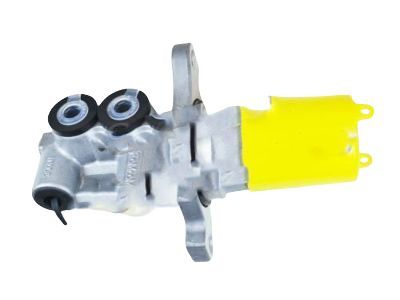
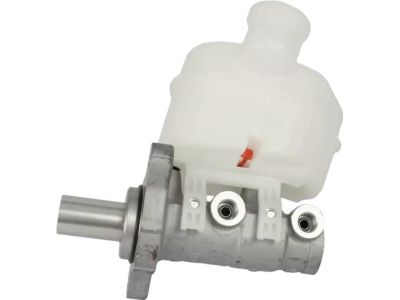
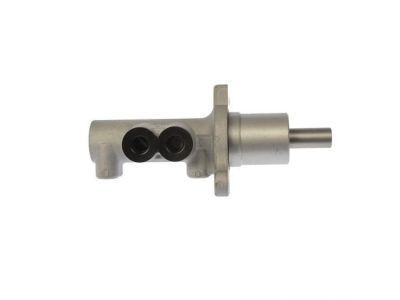
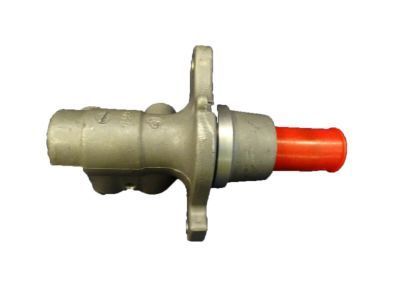
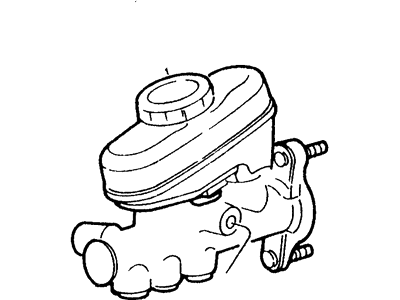
Part Number: FR3Z-2140-C$160.93 MSRP: $266.00You Save: $105.07 (40%)Ships in 1-3 Business DaysFord Mustang Master Cylinder Assembly
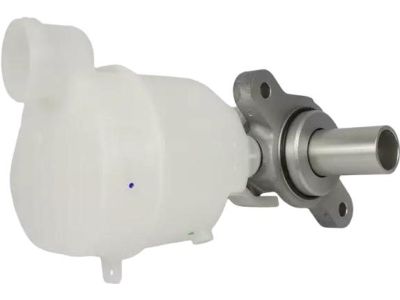
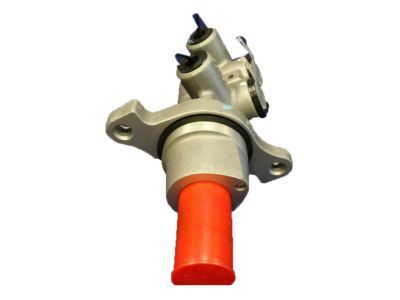
Part Number: FR3Z-2140-A$158.46 MSRP: $268.00You Save: $109.54 (41%)Ships in 1-3 Business DaysFord Mustang Master Cylinder Assembly
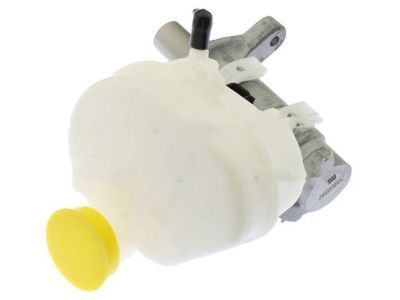
Part Number: FR3Z-2140-D$144.27 MSRP: $244.00You Save: $99.73 (41%)Ships in 1-3 Business DaysFord Mustang Master Cylinder Assembly
Part Number: FR3Z-2140-B$162.14 MSRP: $268.00You Save: $105.86 (40%)Ships in 1-3 Business Days
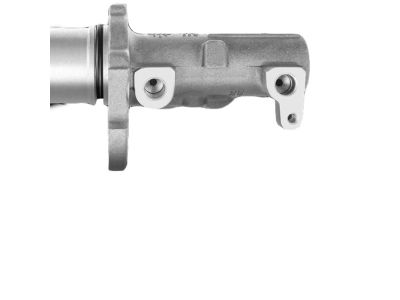
Ford Mustang Brake Master Cylinder
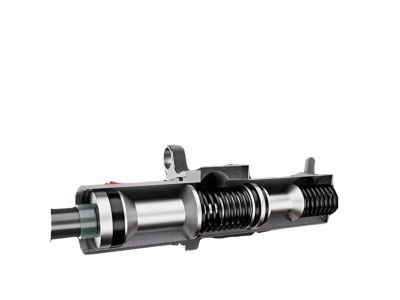
Brake Master Cylinder in the Ford Mustang car type is responsible for converting the force exerted by the foot into hydraulic pressure that commands over the slave cylinders. In this system, hydraulic fluid is used to relay force developed on the master cylinder principal to that of the slave cylinders which improves on force as well as displacement. Possessing Dual circuit master cylinders with two piston, enables even in case of hydraulic failure in one, the residual pressure in the remaining circuit is adequate to enable the car to stop. The master cylinder is instrumental in either operating calipers or drum brakes and use friction to bring the wheels to a halt while also operating the slave cylinder for the engagement of the clutch. The Brake Master Cylinder helps to control the hydraulic force and the pressure distribution to produce a flank and safe functionality of the brake and clutch system of any vehicle.
We provide a wide range of Ford Mustang Brake Master Cylinder at the best prices possible. If you need Ford Mustang Brake Master Cylinder, you can shop with confidence on our website. All our OEM parts come with a manufacturer's warranty and are delivered to your door step with a fast delivery service.
Ford Mustang Brake Master Cylinder Parts Questions & Experts Answers
- Q: How to remove and install a master cylinder on Ford Mustang?A:Brake fluid may damage paint, so cover all painted surfaces and avoid spilling fluid during the procedure. To remove the brake master cylinder, start by removing the mounting fasteners for the air conditioning accumulator/drier and siphoning the brake fluid from the brake master cylinder reservoir. Unplug the electrical connector for the fluid level sensor and, if applicable, remove the hose from the fluid reservoir leading to the clutch master cylinder. Place rags under the brake line fittings, then unscrew the tube nuts at the brake master cylinder, and plug the ends of the lines to prevent contamination. Remove the brake master cylinder mounting nuts and detach it from the power Brake Booster. Discard any remaining fluid in the reservoir. If installing a new brake master cylinder without a reservoir, transfer the reservoir from the old brake master cylinder to the new one using new seals. Bench bleed the new brake master cylinder before installing it. Mount the brake master cylinder in a vise and attach a pair of brake master cylinder bleeder tubes to the outlet ports. Fill the reservoir with the recommended brake fluid, and slowly push the pistons into the brake master cylinder to expel air from the pressure chambers into the reservoir. Repeat until no more air bubbles are present. Remove the bleed tubes, install plugs in the open ports, and install the reservoir cap. Install the brake master cylinder over the power brake booster studs, tighten the mounting nuts, and thread the brake line fittings into the brake master cylinder. Fully tighten the mounting nuts and brake line fittings securely. Fill the brake master cylinder reservoir with fluid, bleed the brake master cylinder and brake system, then rinse the area under the brake master cylinder with clean water. Test the brake system's operation before using the vehicle normally.
Related Ford Mustang Parts
Browse by Year
2023 Brake Master Cylinder 2022 Brake Master Cylinder 2021 Brake Master Cylinder 2020 Brake Master Cylinder 2019 Brake Master Cylinder 2018 Brake Master Cylinder 2017 Brake Master Cylinder 2016 Brake Master Cylinder 2015 Brake Master Cylinder 2014 Brake Master Cylinder 2013 Brake Master Cylinder 2012 Brake Master Cylinder 2011 Brake Master Cylinder 2010 Brake Master Cylinder 2009 Brake Master Cylinder 2008 Brake Master Cylinder 2007 Brake Master Cylinder 2006 Brake Master Cylinder 2005 Brake Master Cylinder 2004 Brake Master Cylinder 2003 Brake Master Cylinder 2002 Brake Master Cylinder 2001 Brake Master Cylinder 2000 Brake Master Cylinder 1999 Brake Master Cylinder 1998 Brake Master Cylinder 1997 Brake Master Cylinder 1996 Brake Master Cylinder 1986 Brake Master Cylinder 1985 Brake Master Cylinder 1984 Brake Master Cylinder 1983 Brake Master Cylinder 1982 Brake Master Cylinder
