
My Garage
My Account
Cart
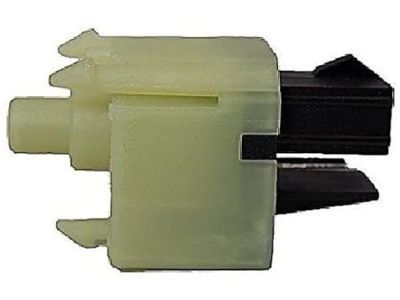
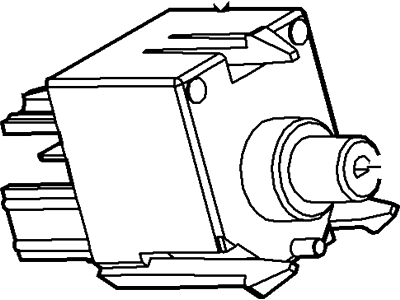
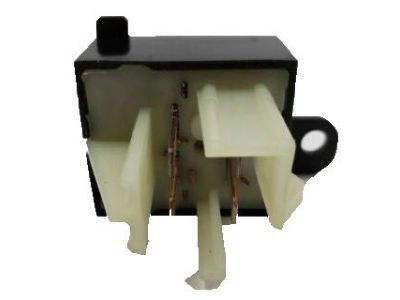
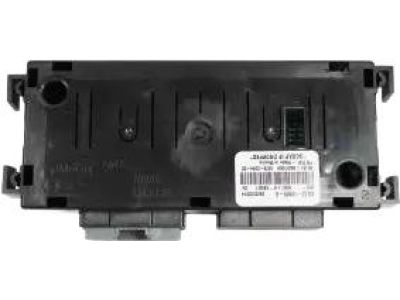
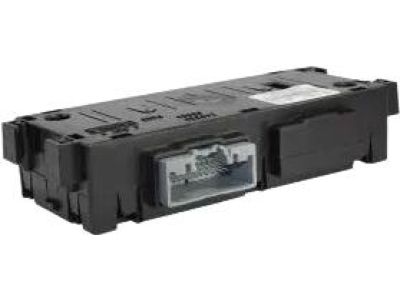
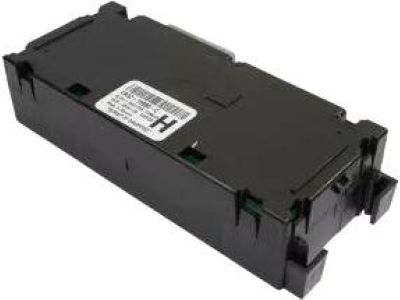
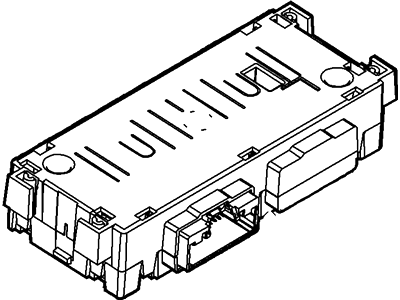
Genuine Ford Mustang A/C Switch
Air Conditioning Switch- Select Vehicle by Model
- Select Vehicle by VIN
Select Vehicle by Model
orMake
Model
Year
Select Vehicle by VIN
For the most accurate results, select vehicle by your VIN (Vehicle Identification Number).
37 A/C Switches found
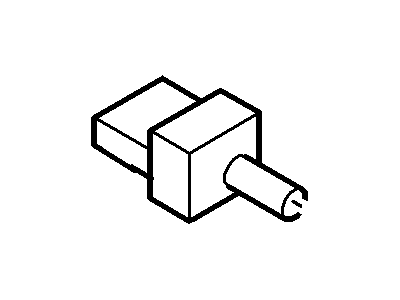
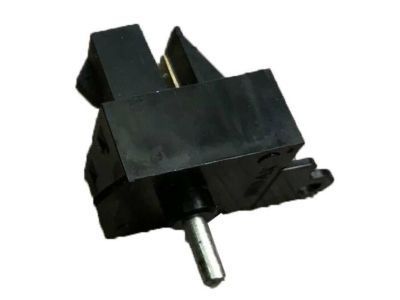
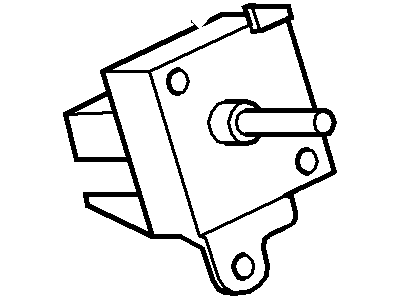
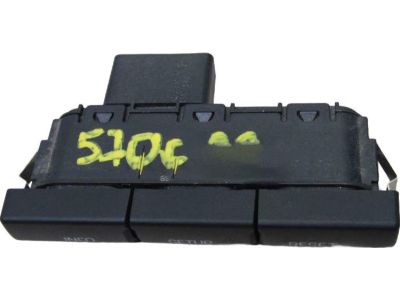
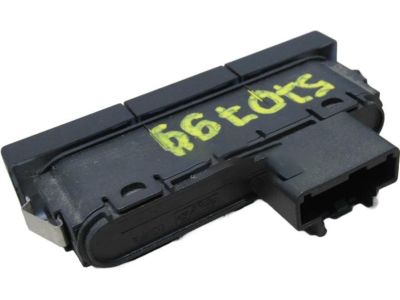
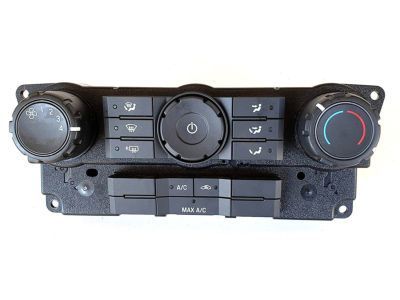
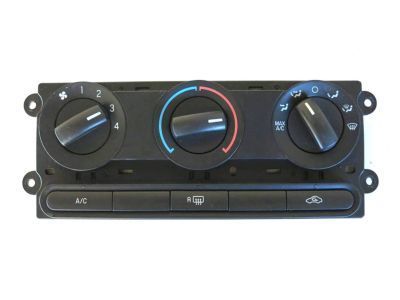
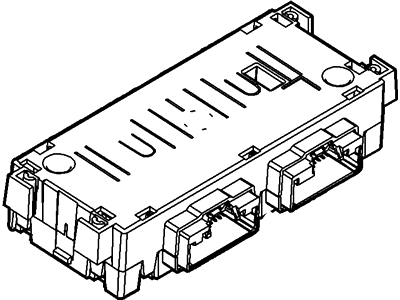
Ford Mustang Switch Assembly
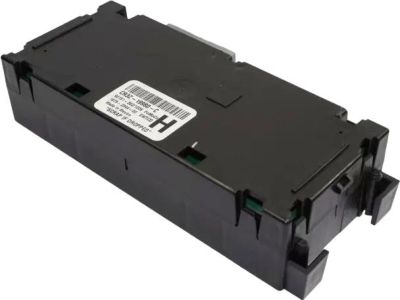
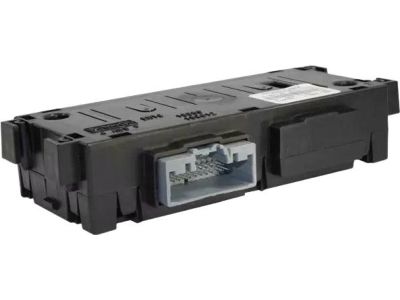
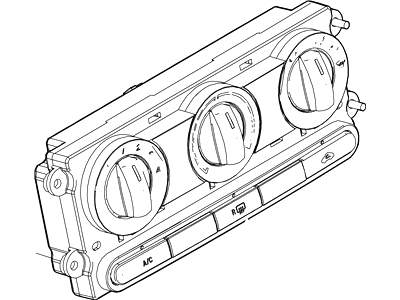
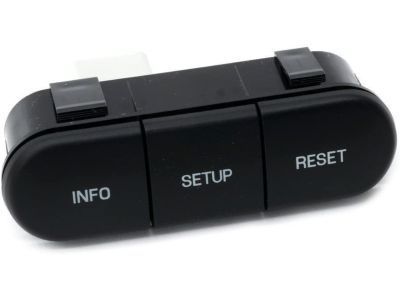
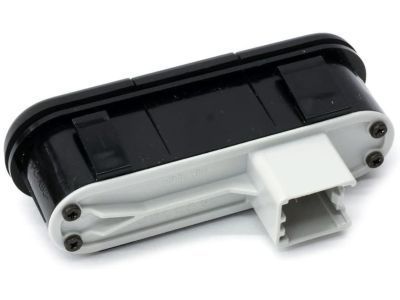
Part Number: 7C3Z-19986-A$20.57 MSRP: $32.80You Save: $12.23 (38%)Ships in 1-2 Business DaysFord Mustang Switch Assembly
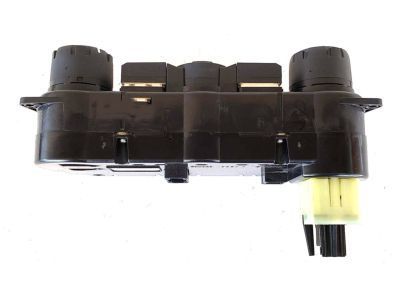
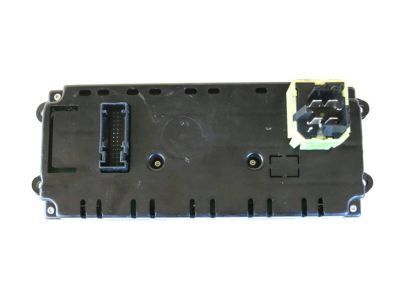
Part Number: F4DZ-19986-A$28.26 MSRP: $45.07You Save: $16.81 (38%)Ships in 1-2 Business DaysFord Mustang Switch Assembly
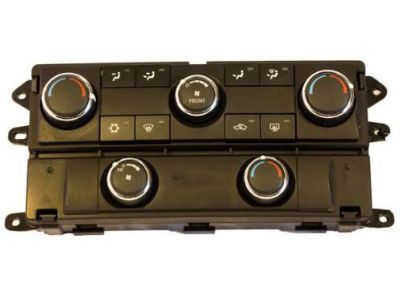
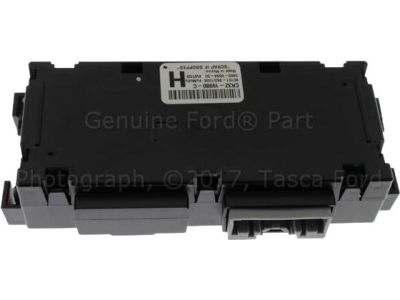
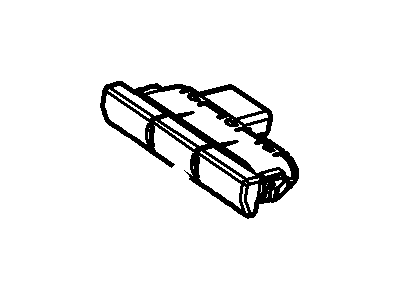
Part Number: E6DZ-19986-A$24.30 MSRP: $38.76You Save: $14.46 (38%)Ships in 1 Business DayFord Mustang Heater Control Assembly
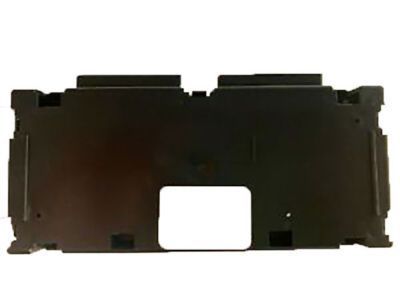
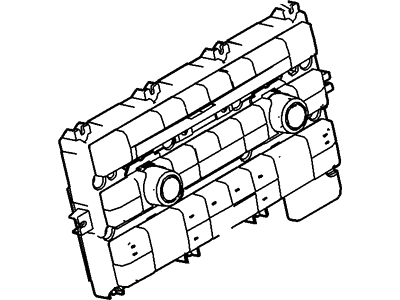
Part Number: CR3Z-19980-C$142.78 MSRP: $236.00You Save: $93.22 (40%)Ships in 1-3 Business DaysFord Mustang Switch Assembly
Part Number: AR3Z-18578-AA$37.01 MSRP: $51.41You Save: $14.40 (29%)Ships in 1-2 Business DaysFord Mustang Heater Control Assembly
Part Number: CR3Z-19980-D$147.62 MSRP: $244.00You Save: $96.38 (40%)Ships in 1-3 Business DaysFord Mustang Heater Control Assembly
Part Number: AR3Z-19980-C$142.78 MSRP: $236.00You Save: $93.22 (40%)Ships in 1-3 Business DaysFord Mustang Heater Control Assembly
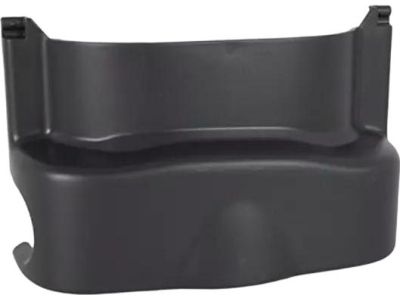
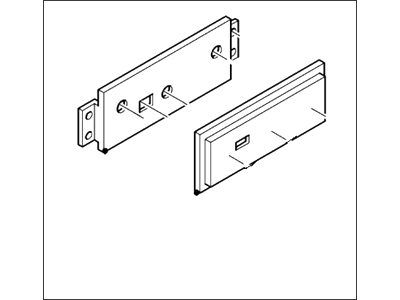
Part Number: AR3Z-19980-D$147.62 MSRP: $244.00You Save: $96.38 (40%)Ships in 1-3 Business DaysFord Mustang Bezel
Part Number: AR3Z-18842-AA$572.51 MSRP: $851.95You Save: $279.44 (33%)Ships in 1-3 Business DaysFord Mustang Heater Control Assembly
Part Number: BR3Z-19980-A$142.78 MSRP: $236.00You Save: $93.22 (40%)Ships in 1-3 Business DaysFord Mustang Heater Control Assembly
Part Number: BR3Z-19980-B$147.62 MSRP: $244.00You Save: $96.38 (40%)Ships in 1-3 Business Days
| Page 1 of 2 |Next >
1-20 of 37 Results
Ford Mustang A/C Switch
We provide a wide range of Ford Mustang A/C Switch at the best prices possible. If you need Ford Mustang A/C Switch, you can shop with confidence on our website. All our OEM parts come with a manufacturer's warranty and are delivered to your door step with a fast delivery service.
Ford Mustang A/C Switch Parts Questions & Experts Answers
- Q: How do you remove and reinstall the control assembly for Ford Mustang?A:For 2010 and earlier models, start by removing the instrument panel center trim bezel and then proceed to remove the mounting screws for the control assembly, separating it from the bezel. To reinstall, reverse the removal steps, ensuring all electrical connectors are reconnected before installing the center trim bezel. For 2011 and later models, it's essential to note that multiple modules control heating and air conditioning functions: the A/C Switch, Front Controls Interface Module (FCIM), and Front Display Interface Module (FDIM). They collaborate and independently manage HVAC systems. The A/C Switch is behind the FCIM and FDIM. While you can replace the A/C Switch at home, the FDIM replacement must be handled by a dealer service department due to the need for module configuration programming. Begin by disconnecting the negative battery cable. For the Front Controls Interface Module (FCIM), on automatic transmission models, shift the lever to neutral and remove the shift lever trim panel. Slide back the floor console trim after removing its screws, and then take out the screws from the bottom of the center trim panel. Use a plastic trim tool to disengage the retaining clips and remove the FCIM assembly from the instrument panel. Disconnect the electrical connectors at the module and reverse these steps for installation. For the A/C Switch, first, remove the FCIM and FDIM modules. Disconnect the electrical connector/harnesses at the front of the module, taking note of the number of connectors depending on your model's temperature control type. Depress the tabs on the sides of the module and remove it. Installation is the reverse of removal.
Related Ford Mustang Parts
Browse by Year
2023 A/C Switch 2022 A/C Switch 2021 A/C Switch 2020 A/C Switch 2019 A/C Switch 2018 A/C Switch 2017 A/C Switch 2016 A/C Switch 2015 A/C Switch 2014 A/C Switch 2013 A/C Switch 2012 A/C Switch 2011 A/C Switch 2010 A/C Switch 2009 A/C Switch 2008 A/C Switch 2007 A/C Switch 2006 A/C Switch 2005 A/C Switch 2004 A/C Switch 2003 A/C Switch 2002 A/C Switch 2001 A/C Switch 2000 A/C Switch 1999 A/C Switch 1998 A/C Switch 1997 A/C Switch 1996 A/C Switch 1995 A/C Switch 1994 A/C Switch 1993 A/C Switch 1992 A/C Switch 1991 A/C Switch 1990 A/C Switch 1989 A/C Switch 1988 A/C Switch 1987 A/C Switch
