
My Garage
My Account
Cart
Genuine Ford Focus Pressure Plate
Clutch Pressure Plate- Select Vehicle by Model
- Select Vehicle by VIN
Select Vehicle by Model
orMake
Model
Year
Select Vehicle by VIN
For the most accurate results, select vehicle by your VIN (Vehicle Identification Number).
10 Pressure Plates found
Ford Focus Clutch Pressure Plate
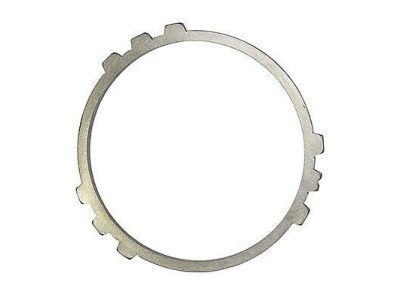
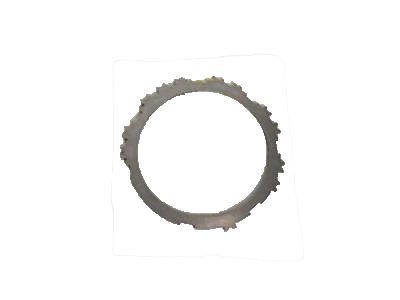
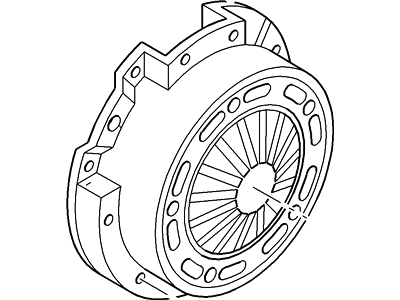
Part Number: 9L8Z-7B066-C$5.32 MSRP: $7.58You Save: $2.26 (30%)Ships in 1-3 Business DaysFord Focus Clutch Pressure Plate
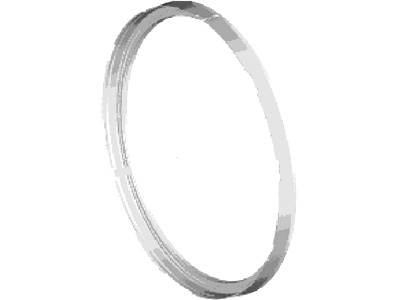
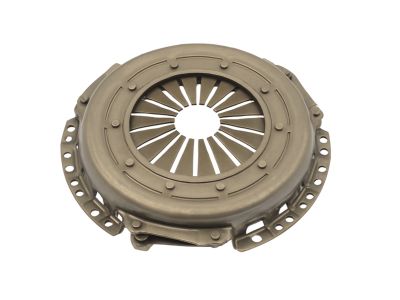
Part Number: CV6Z-7B066-A$10.06 MSRP: $14.33You Save: $4.27 (30%)Ships in 1-3 Business DaysFord Focus Clutch Pressure Plate
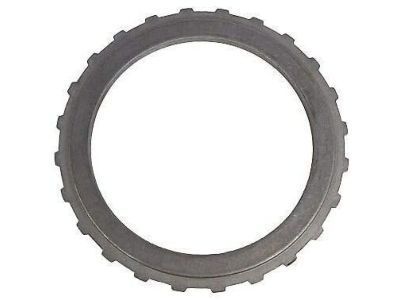
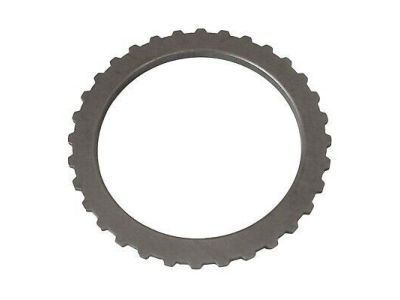
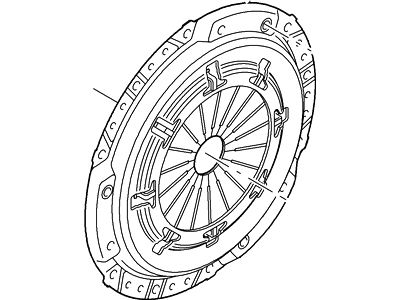
Part Number: XS4Z-7B066-CB$19.95 MSRP: $29.17You Save: $9.22 (32%)Ships in 1-2 Business DaysFord Focus Clutch Pressure Plate Assembly
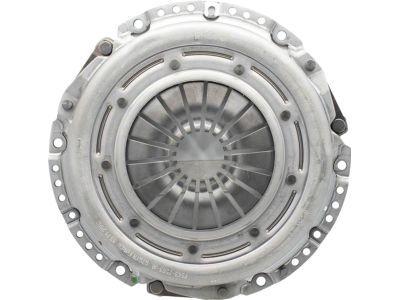
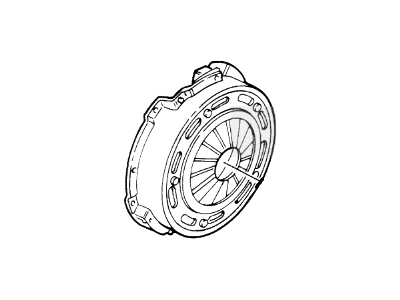
Part Number: 7S4Z-7563-A$90.04 MSRP: $131.63You Save: $41.59 (32%)Ships in 1-3 Business DaysFord Focus Clutch Pressure Plate Assembly
Part Number: 6S4Z-7563-A$90.04 MSRP: $131.63You Save: $41.59 (32%)Ships in 1-3 Business DaysFord Focus Clutch Pressure Plate
Part Number: XS4Z-7B066-AB$18.57 MSRP: $25.37You Save: $6.80 (27%)Ships in 1-2 Business DaysFord Focus Cover
Part Number: YS4Z-7563-BC$107.67 MSRP: $147.11You Save: $39.44 (27%)Ships in 1-2 Business DaysFord Focus Clutch Pressure Plate
Part Number: FD8Z-7B066-B$52.27 MSRP: $80.67You Save: $28.40 (36%)Ships in 1-3 Business Days
Ford Focus Pressure Plate
We provide a wide range of Ford Focus Pressure Plate at the best prices possible. If you need Ford Focus Pressure Plate, you can shop with confidence on our website. All our OEM parts come with a manufacturer's warranty and are delivered to your door step with a fast delivery service.
Ford Focus Pressure Plate Parts Questions & Experts Answers
- Q: How is the removal Clutch Disc and Pressure Plate on Ford Focus?A:The clutch can be accessed either by extracting the complete engine/transaxle assembly and then they can be split either on a bench or, the engine can remain mounted inside the car and the transaxle can be removed all by itself. After you take the transaxle off, locate and examine any signs that may show the position of the clutch cover relative to the flywheel; if none exist, make your own. Remove the six clutch cover retaining bolts in a star like manner and loosen them gradually, while if there is need to hold the flywheel, do so. After that, gently take off the clutch cover and make sure that you catch the friction disc when it falls; you should also remember the direction by which it should be installed. Check all clutch parts for wear special with in friction disc and if the part is not almost new then consider replacement of all. Look at sections of the friction disc for signs of wear, missing or loose rivets or any sign that the disc has been in contact with oil which will require replacement and to stop the leak. Examine the machined faces of the flywheel and the pressure plate for grooves or cracks and if present replace them. Finally, if you need to remove the transaxle, then it is not a bad idea to inspect, and most of the time, replace the release bearing that is connected with the slave cylinder. Shut the engine off during installation and avoid any friction of the oil or grease to the friction material then position the friction disc rightly against the flywheel. Place the clutch cover on the dowels and then fit the retaining bolts and tighten it only slightly. Centre the friction disc with the help of a clutch alignment tool so that it mated correctly with the gearbox input shaft. If you centralized it, gradually increase the torque of the cover bolts to the mentioned torque, clean the splines of the input shaft, apply a layer of high-temperature grease and the final is placing the transaxle to the engine.
