
My Garage
My Account
Cart
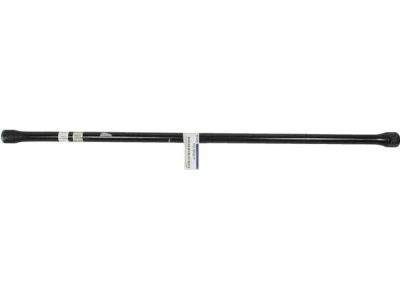
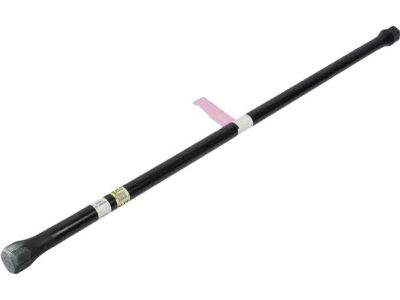
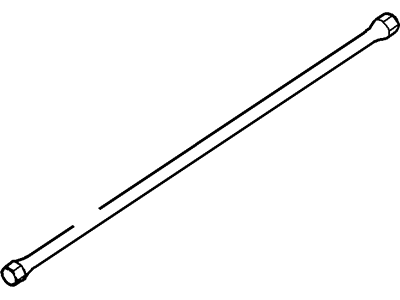
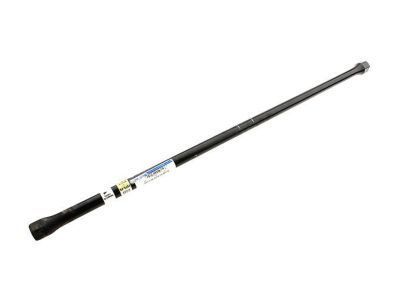
Genuine Ford Explorer Torsion Bar
Suspension Torsion Bar- Select Vehicle by Model
- Select Vehicle by VIN
Select Vehicle by Model
orMake
Model
Year
Select Vehicle by VIN
For the most accurate results, select vehicle by your VIN (Vehicle Identification Number).
10 Torsion Bars found
Ford Explorer Torsion Bar
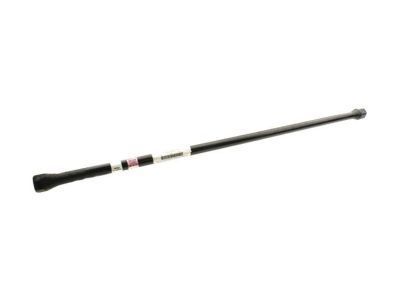
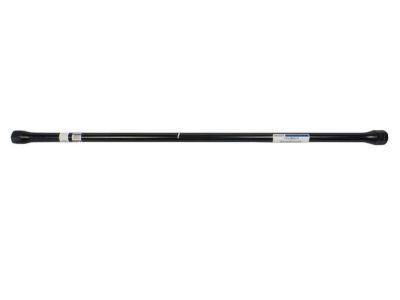
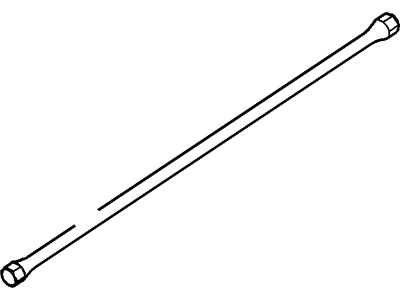
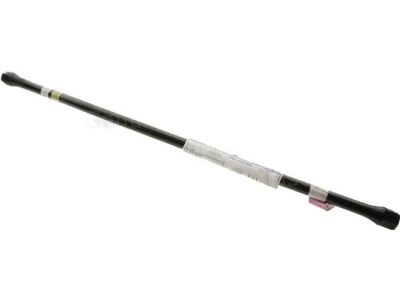
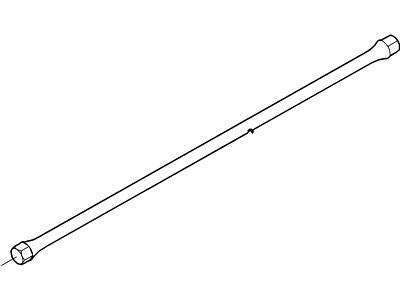
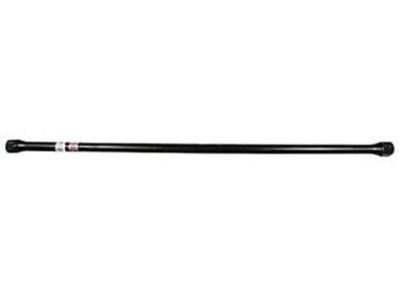
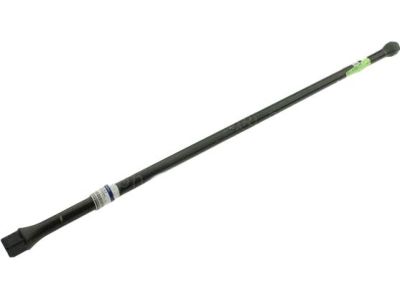
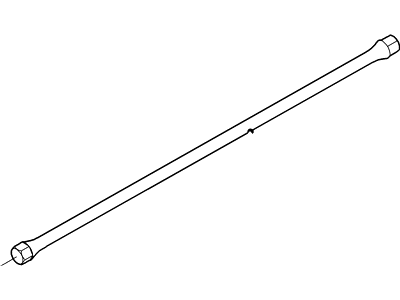
A Ford Explorer vehicle depends on its Torsion Bar to function as a basic suspension element which distributes weight evenly during movement and creates a comfortable driving experience. The Torsion Bar moves by twisting under load since one end remains fixed to the frame and the second end attaches to the suspension. The product features end connectors with adjustable bolts which enable users to modify vehicle ride height thus maintaining optimum handling alignment. Over time Ford Explorer vehicles introduced different styles of Torsion Bar which succeeded in attaining better performance since they were positioned in longitudinal direction. Custom performance Torsion Bar with elevated spring rates exist to improve handling characteristics as well as loading ability and enhance their ability to withstand tough off-road situations. Regular inspections of Ford Explorer Torsion Bar should be maintained for all vehicles but inspections are crucial for off-road vehicles since the components can develop fatigue that leads to damage.
We provide a wide range of Ford Explorer Torsion Bar at the best prices possible. If you need Ford Explorer Torsion Bar, you can shop with confidence on our website. All our OEM parts come with a manufacturer's warranty and are delivered to your door step with a fast delivery service.
Ford Explorer Torsion Bar Parts Questions & Experts Answers
- Q: How to remove and install torsion bars on Ford Explorer?A:Before removing or adjusting the torsion bar(s), measure the existing ride height, which is the difference in measurement to the ground from the center of the lower arm's inner mounting bolt and the lowest part of the spindle. Position the front wheels straight ahead, raise the vehicle, and support it securely on jackstands. If the vehicle has Automatic Ride Control (ARC), ensure the air suspension switch is turned off before raising the vehicle to prevent damage to the system components. Disconnect the torsion bar protector from the frame, then unscrew the bolt from the torsion bar nut while counting the number of turns for later reference. Use a heavy-duty two-jaw puller to raise the adjuster, ensuring the puller has an adjustable bridge to prevent the jaws from spreading under pressure. After tightening the nuts on the bridge, remove the torsion bar nut and lower the adjuster. Slide the torsion bar into the lower control arm and remove the adjuster, followed by the torsion bar itself. For installation, reverse the removal steps, ensuring to lubricate the threads of the adjuster nut and use a new adjuster bolt coated with a special adhesive. When installing the adjuster bolt, screw it in the same number of turns as the old one, plus two additional turns. Adjust the ride height as necessary to ensure the vehicle is level from side to side while sitting on its suspension. If the vehicle has ARC, disconnect the air lines from the shock absorbers before making adjustments, and roll the vehicle back and forth while jouncing the suspension before and between adjustments. Finally, have the front-end alignment checked by a dealer service department or an alignment shop.
