
My Garage
My Account
Cart
Genuine Ford Excursion Wiper Motor
Windshield Wiper Motor- Select Vehicle by Model
- Select Vehicle by VIN
Select Vehicle by Model
orMake
Model
Year
Select Vehicle by VIN
For the most accurate results, select vehicle by your VIN (Vehicle Identification Number).
5 Wiper Motors found
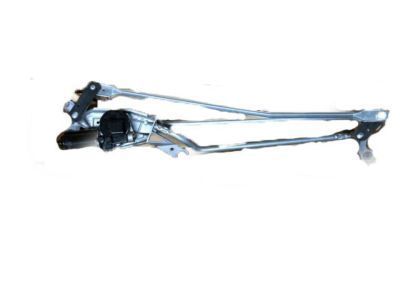
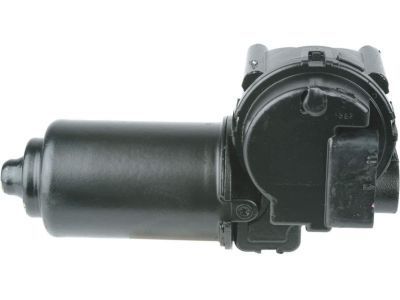
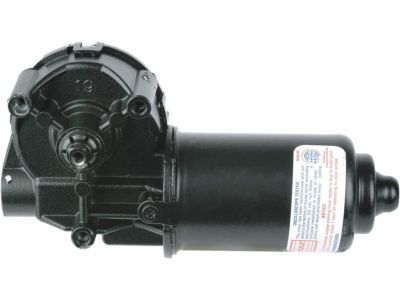
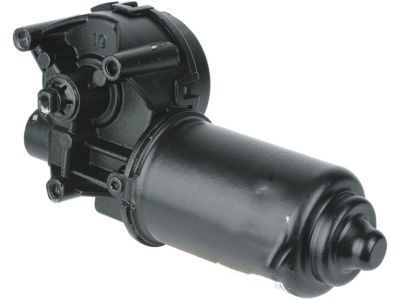
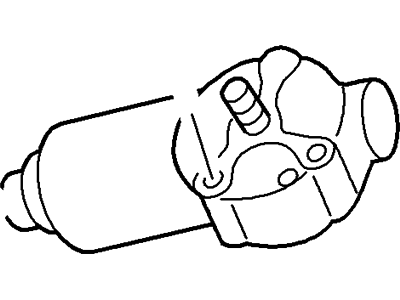
Ford Excursion Wiper Motor
The Wiper Motor is one of the important components in Ford Excursion cars as it controls the windshield wipers by providing it with power so that it can wipe rain or snow that falls, as well as anything that may be on the windshield to ensure free vision. This electric motor works at different speeds making it possible for the driver to regulate the movement of the wipers to suite the weather conditions. It is is possible to purchase the Ford Excursion Wiper Motors as New or Refurbished types. New Wiper Motors are obtained directly from the manufacturing company and refurbished Wiper Motors are used ones that are upgraded with latest replacement parts to fulfill modern performance level. This approaches allows Ford Excursion owners to select the right service provider that suit their needs optimal while guaranteeing proper wiper operation.
We provide a wide range of Ford Excursion Wiper Motor at the best prices possible. If you need Ford Excursion Wiper Motor, you can shop with confidence on our website. All our OEM parts come with a manufacturer's warranty and are delivered to your door step with a fast delivery service.
Ford Excursion Wiper Motor Parts Questions & Experts Answers
- Q: How to check the wiper motor circuit on Ford Excursion?A:In order to perform a wiper motor circuit test the battery condition and charge should be confirmed and in the case of slow operation of the wiper there may be binding linkage and pivots which should be lubricated or repaired before the motor is reinstalled. If the wipers do not work, look at the fuse, if the fuse is good connect a jumper wire from the motor ground terminal and see if it will work. If the motor runs, reconnect the ground; if it does not, check for voltage at the motor with the switch in the HI position by unbolting the cowl cover to accomodate the electrical connector. If you've got voltage, scan the motor in a non-vehicle manner with jumper cables; if it runs, check to see if the linkage is binding and if not, replace the motor. If there is no voltage to the motor in either position, the problem might be located in the wiper control Relays; if a voltage is present at the relays but not the motor, then the switch should be analyzed. For vehicles with Non-functional interval functions, ensure the wiring- in of the switch and wiper control is Ohm free. If park circuit does not park the wipers, then probe park feed wire with volt meter in park position where switch is off and ignition is ON and if no voltage is measured then look for open circuit. Wiper motor replacement involves the removal of the wipers; the negative cable of the battery should be disconnected first, and ensure to note the positions of the wiper arm on the windshield to assemble it correctly after the replacement of the motors. Then, uninstall the DWDL window cowl cover, disconnect the motor harness and then unmount the cowl mounting nuts in order to raise the motor assembly out of the cowl area. Removal of nuts from motor assembly and during reassembly procedure locate the position of the locking tab so that it is fully open and the key on the wiper arm should fit properly in to the notch of the motor shaft. For rear wiper motor replacement, the back door trim board has to be removed, then the position of the wiper blade has to be marked, then the harness has to be disconnected and the mounting bolts of the motor assembly have to be released to lift the motor assembly from the hatch area; installation is done inversely.
