
My Garage
My Account
Cart
Genuine Ford Excursion Flywheel
Clutch Flywheel- Select Vehicle by Model
- Select Vehicle by VIN
Select Vehicle by Model
orMake
Model
Year
Select Vehicle by VIN
For the most accurate results, select vehicle by your VIN (Vehicle Identification Number).
3 Flywheels found
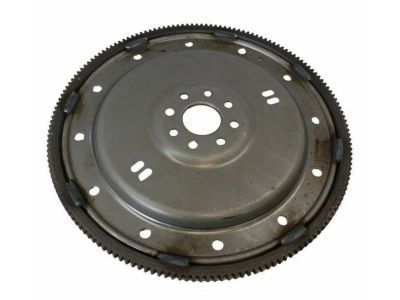
Ford Excursion Flywheel Assembly
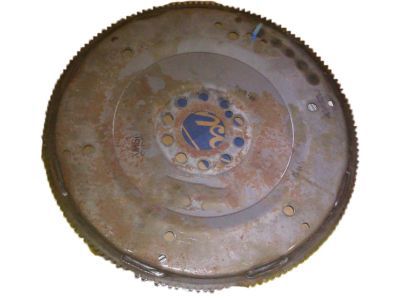
Part Number: 1C3Z-6375-BA$116.28 MSRP: $170.00You Save: $53.72 (32%)Ships in 1-3 Business DaysFord Excursion Flywheel Assembly
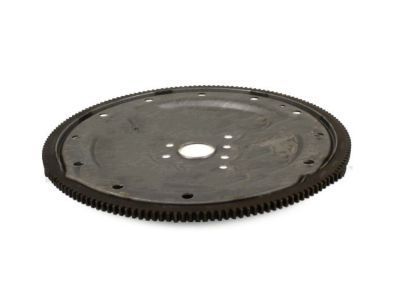
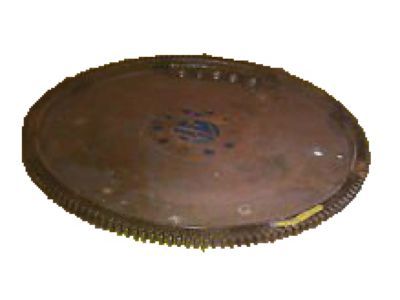
Part Number: F81Z-6375-EA$81.97 MSRP: $119.83You Save: $37.86 (32%)Ships in 1-2 Business DaysFord Excursion Flywheel Assembly
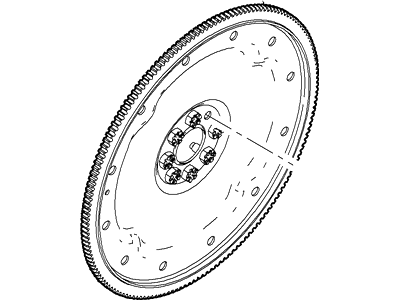
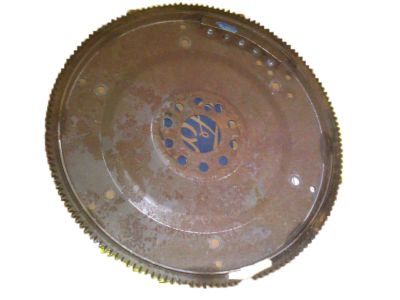
Part Number: YL7Z-6375-AA$116.28 MSRP: $170.00You Save: $53.72 (32%)Ships in 1-3 Business Days
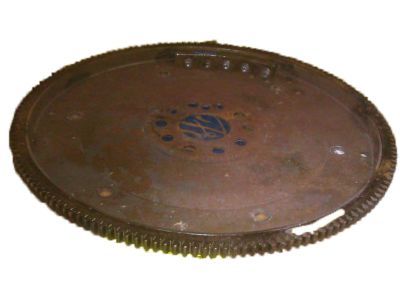
Ford Excursion Flywheel
We provide a wide range of Ford Excursion Flywheel at the best prices possible. If you need Ford Excursion Flywheel, you can shop with confidence on our website. All our OEM parts come with a manufacturer's warranty and are delivered to your door step with a fast delivery service.
Ford Excursion Flywheel Parts Questions & Experts Answers
- Q: How to remove and install the flywheel/driveplate in gasoline engine on Ford Excursion?A:If the flywheel or driveplate is being removed, unbend the cable from the negative terminal on the battery and then safely jack up the car. Take out the transmission and look for factory paint markings that show the positioning of the flywheel or drive plate to the crankshaft; if none are available, make your own to help in proper alignment when you are reconstructing the motor. Next, the bolts which secure the flywheel or the drive plate in position on the crankshaft have to be removed with a screwdriver or a punch, as turning of the crankshaft will need to be prevented while the bolts are being tightened or loosened. The process of flywheel &/or drive plate removal: Slowly back off the last bolt and while doing so take supporting the flywheel or drive plate. For installation, remove, clean and inspect the crankshaft and flywheel or driveplate mating surfaces, and the rear crankshaft oil seal, and replace the seal if it is leaking. If the reinforcement plate was removed, one has to make sure that it has been put in its correct place for the starter to fit in. Inspect the ring gear teeth for cracks, breakage or missing teeth, the flywheel or drive plate should be replaced if damaged. Replace the flywheel or driveplate to the former position and in some of the engines, there will be an alignment dowel or staggered bolt holes. Coat into threads of the bolt with Teflon thread sealant, then torque the bolts to the recommended value with the flywheel or driveplate arrested from turning. Last but not the least, to complement the removal process, reverse the steps listed herein above.
