Genuine Lincoln Town Car Brake Disc
Disc RotorEnter your vehicle info to find more parts and verify fitment
- Select Vehicle by VIN
- Select Vehicle by Model
Select by VIN
orEnter your VIN for the most accurate results.Enter your VIN for the most accurate results.
Select by Model
-- Select Make --
-- Select Model --
-- Select Year --
16 Brake Discs found
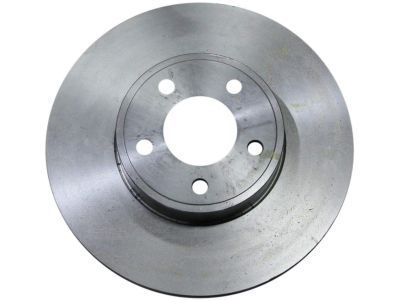
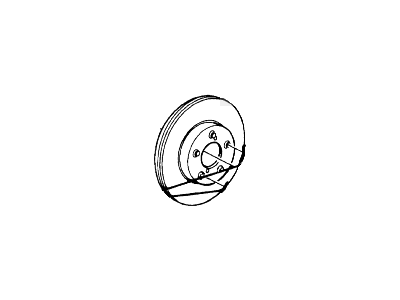
Lincoln Town Car Rotor Assembly
Part Number: F8VZ-1125-AA- Other Name: Rotor Assy; Rotor
$83.49 MSRP: $126.50You Save: $43.01 (34%)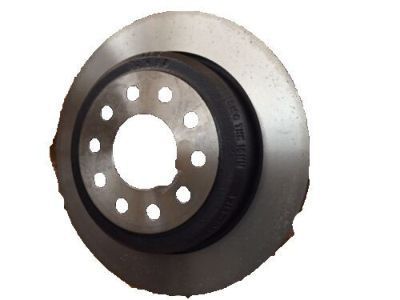
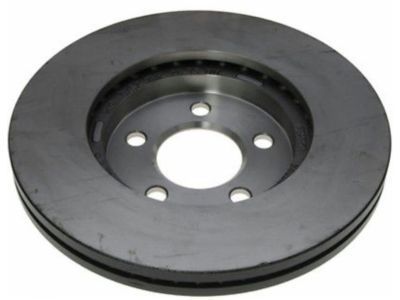
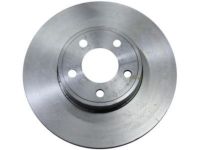
Lincoln Town Car Rotor Assembly - Brake
Part Number: 3W1Z-2C026-AA- Other Name: Disc - Brake
- Replaced by: 3U2Z-1V125-E
$68.39 MSRP: $99.98You Save: $31.59 (32%)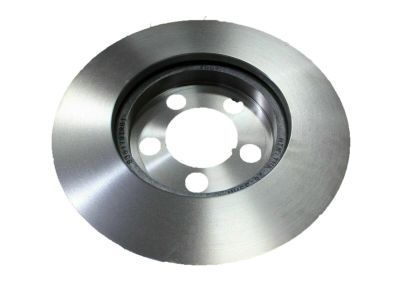
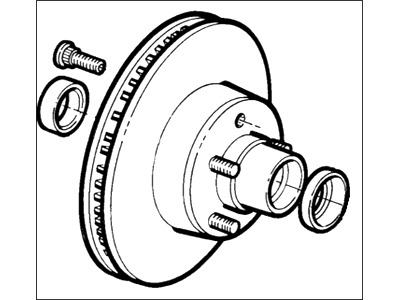
Lincoln Town Car Rotor Assembly
Part Number: 3W1Z-1V125-AA- Other Name: Rotor Assy
- Manufacturer Note: Ford Retail Spec
- Position: Front
- Replaced by: 3U2Z-1V125-AB
$41.16 MSRP: $74.98You Save: $33.82 (46%)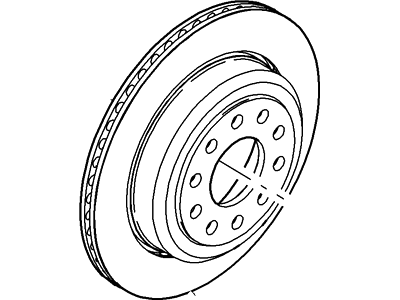
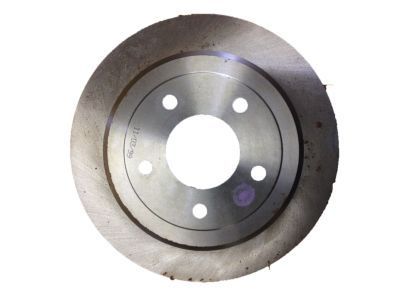
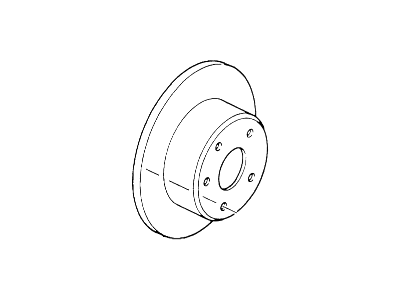
Lincoln Town Car Rotor Assembly
Part Number: 3W1Z-1V125-AB- Other Name: Rotor Assy
- Position: Rear
- Replaced by: 3U2Z-1V125-E
$68.39 MSRP: $99.98You Save: $31.59 (32%)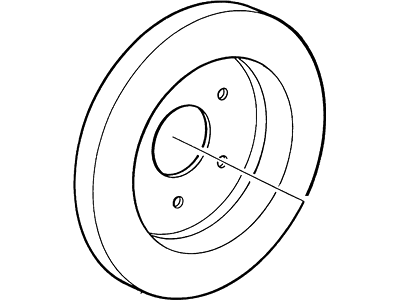
Lincoln Town Car Rotor Assembly
Part Number: F1VY-2C026-A- Other Name: ROTOR ASY
- Replaced by: YW7Z-1V125-B
$43.18 MSRP: $59.00You Save: $15.82 (27%)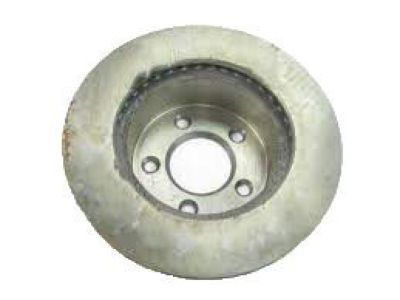
Lincoln Town Car Rotor Assembly
Part Number: F3VY-1125-A- Other Name: ROTOR ASY
- Replaced by: YW7Z-1V125-BB
Lincoln Town Car Rotor Assembly
Part Number: 3W1Z-1125-AA- Other Name: Rotor Assy
- Manufacturer Note: Warranty Eligible
- Replaced by: 3W1Z-1125-AB
Lincoln Town Car Rotor Assembly
Part Number: F5AZ-1125-CA- Other Name: Rotor Assy
- Replaced by: YW7Z-1V125-D
Lincoln Town Car Rotor Assembly
Part Number: 4U2Z-1V125-AA- Other Name: Rotor Assy
- Manufacturer Note: Ford Retail Spec
- Replaced by: 4U2Z-1V125-K
Lincoln Town Car Hub And Bearing Cup Assembly - Wheel
Part Number: E8AZ-1102-A- Other Name: Hub And Bearing Cup Assy - Wheel
- Manufacturer Note: W/O ANTI LOCK
- Replaced by: YW7Z-1V102-AA

Lincoln Town Car Rotor Assembly - Brake
Part Number: G2MZ-2V026-AJA- Other Name: ROTOR ASY - BRAKE
- Manufacturer Note: High Level Aftermarket Spec / Non Warranty Repairs
Lincoln Town Car Rotor Assembly - Brake
Part Number: G2MZ-2V026-AKA- Other Name: ROTOR ASY - BRAKE
- Manufacturer Note: High Level Aftermarket Spec / Non Warranty Repairs
Lincoln Town Car Rotor Assembly
Part Number: H2MZ-1V125-B- Manufacturer Note: High Level Aftermarket Spec / Non Warranty Repairs
Lincoln Town Car Rotor Assembly - Brake
Part Number: YW7Z-2C026-AA- Other Name: Disc - Brake
- Replaces: YW7Z-1V125-DA, XW7Z-2C026-AA, BRR-61
Lincoln Town Car Brake Disc Parts Questions & Answers
- Q: How to remove and install disc brake assemblies on both front and rear wheels?A: This procedure applies to both front and rear disc brake assemblies. Loosen the wheel lug nuts, raise the vehicle and support it securely on jackstands. Remove the wheel. Remove the Brake Caliper. After removing the caliper bolts, suspend the caliper out of the way with a piece of wire. Reinstall three lug nuts to hold the disc against the hub. Visually check the disc surface for score marks and other damage. To check disc runout, place a dial indicator at a point about 1/2-inch from the outer edge of the disc. Set the indicator to zero and turn the disc. The indicator reading should not exceed the specified allowable runout limit. The disc must not be machined to a thickness less than the specified minimum refinish thickness. The minimum wear thickness is cast into the inside of the disc. On pre-1991 vehicles, the front brake disc is also the front hub. On 1991 and later vehicles, remove the lug nuts that are temporarily holding the disc to the hub and lift off the disc. Mark the relationship between the disc and the hub, then lift the disc off the hub assembly. On 1998 and 1999 models, the disc is secured to the hub with two rivets. Drive the center mandrels out of the rivets with a punch, then use a 3/8-inch drill to remove the heads of the rivets for disc removal. The rear brake discs on all vehicles are removed in the same manner as 1991 and later front discs. Install the disc onto the hub assembly. Install the Brake Pads and caliper assembly over the disc and position it on the steering knuckle (front), or on the torque plate (rear). Install the caliper bolts and tighten them to the torque. Install the wheel, then lower the vehicle to the ground. Depress the Brake Pedal a few times to bring the brake pads into contact with the rotor. Bleeding of the system will not be necessary unless the brake hose was disconnected from the caliper. Check the operation of the brakes carefully before placing the vehicle into normal service.
Related Lincoln Town Car Parts
 Lincoln Town Car Brake Dust Shields
 Lincoln Town Car Brake Booster
 Lincoln Town Car ABS Control Module
 Lincoln Town Car Brake Line
 Lincoln Town Car Brake Caliper
 Lincoln Town Car Parking Brake Cable
 Lincoln Town Car Brake Proportioning Valve
 Lincoln Town Car Brake Master Cylinder
 Lincoln Town Car Wheel Cylinder
 Lincoln Town Car Brake Bleeder Screw
 Lincoln Town Car Brake Drum
Browse by Year
2011 Brake Disc 2010 Brake Disc 2009 Brake Disc 2008 Brake Disc 2007 Brake Disc 2006 Brake Disc 2005 Brake Disc 2004 Brake Disc 2003 Brake Disc 2002 Brake Disc 2001 Brake Disc 2000 Brake Disc 1999 Brake Disc 1998 Brake Disc 1997 Brake Disc 1996 Brake Disc 1995 Brake Disc 1994 Brake Disc 1993 Brake Disc 1992 Brake Disc 1991 Brake Disc 1990 Brake Disc 1989 Brake Disc 1988 Brake Disc 1987 Brake Disc 1986 Brake Disc 1985 Brake Disc 1984 Brake Disc 1983 Brake Disc 1982 Brake Disc